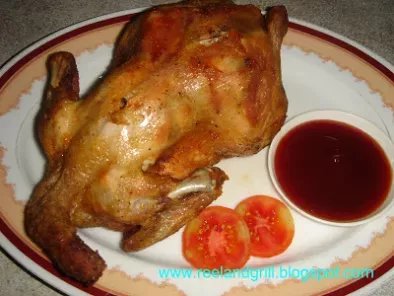
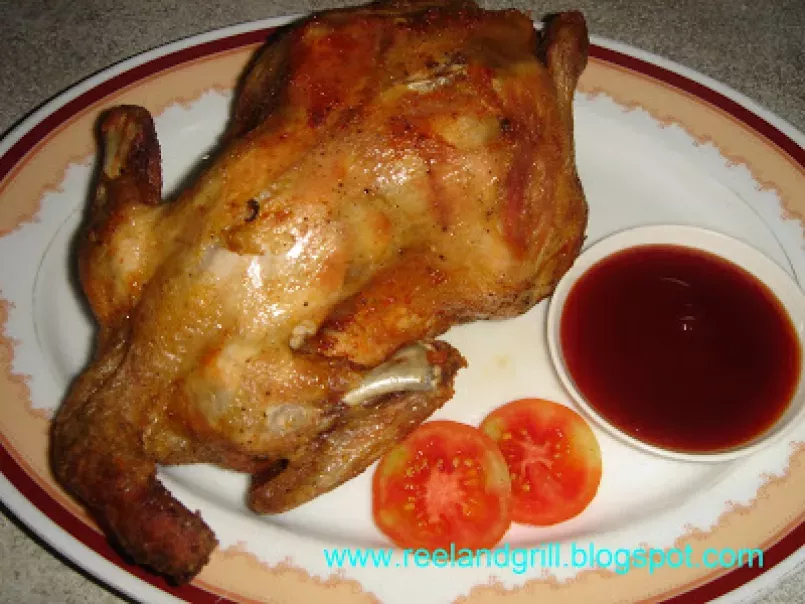
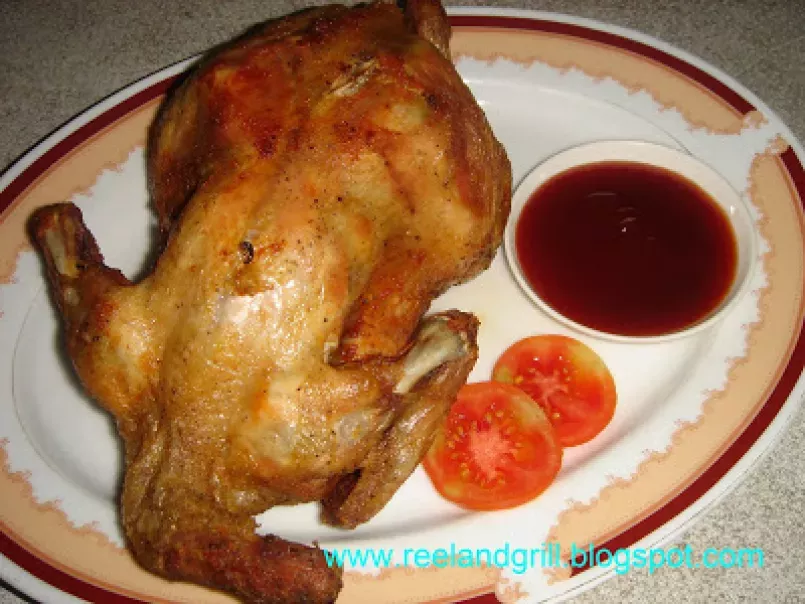
Filipino fried chicken - whole (pritong manok)

Ingredients
7
To season and fry the chickens are:
You may like
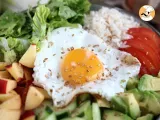
Easy gummy fried eggs
Preparation
Preparation25 min
Cook time55 min
- In a small saucer, combine the salt and ground pepper. Mix evenly. Add in MSG and mix it in as well if you are using.
- Thoroughly drain the chickens. Pat the skin and inside cavity dry using paper towels. Liberally season the chicken with the salt-pepper mixture.
- Apply it inside the cavity, on all skin surfaces and even in between the skin and the meat if possible. Let stand for several minutes.
- In a large steamer or large pan or wok with slotted base prop to enable steaming, arrange the chickens. Steam the meat for about 45 minutes or until just tender.
- Take out the steamed meat and let to stand for several minutes until it is cool.
- Meanwhile, prepare for frying. If you have enough oil and a really large pan, you can deep fry the whole chicken. That would be better.
- Heat the vegetable oil on high until hot but not smoking. One at a time, fry the chicken over medium-high heat, one side first.
- After about 15 to 20 minutes, cautiously flip it over and continue frying the underside. Fry until the skin is golden brown and crisp. Be careful with the nasty oil splatter.
- Continue cooking the other chicken. Drain the excess oil from the fried chicken using coriander and/or paper towel.
- Transfer in a large serving plate and serve whole or chop it up to desired sizes.
- Serve warm with the unique Filipino banana catsup or the wonderful liver sauce or the ever-reliable calamansi and soy sauce mixture dipping sauces.
- Alternately, tomato catsup or hot and spicy garlic sauce would also be good.
You tried this recipe ?
Mention @petitchef_en and tag #petitchef
Mention @petitchef_en and tag #petitchef
You may like
-
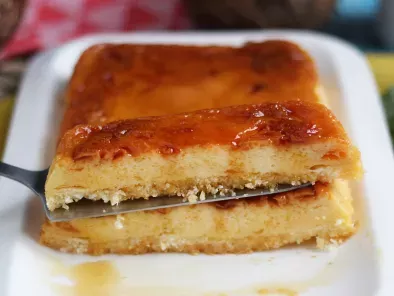
 Leche frita, or fried milk - video recipe !
-
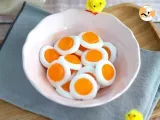 Easy gummy fried eggs
-
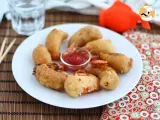 Golden fried prawns - video recipe!
-
 How to make fried eggs?
Questions
Photos of members who cooked this recipe
Photos
Comments
Rate this recipe:
There are no comments!