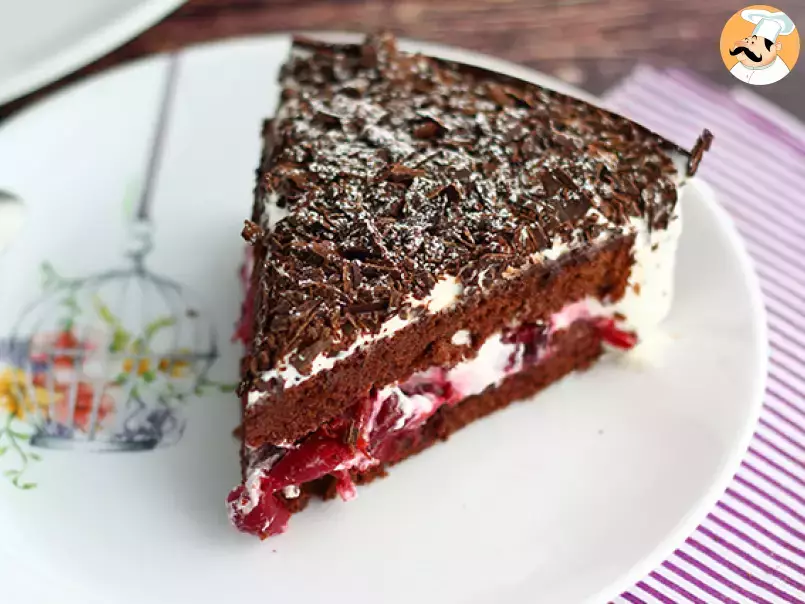
Black forest cake, step by step


When you want to dazzle your guests during an event, bake this incredible cake from Germany! A sweet vanille whipped cream with some cherries, topped with a crunchy chocolate.
Ingredients
8
Cocoa sponge cake :
The cherries :
Vanilla whipped cream :
Decor :
Materials
- Strainer
- 7 inches diameter cake mold
- 8 inches diameter cake circle
- 2 x 25 inches acetate strips
- Spatula
- Piping bag
Preparation
Preparation3 hours
Cook time20 min
 The cocoa spong cake :
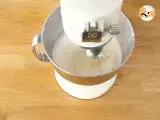
In a bowl, put the eggs and the sugar.Whisk at full speed for around 5 minutes. The eggs must swell a lot and thicken.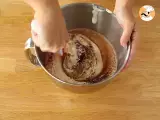 Sift the flour and the cocoa on the batter, and gently mix until it is incorporated.
Pour in a greased mould (7 inches diameter), and bake 20 minutes at 350°F (180°C).
Leave to cool down.
Laissez refroidir.
 The cherries :
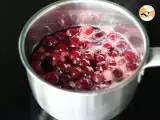
Put the water and the sugar in a pot and bring to a boil. Add the frozen cherries and stir. Leave until the mix starts to boil and take out of the heat.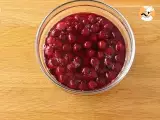 Add the kirsh, stir and leave to cool down.
 Assembly :
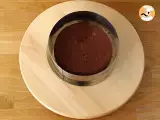
On the serving plate, put the cake ring, and place an acetate strip inside against the ring.
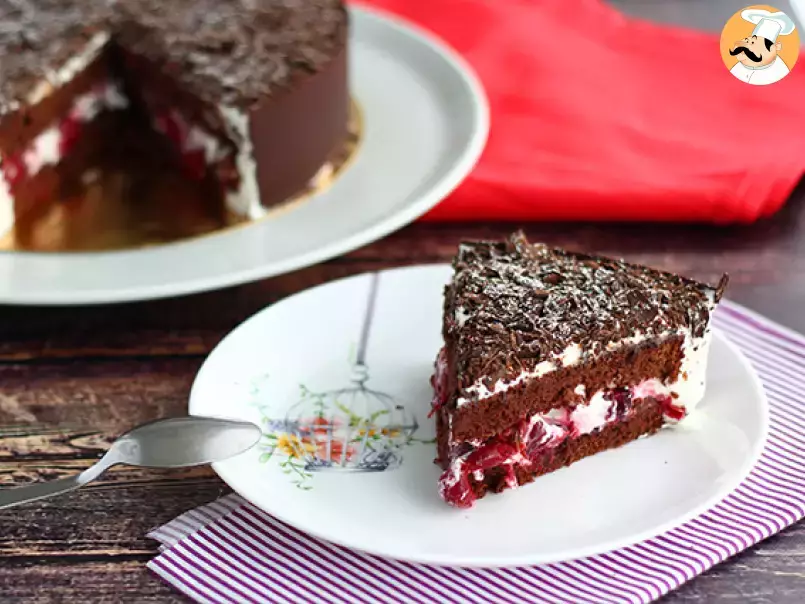
Cut the sponge cake in half, and put the top in the center of the ring.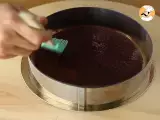 Strain the cherries and use the syrup to soak the sponge cake. Be generous!
 The vanilla whipped cream :
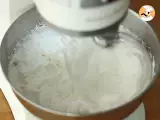
In a bowl, put the cold whipped cream, the icing sugar and the vanilla bean seeds. Whisk at full speed to make a whipped cream. Fill the gaps around the sponge cake with whipped cream, and cover it with a layer of cream.
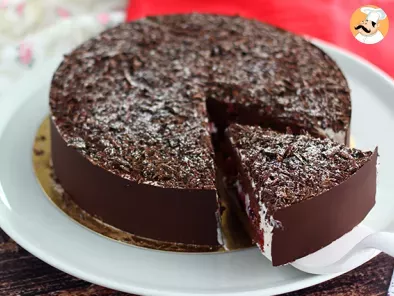
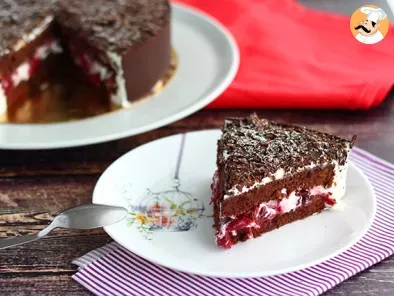
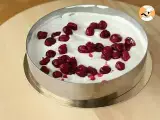 Put all the cherries on the cream. Take the bottom of the sponge cake and flip it over to have the smooth side on top. Apply some pressure to make the cream on its side come up.
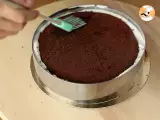 Soak it with syrup. Cover and fill the ring with whipped cream.
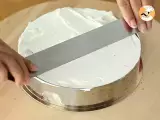 Using a spatula, smooth the top of the cake. Put in the freezer for at least 1 hour. Then, take the ring out and the acetate strip off the cake.
 Chocolate ring :
Melt half the chocolate. Use an acetate ring the same length as the cake circumference (25 inches). Pour the chocolate on all the strip, and using a spatula, smooth it to cover all the strip.
You can see it done in the video at the end of this recipe.
 Gently take this chocolate strip without putting your fingers on it. Delicately place it all around the cake. Put in the fridge for 15 minutes.
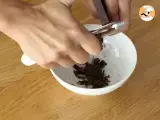 Meanwhile, use a peeler on the remaining chocolate to make chips.
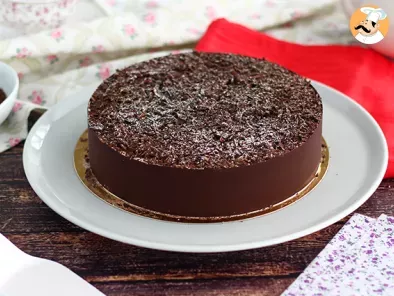
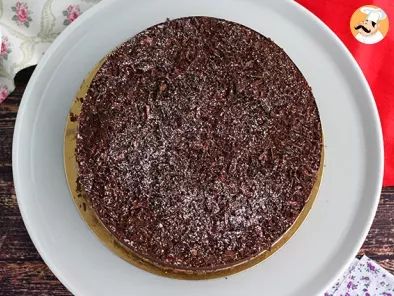
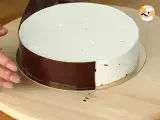
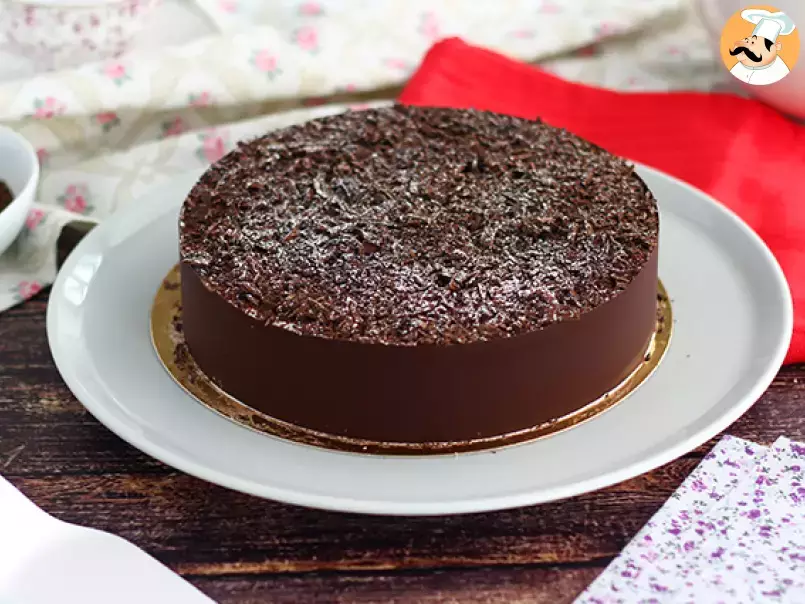
Take the cake out of the fridge, and take the acetate strip off. The chocolate ring should hold on the cake.
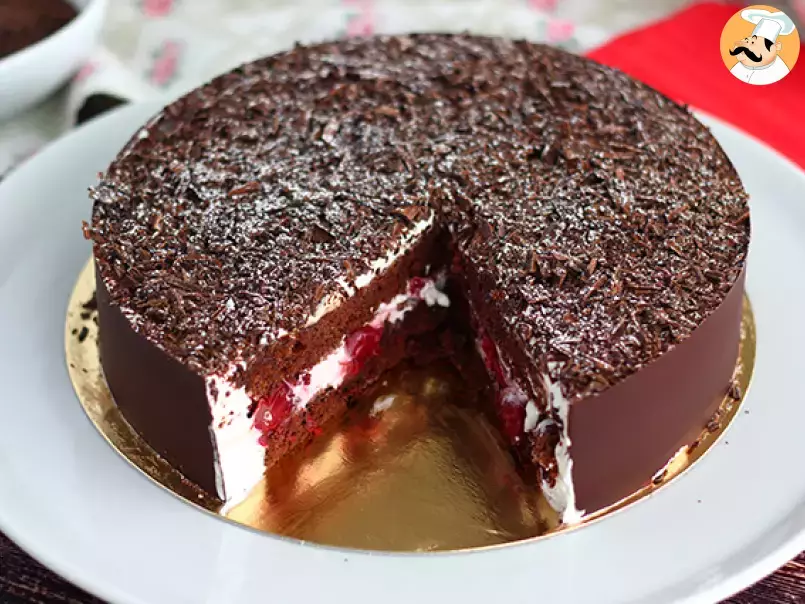
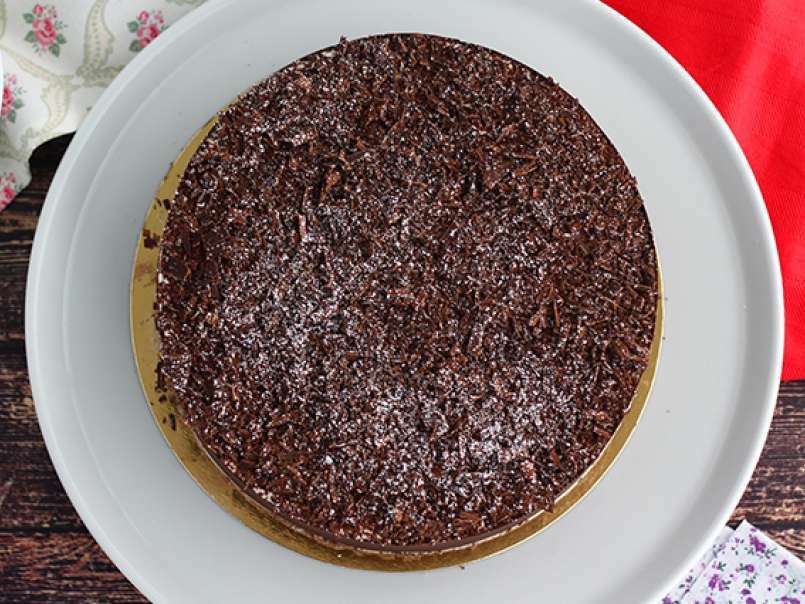
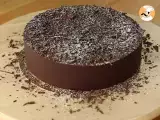 Springle the top with the chocolate chips to cover all the whipped cream. Then sprinkle with some icing sugar.
 There you are, your black forest cake is ready!
You tried this recipe ?
Mention @petitchef_en and tag #petitchef
Mention @petitchef_en and tag #petitchef
You may like
-
 Black olives and feta cake
-
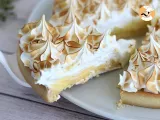 Lemon meringue pie, the recipe step by step
-
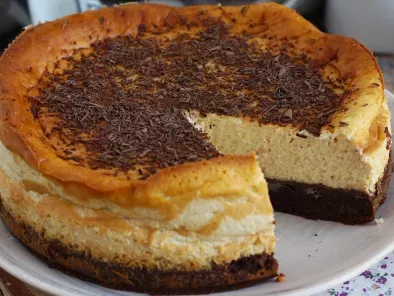
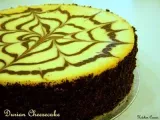
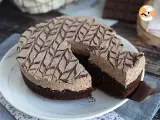 Despacito cake - the famous brazilian chocolate and coffee cake
-
 Crinkle cake, the super crispy and easy to make cake - easy turkish laz borek
Questions
Photos of members who cooked this recipe
Photos

Comments
Rate this recipe:
There are no comments!