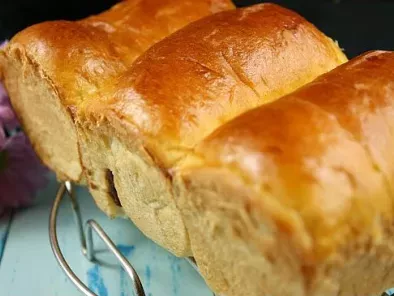
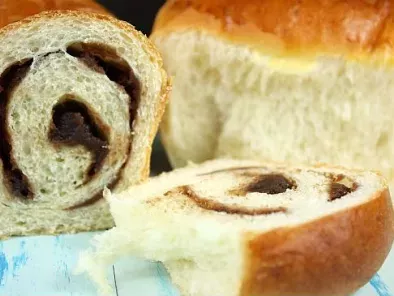
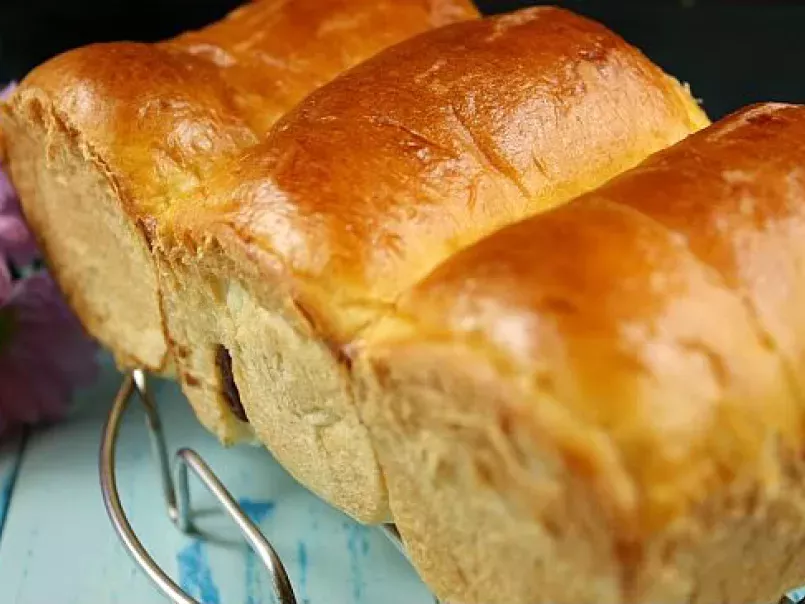
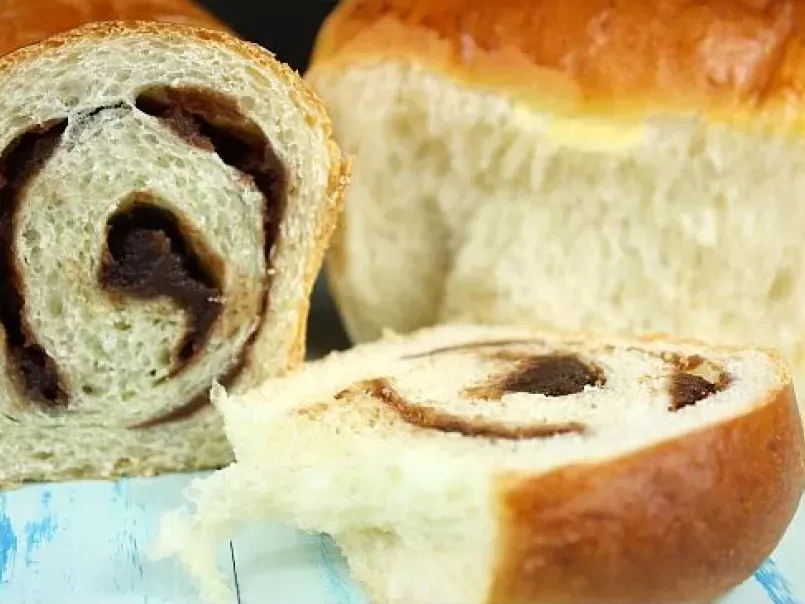
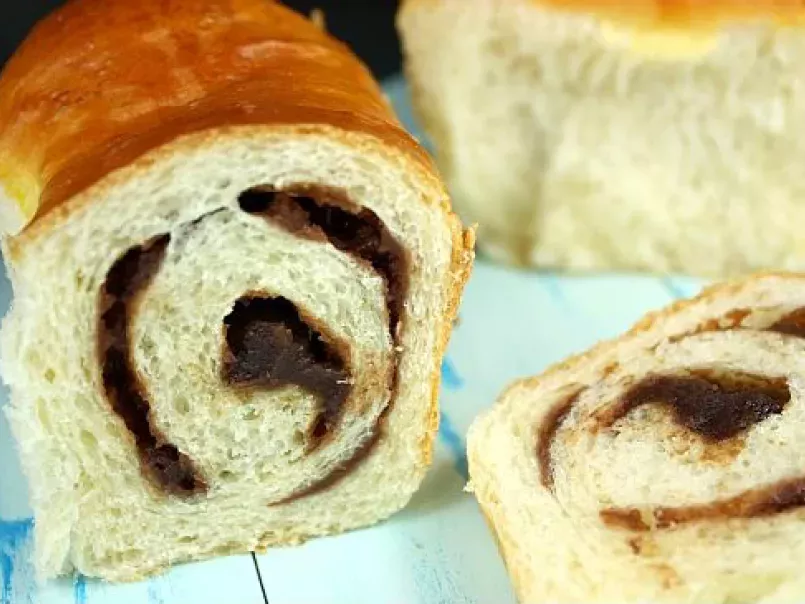
Japanese style red bean swirl bread

Ingredients
8
You may like
Fava bean salad
Preparation
Preparation20 min
Cook time40 min
- Combine all dry ingredients: flour, salt, sugar and instant yeast in a bowl. Make a well in the center.
- Whisk and combine all wet ingredients: milk, egg and tangzhong, then add into the well of the dry ingredients. Knead until you get a dough shape and gluten has developed, then knead in the butter. The dough will be extremely sticky.
- Keep kneading until the dough is smooth, not sticky and elastic. . Knead about 12 mins if using KA. Knead the dough into a ball shape. Place in a greased bowl and cover with a wet towel or cling wrap. Let it proof till it's doubled in size, about 40 - 60 mins.
- Transfer to a clean floured surface. Deflate and divide the dough into four equal portions (or more depending on your tin). Knead into ball shapes. Cover with cling wrap, let rest for 20 minutes.
- Roll out each portion of the dough with a rolling pin into an oval shape. Spread a thin layer of red bean paste, leaving a 1" border along the sides.
- The start to roll from the upper, shorter end down to the bottom (as you would a jelly roll). Tuck in the 2 ends and place into your tin, with the sealed end facing downwards. Repeat with the remaining dough.
- Arrange the rolled-up dough in a greased or non-stick loaf tin. Leave to proof again for 40 minutes or until dough has doubled in size.
- Brush whisked egg on surface. Bake in a pre-heated 180C (356F) oven for 35 to 40 minutes. Remove from the oven and tin.
- Transfer onto a wire rack and let cool completely. Slice to serve or place in an airtight plastic bag or container once it's thoroughly cooled.
You tried this recipe ?
Mention @petitchef_en and tag #petitchef
Mention @petitchef_en and tag #petitchef
You may like
-
 Irish bread - soda bread
-
 Pita bread - no bake bread
-
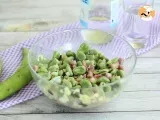 Fava bean salad
-
 Red beans vegetarian cheeseburger - video recipe!
Questions
Photos of members who cooked this recipe
Photos
Comments
Rate this recipe:
There are no comments!