{Easy Entertaining} Decorating Holiday Cupcakes
vote now

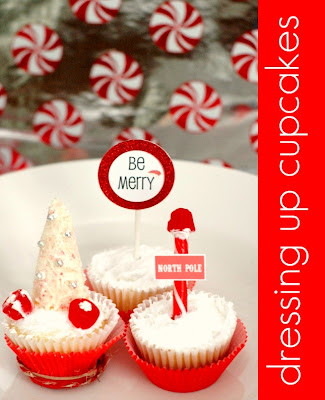
After styling the food tables for my friend's baby shower and my husband's birthday, I've been eager to design a holiday dessert table for my parents. This year, I decided to go with a red and white theme (maybe because my parents live in Canada). And every dessert table needs an abundance of cupcakes, so I chose three fun ways to decorate them.

For my ice-cream cone Christmas tree cupcakes, I was inspired by both Martha Stewart's Christmas tree cupcakes and Bakerella's Candy Cane Christmas tree cupcakes. My version is very easy to make and uses fairly easy to find ingredients (though I had to go to a few grocery stores to find mini triangular ice-cream cones)

Martha used waffle cones and Bakerella used sugar cones, but I opted for mini ice-cream cones because they're smaller (no need to cut them) and the $2 box I found contained 72 of them (in case I break or mess up a few "trees"). I also used red Jujubes, snowflake sprinkles, silver dragees, frosting, white sugar crystals, and candy cane candy melts.

I melted the candy cane candy melts in a glass so that I could easily coat the cones. I then sprinkled white sugar crystals on top to make them shimmer.
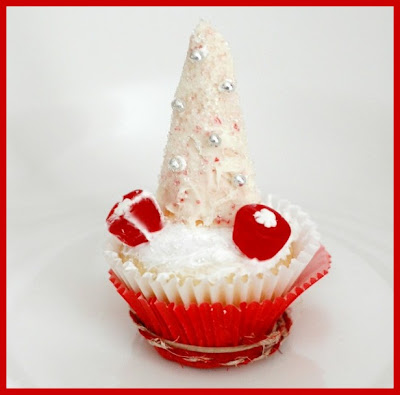
After frosting my cupcake, I added the cone. Using frosting, I added the other decorations onto the cupcake and cone. My Christmas tree cupcake is now ready for its close-up!

Another of my favorite entertaining sites is One Charming Party. It's where I found their cute North Pole cupcakes and had to make my own. (They also provide free "North Pole" sign template on their site) If you're short on time, these are much easier to make than the Christmas tree cupcakes.

Instead of candy canes, I used old-fashioned cherry candy sticks and broke them in half. Because I had a bunch of berry gummies, I used those instead of gobstoppers.
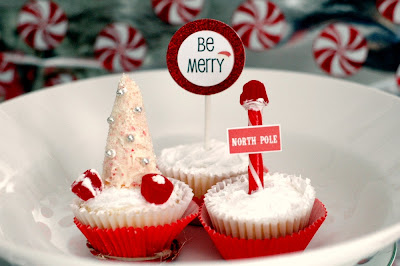
Using frosting, I "glued" all of the candy together to make these cute North Pole cupcakes.

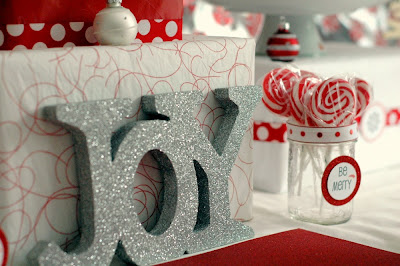
The last, and easiest, cupcake decorating method I used was making my own Cupcake Toppers. I designed a whole bunch of toppers on my computer and used my 1-inch circle punch to cut them out. I glued them onto sparkly red circles I made with my 2-inch circle punch.

But if you have a bunch of old holiday cards lying about, I would take a 2-inch circle punch and glue these circles onto lollipop sticks. Instant cupcake topper - with a green-friendly twist!
There's still more to do for my holiday dessert table. Stay tuned for the complete post!
High/Low Food/Drink
Comments