Chestnuts in the microwave? This 7-minute trick will change how you do winter snacks forever
Have you ever wanted to enjoy warm, fragrant chestnuts, ready in just 7 minutes? With this recipe you can do it without turning on the oven and without dirtying pots and pans: just a few steps and the microwave. In this article I will guide you step by step, with tips and little tricks, to prepare microwave chestnuts that are soft, flavorful and easy to peel. Perfect for surprising friends and family -- and for enjoying all the flavor of autumn effortlessly.
Why microwaving chestnuts is a great idea
- Speed: by eliminating long oven or boiling times, you bring chestnuts to the table in record time.
- Ease: few steps and minimal utensils (bowl, knife, microwave) - no stress.
- Energy savings: microwave consumes much less than conventional oven for small batches.
- Less mess: no steams, splatters or pots and pans to wash, making for a tidier kitchen.
- Amazing result: the peel becomes easier to peel off and the heart remains soft and tasty.
These advantages are not mere slogans: they are the result of a judiciously designed technique. Let us now proceed to the practical details.
Ingredients and equipment needed
Ingredients for 4 persons:
- 1 lb chestnuts
- Water (just enough for soaking)
Essential equipment:
- 1 bowl (large)
- 1 serrated knife
- Microwave with at least 1000 W
- Microwave-safe dish
Step-by-step procedure (with extra tips)
Washing and preparation
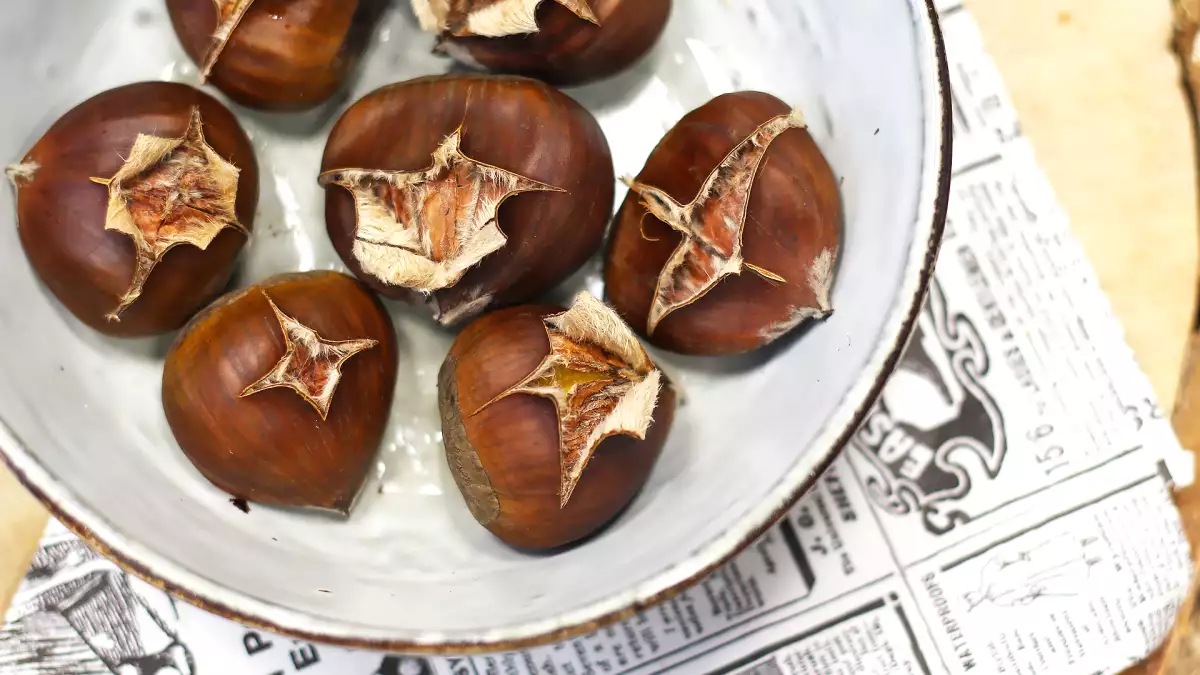
Wash the chestnuts thoroughly under running water, removing any soil residue. With the serrated knife, make a cut on the back of each one: you can choose either a single horizontal incision or a "+" (horizontal + vertical). This is essential to prevent them from "exploding" inside the microwave during cooking.
Soak
Let the chestnuts soak for about 10 minutes. This soaking has two purposes:
- To soften the skin and facilitate subsequent peeling
- To allow you to discard those chestnuts that are floating (a sign that there is air inside and they are no good).
Draining and arranging
Drain the chestnuts well and arrange them on the microwave plate, with space between them and with the cut facing up (so that the cut opens the chestnut to the outside).
Microwave cooking
- Step 1: Set the microwave to full power (1000 W) and cook for 5 minutes.
- Step 2 (grill): turn on the microwave grill function for an additional 2 minutes, keeping the intensity as high as possible. This will cause the skin to take on color and become crispier on the outside, while the inside remains soft.
Removal and cooling
Carefully (the dish will be hot!) remove the chestnuts from the microwave and allow them to cool before peeling. This step helps to avoid burning and makes it easier to peel off the skin.
Peeling and serving
When the chestnuts are still warm but manageable, peel them gently. Serve them immediately, preferably while they are still warm-the flavor is more enveloping and the texture perfect.
Expert tips for perfect results
- Check the skin: if it has imperfections or cracks even before you start, better discard it.
- Chestnuts that float during soaking are best discarded: they mean there is air inside (so probably dry or hollow).
- The cut may be a single horizontal cut if the chestnut is very narrow, but the "+" (horizontal + vertical) gives more room for the opening and helps steam to escape.
- Do not over-wet the microwave dish: excess moisture can affect the crisp yield.
- If your microwave does not have a grill function, you can extend the initial phase but with caution: check every 30 seconds to avoid burning.
- Taste them now: as time passes, the skin tends to stiffen and the natural flavor fades.
 Daniele Mainieri
Comments