Top chefs' simple liquid brine trick: how one easy step makes grilled fish much more flavorful
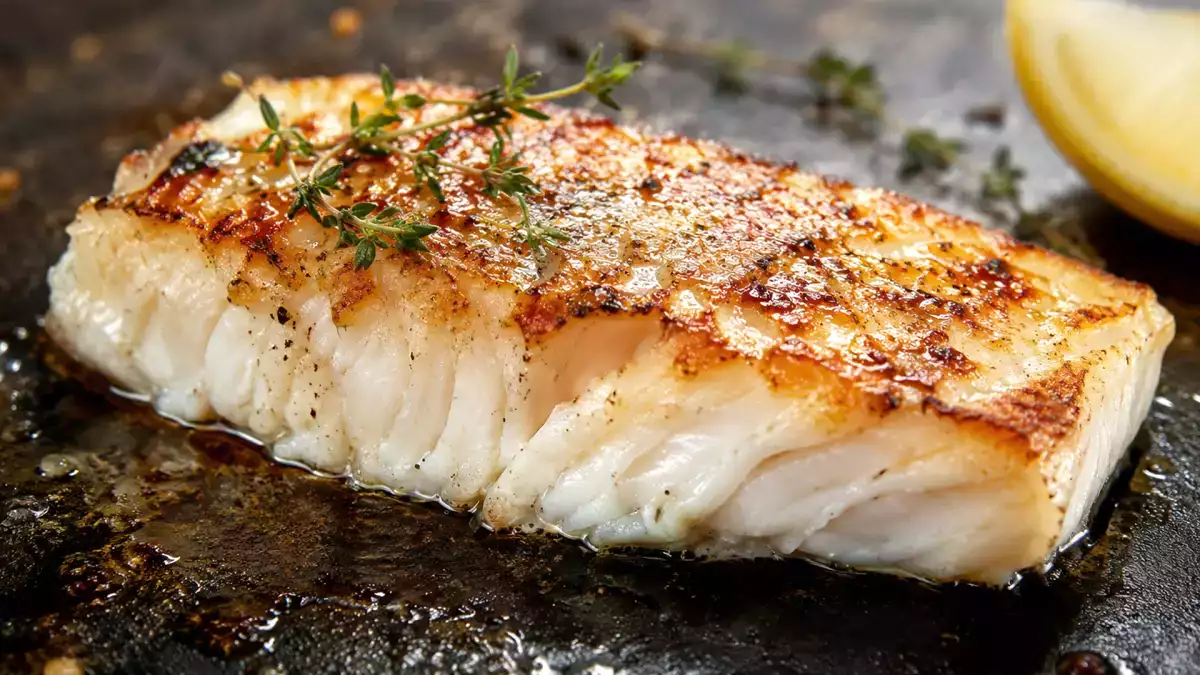
We usually season fish the way we’ve always seen it done: a pinch here, another there, and into the pan. Sometimes it turns out well. Other times, one part is more flavorful, another is bland, and yet another (for reasons we can’t quite explain) is too salty.
It’s no big deal, of course. But it is one of those little details that explain why, when grilling fish at home it might turn out just okay, while in a good restaurant, the same fish seems much more flavorful. Often the difference isn’t in the fish itself (which might be the very same one you bought fresh at the market) nor in the cooking technique, but in how it’s salted.
A very simple way to do it better is to use a liquid brine. The name sounds a bit intimidating, but the technique is really not complicated at all.
Jordi Cruz and Ángel León (known as the “Spanish Chef of the Sea”) both of whom own three-Michelin-star restaurants, have explained on various occasions the benefits of salting fish in a liquid brine before cooking it. The idea is simple: soak the fish in salted water for a few minutes before grilling or pan-frying it. This results in a much more even and balanced level of saltiness. The question is: how do you do it correctly at home?
Liquid brine: what is it?
Liquid brine is a mixture of water and salt, in a specific ratio, in which the fish is submerged for a few minutes before cooking. We’re not talking about curing it or leaving it in long enough to completely change its flavor or texture. It’s just a quick soak so that the salt comes into contact with the entire fillet more evenly.
Why does salted water bring out the flavor better?
When we sprinkle salt directly onto the fish, the salt lands wherever it lands. No matter how skilled we are in the kitchen, it doesn’t distribute with pinpoint accuracy. One corner gets too much, another almost none, and the center ends up somewhere in between.
With brine, the salt doesn’t just fall; it envelops the fish. The salt water coats the entire piece and does the job more gently. This helps ensure the fish is seasoned more evenly, with no bland spots and no areas that are too salty.
There’s another advantage, too: the fish is handled less. And with delicate fish, that’s a real plus. A hake, for example, will turn out better in the pan the less we touch it before cooking.
The easy ratio for making liquid brine at home
It's not complicated. All you have to do is:
- Prepare a bowl of cold water and salt.
- The most practical ratio is this: 35 grams of salt per liter of water.
- Stir the water until there are no salt grains left at the bottom. Once the salt has dissolved, add the fish.
- For standard fillets, 3 or 4 minutes are enough. If the fillet is very thin, it’s better to keep it shorter. If it’s thicker, it can handle a minute or so longer, but to start with, it’s best not to leave it in too long.
- After that time, remove the fish and pat it drythoroughly with paper towels.
- Do not salt the fish again. It’s best to cook it this way the first time and check if the saltiness is to your liking. If anyone wants more salt afterward, they can always add a pinch to their plate.
Dry the fish thoroughly: this step makes all the difference
For which fish is this technique worth using?
This technique really shines with white fish that go straight into the skillet or onto the grill.
It works very well with fillets of sea bass, gilthead seabream, hake, monkfish, fresh cod, or turbot. They’re easy to handle, cook quickly, and let you taste the difference right away.
You can also try it with other fish, of course, but here the thickness of the fillet matters more than the theory. A thin fillet needs very little time. A thicker fillet can handle a bit longer.
It's not about using more salt, it's about using it better
Liquid brine can be a little intimidating the first time. You see the salt in the water and think the fish is going to taste too salty. But with this mild ratio and a short soaking time, the opposite usually happens: the fish doesn’t taste salty, it tastes delicious.
The goal isn’t for it to taste like salt, but to taste more like fish. That’s the difference.
Some kitchens use stronger brines (even as much as 100 grams of salt per liter of water) but those require more precise timing. To get started at home, the 35-gram-per-liter brine is more forgiving and easier to work with.
How to cook fish after brining
Once dry, cook the fish as usual. Heat a skillet, add a little oil, and (if it has skin) start by cooking it skin-side down. You can press down gently for a few seconds at the beginning to keep it from curling, but after that, it’s best not to touch it.
Don’t keep lifting it every half minute; that’s a very human temptation, but it doesn’t really help. For the skin to turn golden brown and crispy, it needs constant contact with the pan. If you lift or move it too soon, it’s likely to tear, stick, or lose that crispy texture.
Once the skin is golden brown, flip it over and cook it briefly on the meat side. The goal isn’t to dry it out, just to make sure it’s cooked through and juicy.
 Patricia González
Comments