How to make perfect homemade arepas: Simple basic recipe + 7 common mistakes to avoid, what to watch
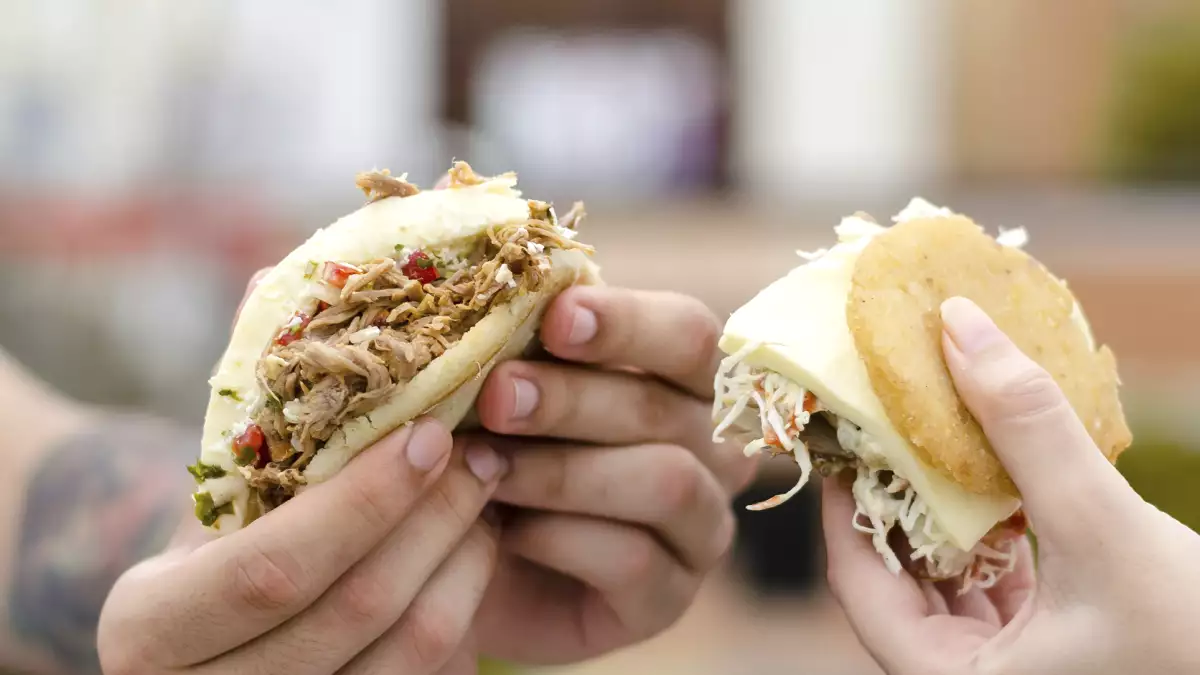
A well-made arepa can be recognized even before it’s filled: it’s golden brown on the outside, has a thin crust, and remains tender and thoroughly cooked on the inside. Achieving this with a batter made of just cornmeal, water, and salt seems easy—until cracks appear, the center remains undercooked, or the arepa hardens in the pan.
Deeply rooted in the cuisines of Colombia and Venezuela, arepas come in many forms: thin or thick, grilled or fried, with cheese, corn, or egg. Here we’ll focus on a basic arepa that you can open up and fill. The secret lies not so much in timing as in learning to recognize when the batter has the right consistency and how it responds during cooking.
Cornmeal matters, a lot
To make arepas, you need precooked corn flour—either white or yellow. This is not the same as cornstarch, polenta, or raw corn flour, which behave differently when mixed with water. It should also not be confused with Mexican masa harina, which is made from nixtamalized corn.
If you’re cooking for someone with celiac disease, make sure the package is labeled “ gluten-free.” Corn is naturally gluten-free, but cross-contamination can occur during processing.
The 7 Most Common Mistakes When Making Arepas
1. Buying the wrong flour
It’s hard to fix the dough if you start with the wrong ingredient. Be sure to look for precooked cornmeal: neither cornstarch nor polenta absorbs water the same way.
2. Treating the amount of water as a fixed number
Absorption varies slightly from one flour to another. Your hands are more useful here than a milliliter measure. The quantities are just a guide; the texture of the dough is what matters most. The dough should be moist, pliable, and easy to shape, but not sticky. If it cracks when you form it into a disk, it probably needs a little more water.
3. Adding all the flour at once
This is a surefire way to end up dealing with dry lumps. Add the flour gradually to the salted water while mixing. The dough will hydrate more evenly, and it will be easier to know when to stop.
4. Not letting the dough rest
Before adjusting a dough that seems too soft, let it rest for a few minutes. During this time, the flour finishes absorbing the water. Adding more flour too soon can result in dry arepas.
5. Ignoring the cracks
A small crack along the edge usually indicates that the dough lacks moisture. You can smooth it out with wet hands; if all the arepas crack when you shape them, return the dough to the bowl and add a little water before continuing.
6. Turning up the heat to finish faster
A well-toasted crust isn’t much good if the center remains undercooked. Cook the arepas over medium heat, giving them time for the heat to reach the center. If they’re particularly thick, you can brown them first in a skillet and finish cooking them in the oven.
7. Let them cool completely before cutting them open
It’s easier to make the opening for the filling while they’re still warm. Hold the arepa with a dish towel, insert a small knife on one side, and open it without cutting all the way through to the opposite side. That unbroken edge will act as a hinge and prevent the filling from spilling out with every bite.
What to put inside an arepa
A freshly made arepa can be filled with anything from a little melted cheese to chicken, shredded beef, or roasted vegetables. Among the best-known Venezuelan fillings is the reina pepiada, a creamy mixture of shredded chicken, avocado, and mayonnaise.
There’s also the perico, made with egg, tomato, and onion; shredded beef; or the combination of black beans and cheese known as dominó. In Colombia, moreover, many arepas aren’t cut open to be filled: they’re eaten as a side dish or prepared with cheese, corn, or egg.
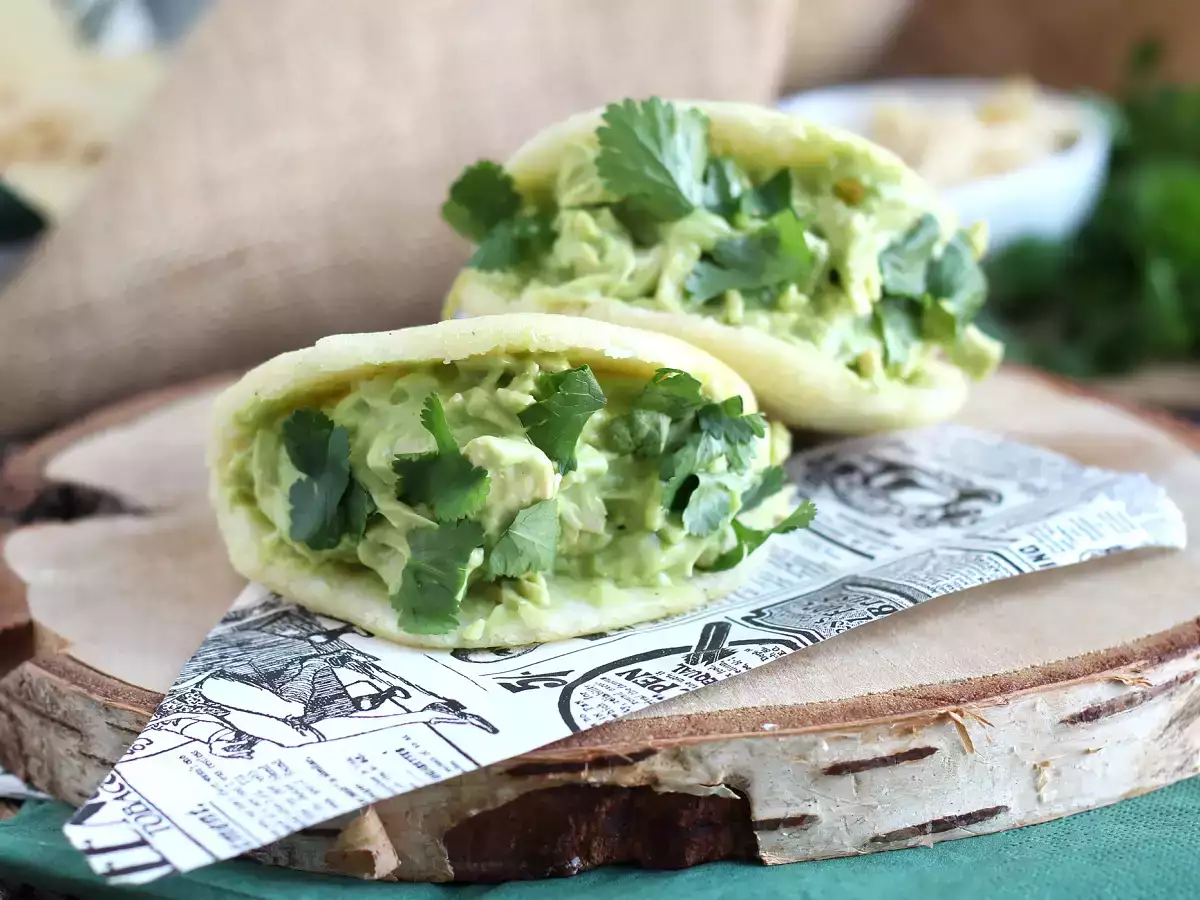
Want to take your taste buds on a trip? Try this sandwich made with arepas, Venezuelan rolls that are quick and easy to make! Yeast-free , they're also naturally gluten-free , since they're made from corn flour . A perfect recipe for a night in...
How to Store and Reheat Arepas
If you have leftovers, let them cool before storing them in an airtight container. They can also be frozen; separate them so they don’t stick together, and you’ll be able to take out only the ones you need.
To reheat them, a skillet or the oven works better than the microwave for restoring the surface texture. They don’t need much time: just heat them until the outside regains some firmness and the inside is tender again.
 Patricia González
Comments