How to pack an onigiri and keep the seaweed crunchy?
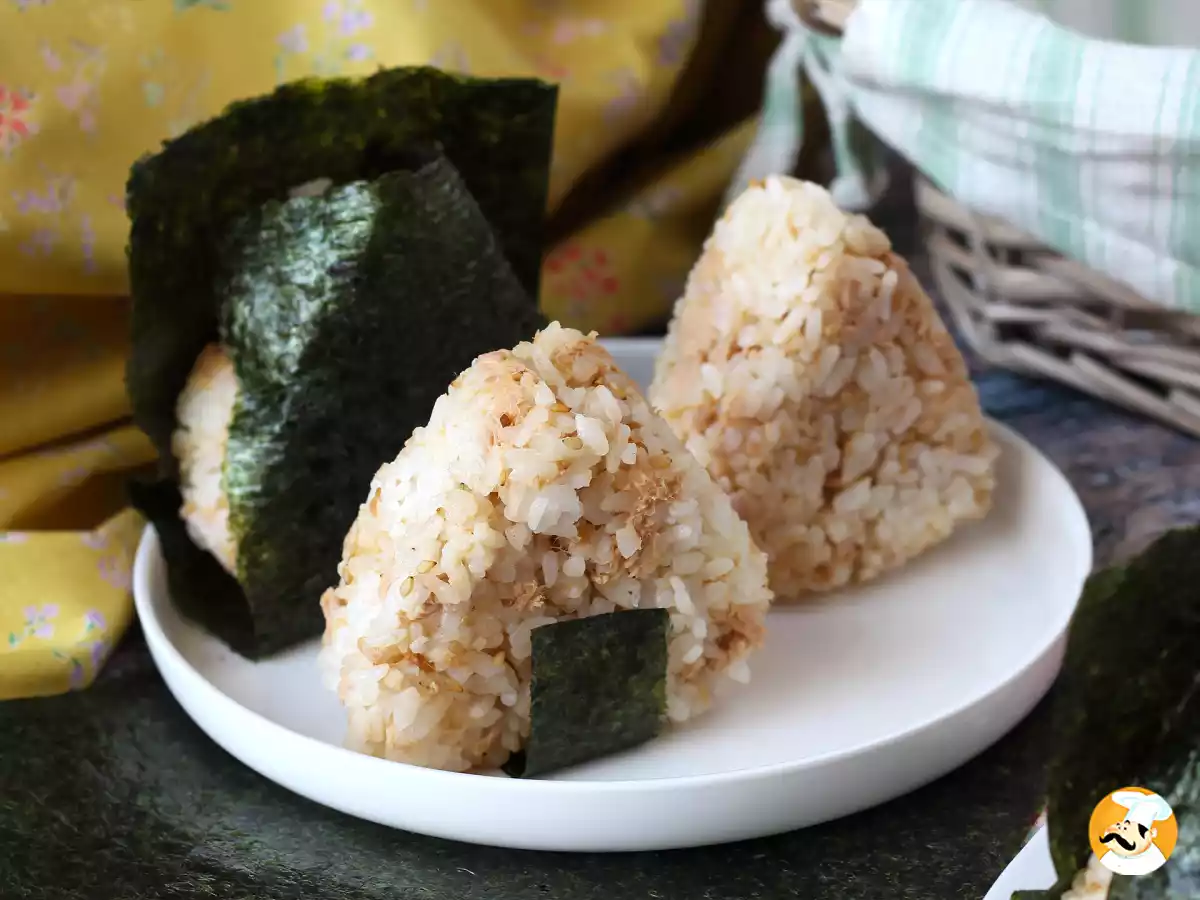
Have you ever heard of onigiri, those little Japanese rice sandwiches? You'll find them in Konbini, those iconic convenience stores on every street corner in the country. Eaten on the go, they're very practical and easy to take anywhere. If you've ever been to Japan, you're bound to have tried this snack! And if you've been to South Korea, you'll have found them under the name of Samgak kimbap.
Filled with fish, shellfish and even pickled plum, they are often sold wrapped in a sheet of nori seaweed.
How to prepare an onigiri?
Onigiri can be prepared either by filling a rice ball, or by mixing the filling before forming the famous triangular shape.
Next, you can cut a strip of nori seaweed and coat the base of your triangle sandwich. But using this method, your seaweed will soften on contact with the rice.
To avoid this problem and obtain a crunchy coating, follow the steps below↓↓
Materials required:
First of all, you'll need:
- Onigiri mold (if you have one) or a fresh homemade onigiri
- Aluminum foil
- Scotch tape
- Scissors
Step 1: prepare the seaweed
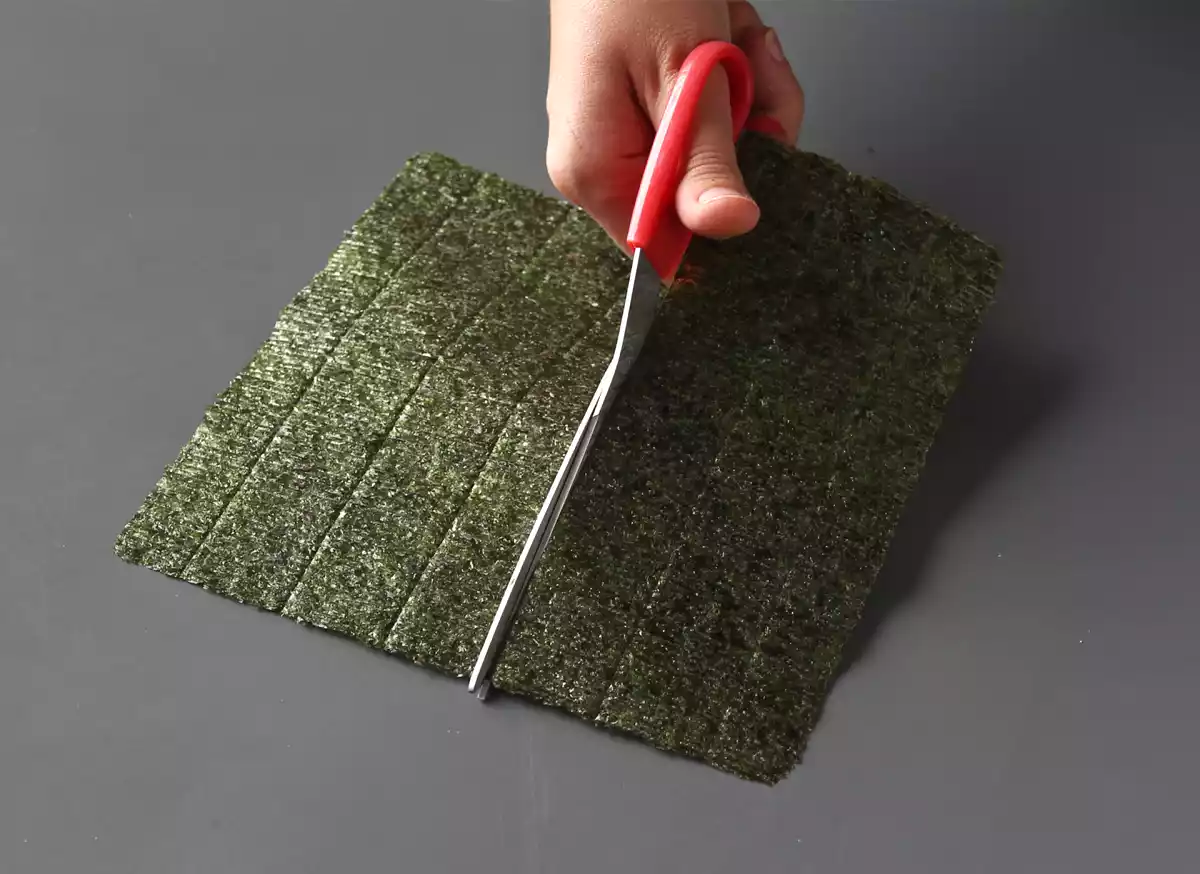
Cut a strip of seaweed the width of your onigiri. You can also cut the length slightly. You should be able to wrap your sandwich with it.
Step 2: prepare the aluminium foil
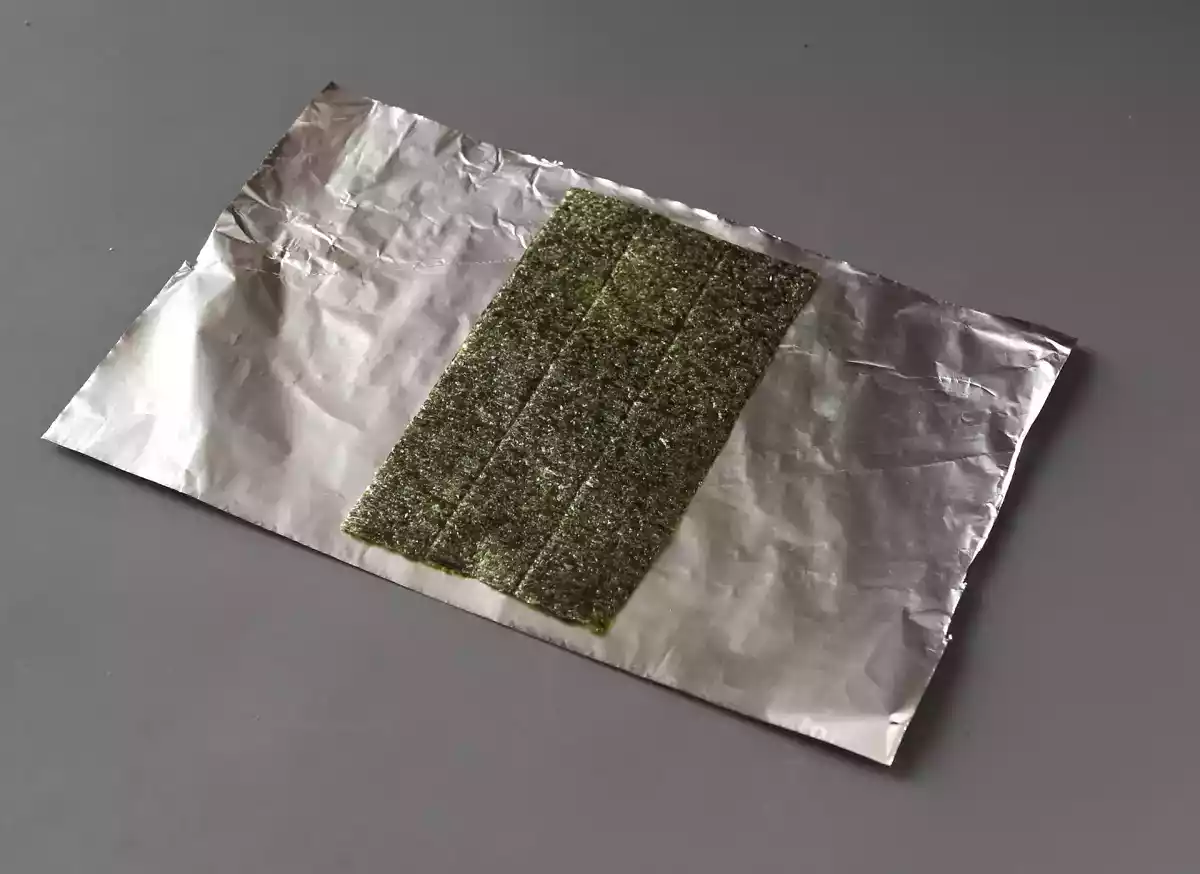
Cut a strip of aluminum foil a little more than twice the width of the seaweed (and therefore also the width of the onigiri) and the same length as the seaweed.
Step 3: assemble seaweed and aluminium foil
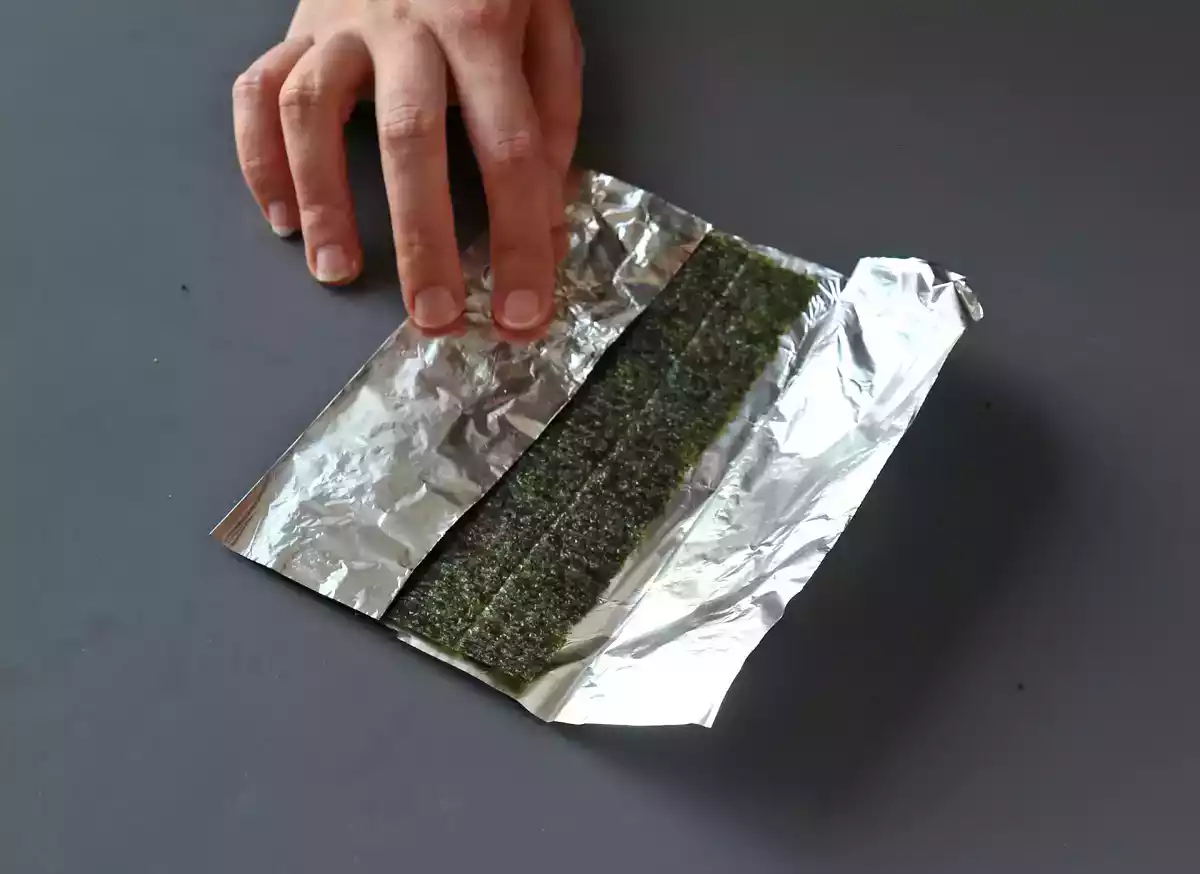
Place the seaweed in the center of the aluminum foil and fold the sides over it.
Step 4: add tape
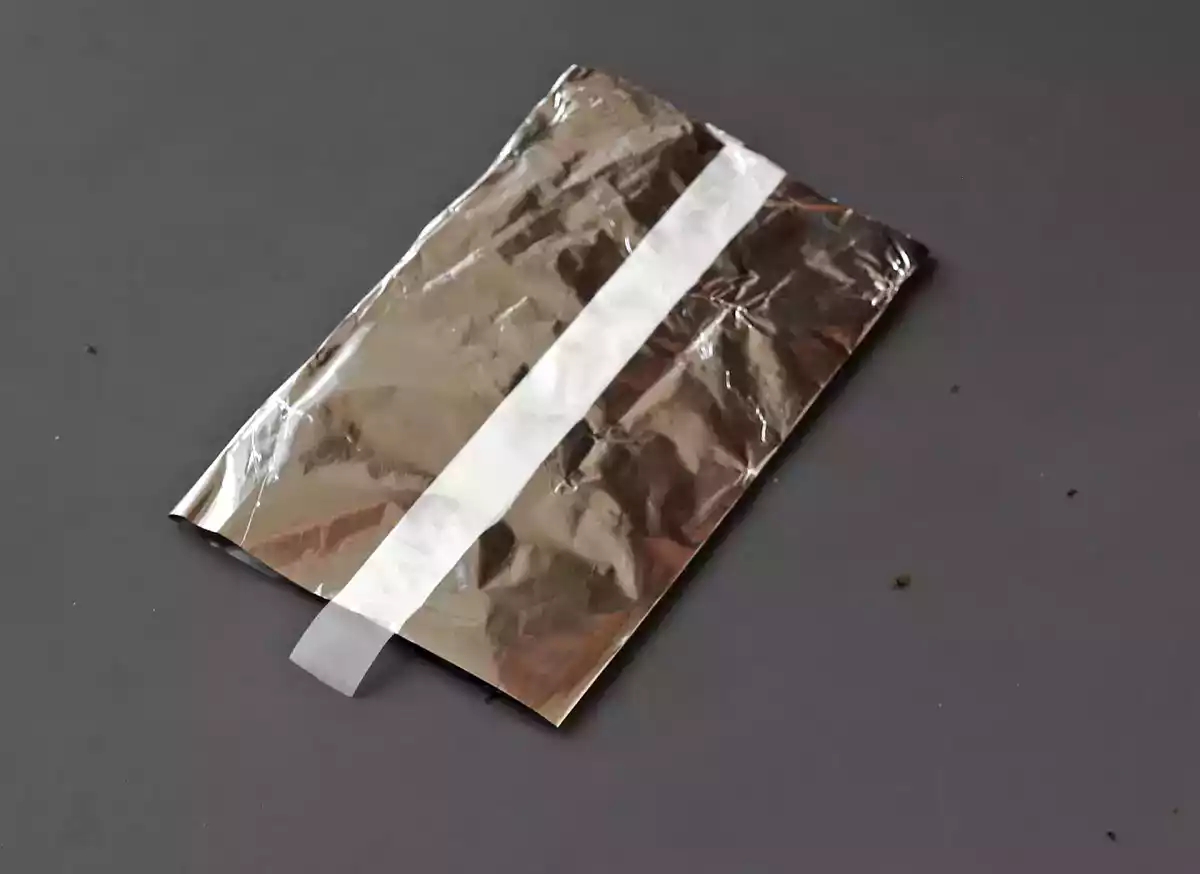
Turn the foil over and place a strip of tape down the center, running the entire length. Leave the tape hanging over the top of the foil, but not the bottom.
Step 5: place onigiri in packaging
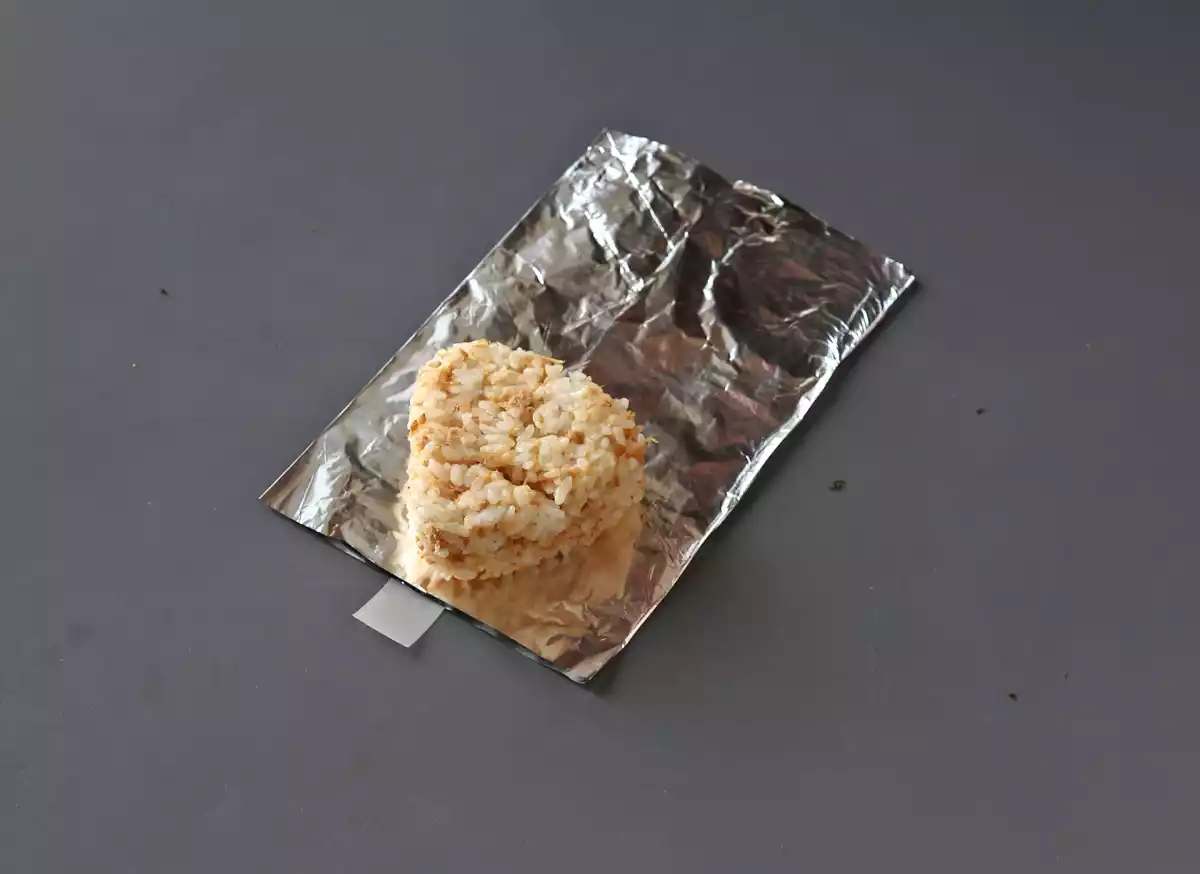
Turn the foil over again and place the onigiri on top, with the tip of the triangle flush with the edge of the foil.
Step 6: packing the onigiri
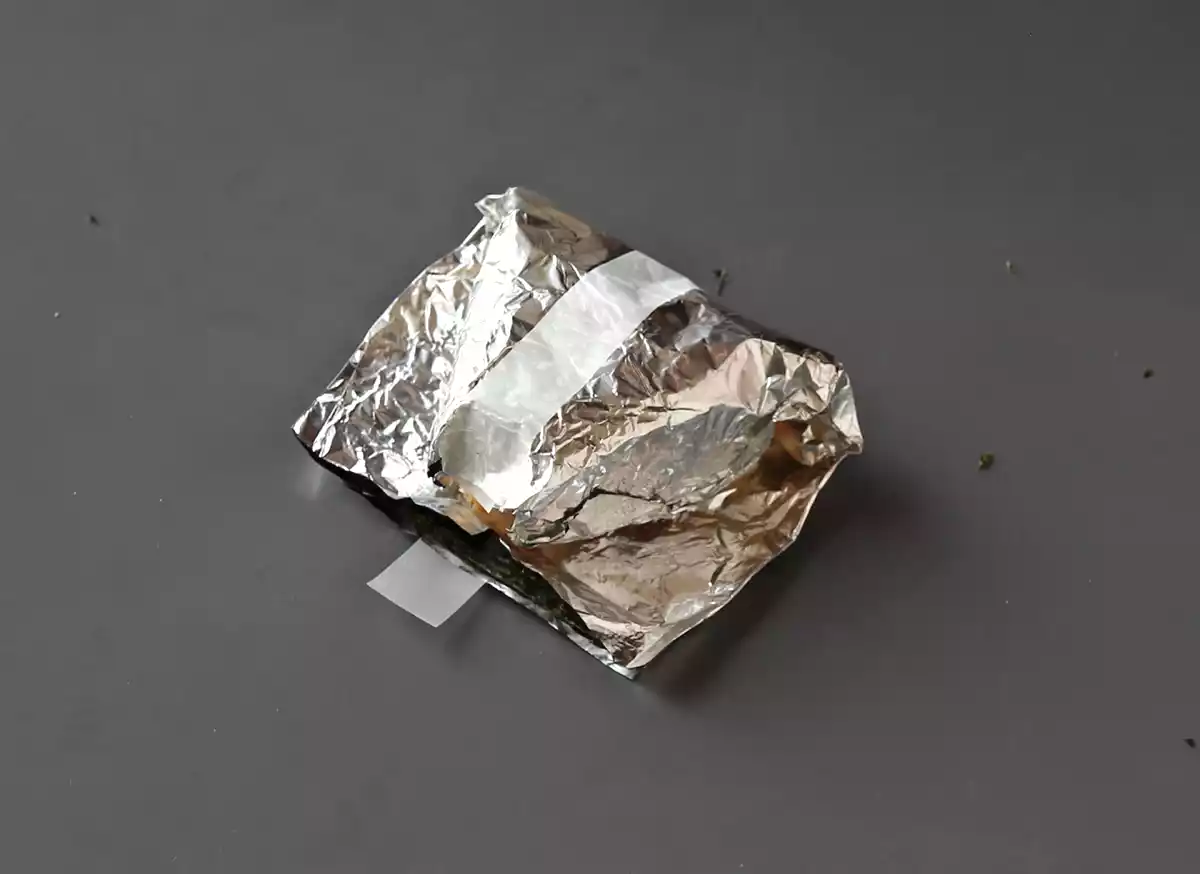
Fold the bottom half over the onigiri and pinch the corners to enclose the sandwich.
Step 7: reseal the packaging
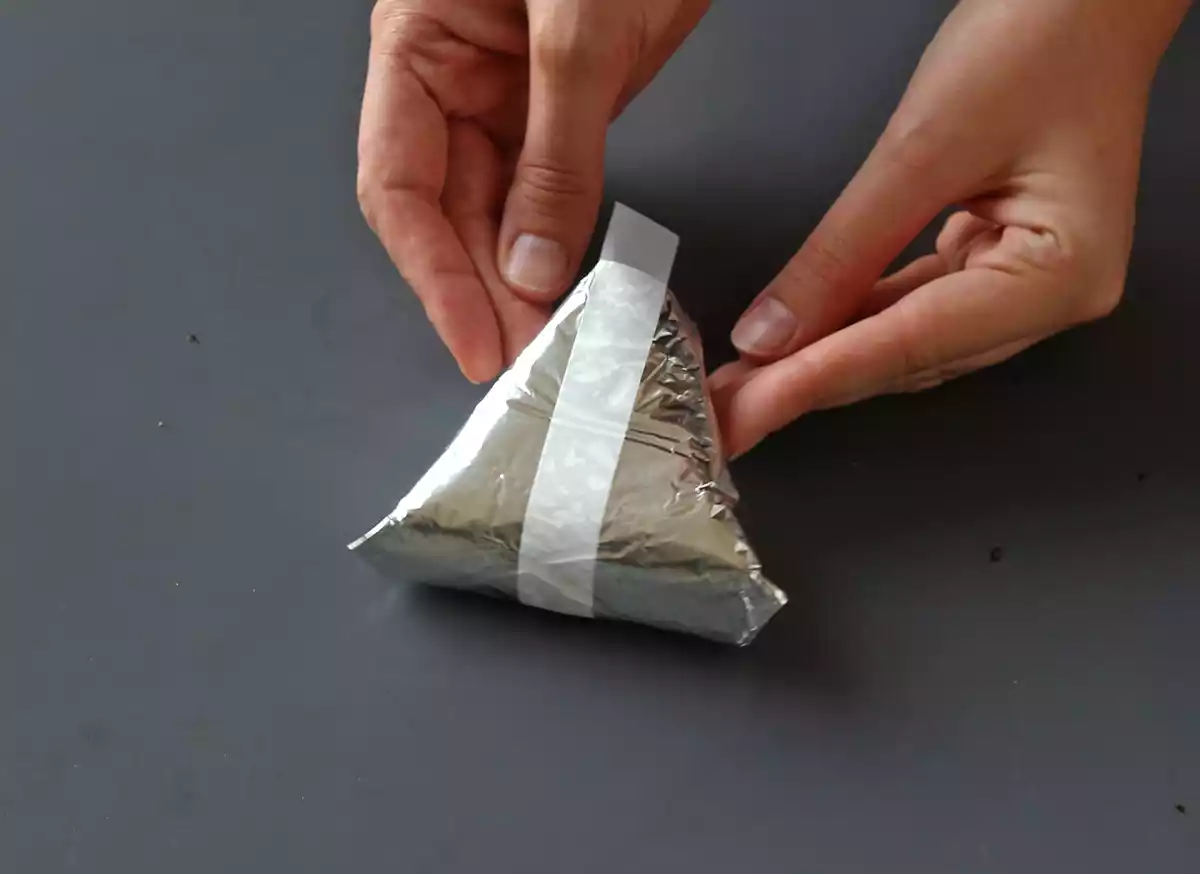
Then fold over the corners of the wrapping that remained on top of the onigiri, and tape over the front to seal the wrapping.
Step 8: open the onigiri for tasting
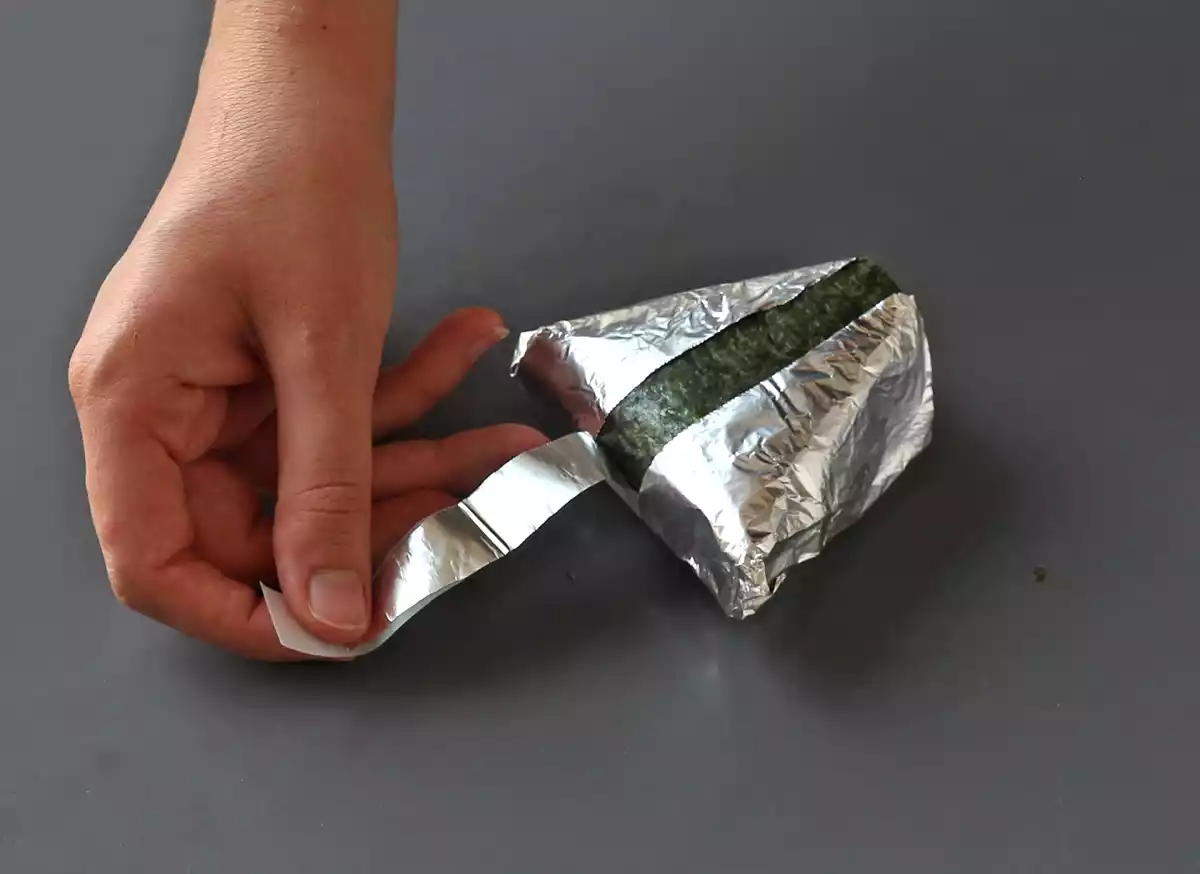
To open your onigiri, you'll need to pull the scotch tape gently until you've cut the wrapper in half.
Step 9: release the algae
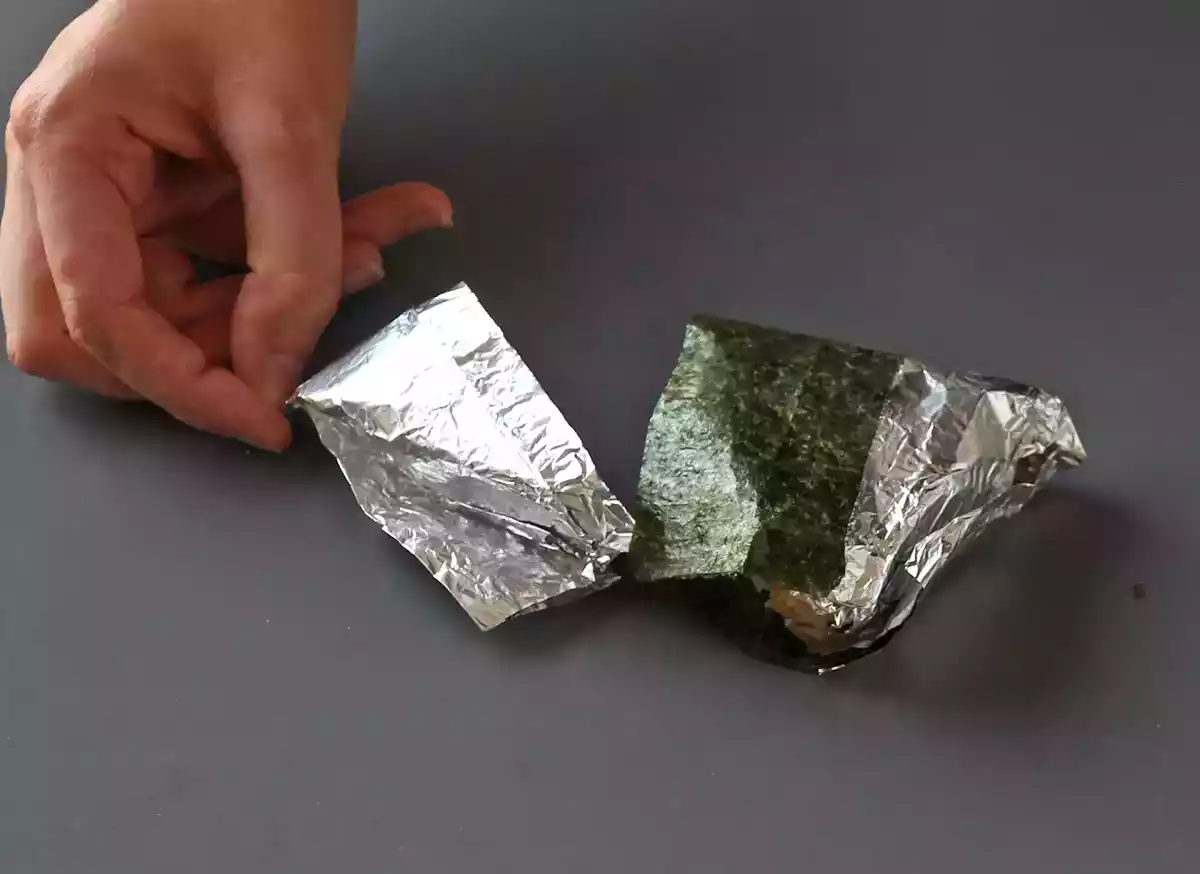
Gently pull on the right-hand corner of the aluminum foil at the base of the sandwich to release the right-hand part of the seaweed, then release the left-hand part by doing the same on the other side.
Step 10: tasting
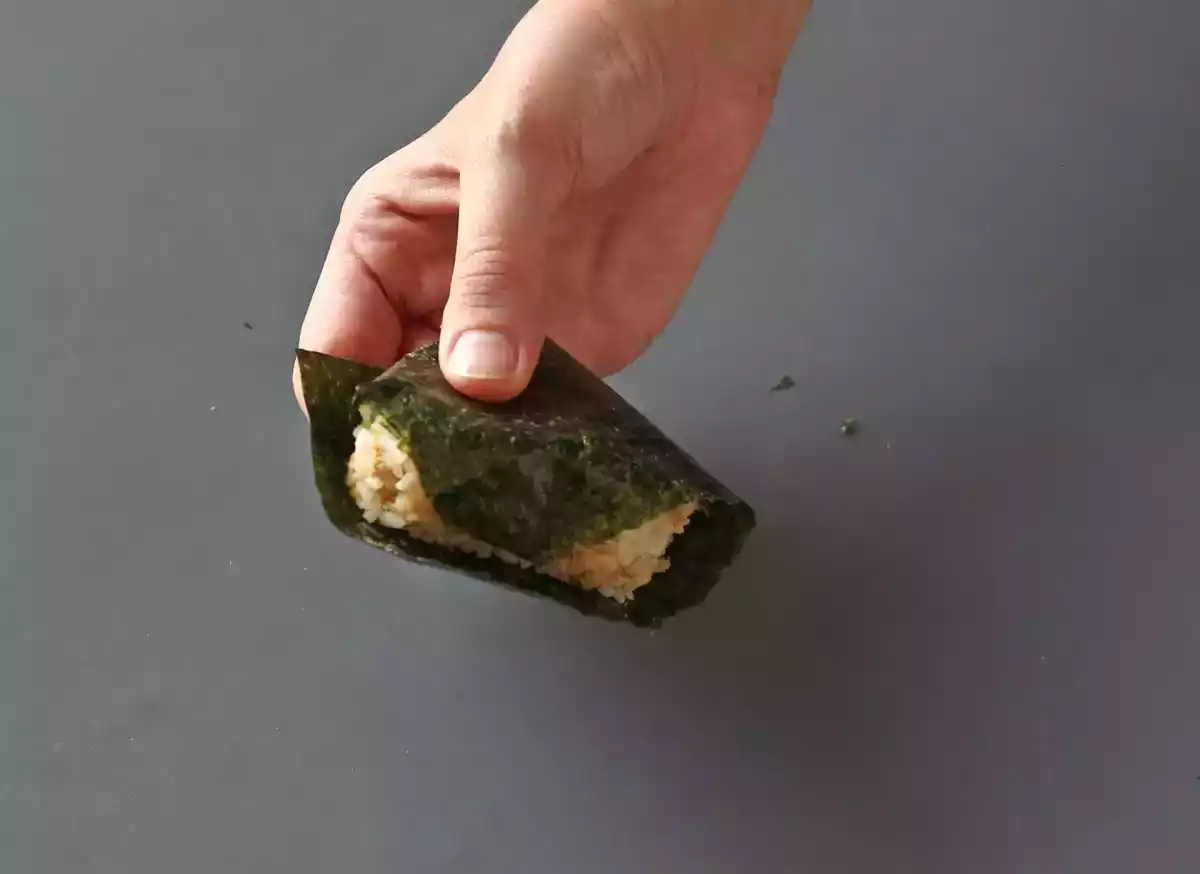
Fold the corners of the seaweed around the sandwich and enjoy! And voilà, a crunchy, melt-in-your-mouth onigiri just like at Konbini!
And to better understand...
See all the steps detailed above in video!
 Juliette Hess
I love traveling and discovering new dishes, trying out new culinary trends, and exploring new restaurants.
I’m a pasta fan in all its forms ❤ from udon noodles to tagliatelle, I love cooking it and even making it homemade!
Right now, I’m preparing, filming, and photographing your next recipe, and I hope you’ll love it!
Comments