One simple trick turns a homemade slushie made without a machine into a professional-looking drink
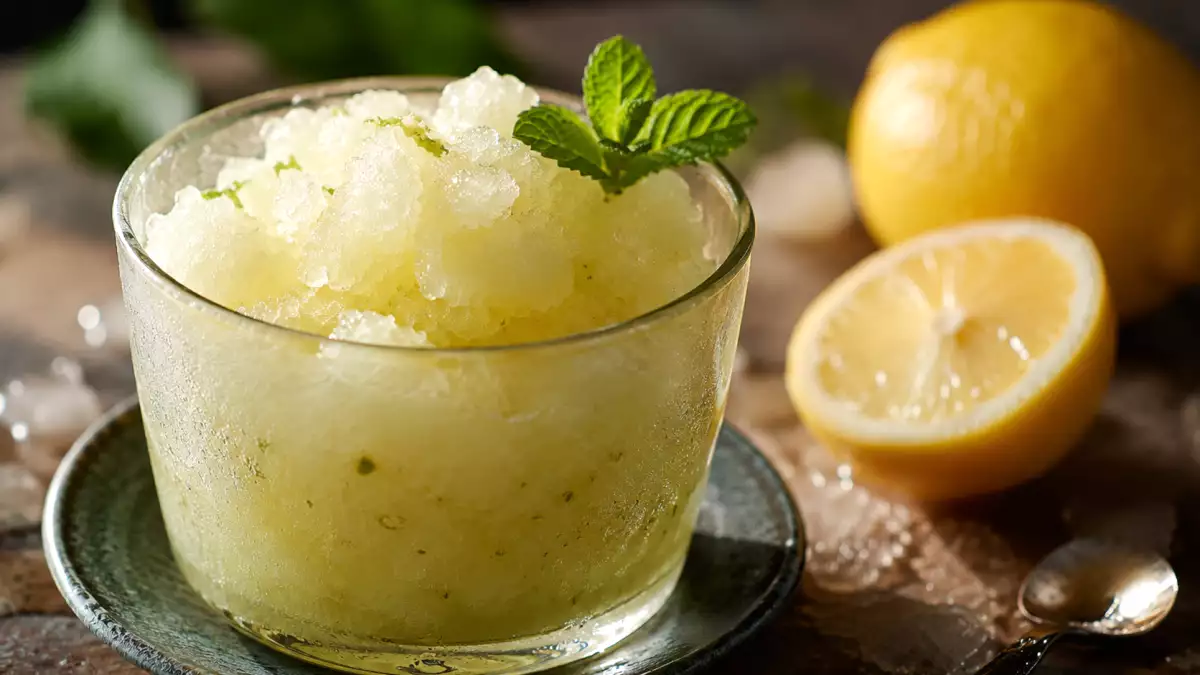
Few things are as appealing in the summer as a good slushie. Cool, light, and full of flavor, it seems like the simplest thing to make: prepare a drink, put it in the freezer, and wait. However, anyone who’s ever tried making one at home knows that the result isn’t always what you expect. Instead of fine, fluffy slush, you often end up with a block of ice that’s barely breakable with a fork.
The funny thing is that chefs don’t usually rely on secret ingredients or sophisticated machines to prevent this. The real trick lies in understanding what happens inside the freezer as the water turns to ice.
And once you know that, making a slushie with a professional-quality texture becomes much easier.
The problem isn't freezing; it's how you freeze it
It may seem like a contradiction, but the goal of a good slushie isn't to freeze the liquid as much as possible.
What we’re aiming for is to form lots of tiny ice crystals, not just a few large ones.
The difference may seem insignificant, but it’s huge when it comes time to bring the spoon to your mouth. The small crystals break apart easily and create that light, snowy texture we associate with café slushies. In contrast, the large crystals end up sticking together to form a compact, hard slab.
In other words, the secret lies in preventing those crystals from having time to grow.
The first tip: use a wide container
If you watch how many chefs work, you'll see that they rarely use a deep bowl to make a slushie.
They prefer a metal tray or a wide dish where the liquid is spread out in a thin layer.
The reason is very simple: the larger the surface area in contact with the cold of the freezer, the more uniform the freezing process is, and the easier it is to intervene during the process.
In addition, metal trays conduct cold better than glass or ceramic ones, slightly speeding up the formation of the first ice crystals.
The second tip: Don't wait for it to finish freezing
This is probably the tip that makes the biggest difference between an ordinary homemade slushie and an excellent one.
Instead of leaving the mixture in the freezer for several hours, chefs periodically take it out and scrape it with a fork.
Usually, doing this every 30 to 40 minutes is enough.
Why does this work?
Because every time we break up the ice crystals that start to form, we prevent them from growing any further. Instead of turning into a large block of ice, thousands of tiny, separate crystals form.
It’s exactly the same principle that slush machines use: stirring continuously while the mixture freezes.
Sugar isn't just for sweetening
Many people reduce the amount of sugar, thinking that this will make their slushie “icier.” However, the opposite is true.
Sugar slightly lowers the freezing point of water. As a result, a small amount of liquid always remains between the ice crystals, which prevents them from compacting into a solid block.
If we remove too much sugar, the mixture ends up freezing almost completely, and the result is usually a hard mass that’s difficult to scrape.
That doesn’t mean we should make a slushie that’s overly sweet. It’s simply best to stick to the proportions of a balanced recipe.
What about alcohol?
Some cooks add a tablespoon of vodka, white rum, or limoncello.
They don't do this just for the flavor.
Alcohol also lowers the freezing point and can help achieve a slightly looser texture.
That said, the amount should be minimal. If you use too much, the liquid will never freeze properly because it will remain too runny, even inside the freezer.
Let the mixture cool before freezing it
It's a detail that many recipes overlook.
If you’ve just made juice or coffee to make a slushie, it’s best to let it chill in the fridge first until it’s completely cold.
This will speed up the process of ice crystals forming, resulting in a more uniform texture.
It may seem like a minor detail, but it’s one of those small steps that help improve the final result.
Blender or fork?
Once the slush has turned into a solid block, it's tempting to put it in the blender.
It works... but it completely changes the texture.
The blender breaks up the ice crystals very thoroughly, resulting in a much smoother mixture, similar to a smoothie or sorbet.
If you’re going for that crystalline, snow-like appearance so characteristic of slushies, it’s better to keep using a fork to break up the ice crystals.
A tip that's almost never mentioned
There's another tip that many professionals use but that rarely appears in recipes.
Once the slush is ready, you shouldn’t leave it untouched in the freezer for hours.
Even if it already has the right texture, the ice crystals continue to slowly change. The smaller ones tend to clump together to form larger ones, a phenomenon known in food science as recrystallization.
That’s why, if you prepare the slush in advance, it’s worth gently stirring it with a fork right before serving. Just a few seconds are enough to restore much of that light texture.
So, do we need a machine?
No.
Slush machines simply automate two processes: they maintain the mixture at a very specific temperature and stir it continuously to prevent ice crystals from forming.
At home, we can achieve a surprisingly similar result with much simpler tools: a large tray, a fork, and a little patience.
The key isn’t having a professional machine, but understanding that a good slush isn’t just about freezing a drink. It’s about controlling how the ice crystals form.
And that small difference is what transforms a block of ice into one of summer’s most refreshing desserts.
Easy slushie ideas to make at home
Once you know the trick for controlling ice crystals, you can apply it to many different drinks. The most classic is the lemon slushie, made with water, freshly squeezed lemon juice, and sugar. A coffee slushie is also delicious: just use brewed coffee that’s been completely chilled, with a little sugar. If you prefer fruit, watermelon is one of the best options because it’s high in water content and only needs a few drops of lime to enhance its flavor. Melon, strawberries, peaches, and oranges also work very well: just be sure to blend the fruit and strain it if you want a smoother texture.
You can even use drinks you already have at home. Homemade lemonade, an ice-cold tea infusion, horchata, or fresh-squeezed orange juice can all be turned into a slushie by simply following the same process: first chill the mixture, freeze it in a large tray, and scrape it with a fork about every half hour.
 Patricia González
Comments