Edible Decorative Bread dough (inert dough for flowers on bread)

Now that we've had the decorative bread class in Utah that was absolutely heavenly, I thought it was fair to share some of the magic. Actually we had two three hour classes back to back. It was a bread marathon during which I came to adore the gals who spent the day with me. I loved meeting them and sharing our mutual passion for bread creating. At this class where the students where given out the recipe for the rye inert dough 18 strand decorative bread tutorial


we discussed how I make my edible embellishments for bread. First of all, I use whole grain rye. When the grain is milled fine, it looks like regular rye flour. The recipe uses rye because of the relatively low gluten content of the rye flour. This is ideal for a sculpting dough, as you don't want a lot of gluten development. I also very much adore the use of oat groats or barley instead of the rye.The dough can be colored using food color, or folding in some coffee granules.
Oat or Barley Decorative dough Recipe
1 cup oat flour
1 cup all purpose flour
2 tsp salt
1/4 cup sugar
1/2 cup plus 2T water (or colored water if you want the dough to have a tint)
Combine all ingredients and knead until a pliable dough is formed.
Lightly flour a table top. Keep dough that is not being worked in a covered container.

You can use Wilton Gum Paste cutting tools for ornate decorative bread dough as well as for gum paste. I will be using them in my tutorial.

Roll a ball of dough to 1/16th of an inch thickness, keeping the surface of the table lightly floured.

For roses, cut out several small circles. Be sure to cut all the way through the dough.


Stack the disks of dough like so...

Begin curling the dough towards the inside of the circle, being sure to catch the bottom overlapping disks of dough as you roll. This will start to form the roses.


Continue to roll, lightly pinching the center of the roll.

Each side of the roll will look like this:

With your finger or a pencil, lightly dent the middle of the roll.

Pinch the dough in the center until the two roses separate.


Gently roll down the outer petals of the rose.

Place on a metal cooling rack to dry for a bit.

Roll out more dough for leaves. Cut leaves. I also make knife marks at the veins of the leaves and pinch the leaf a little for added realistic depth.


This flower is made using the three pronged flower tool.

For daisies, use the Daisie cutters, and stack the dough. For decorative dough, use a pencil or a sharp tool to seal the petals together.


Transfer to the cooling rack, pocking the flower a little into the mesh to create depth in the flower.

Put a small ball of dough in the center of each flower to finish it. Mist lightly with water, this will seal the flowers together.

Braid the decorative loaf or make a crown loaf out of the 5 day bread dough or Bare Bones bread dough recipe (1 lb of dough).

Transfer braid to a baking pan or stone. Allow to raise uncovered 40-45 minutes. Do not over proof.

Heavily mist the loaf with water. Preheat oven to 350 degrees.

Arrange the flowers and leaves on the loaf. Mist the flowers with water. This will help seal the flowers to the loaf.

Bake 350 degrees 45-50 minutes.

 I think it should be at a wedding. I used the technique for the painted breads I've given tutorials on in the past. Here's how it looked before it was painted...
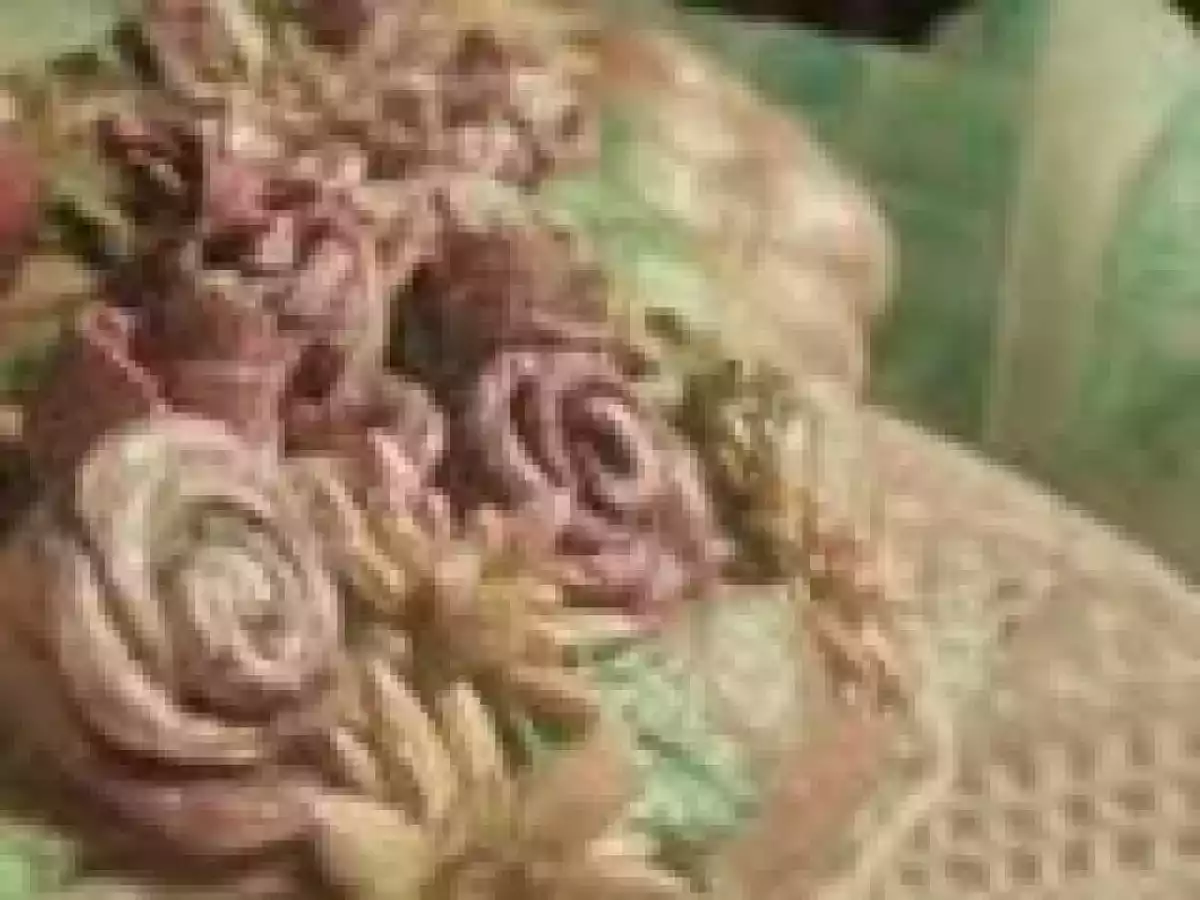
 This is after using some of the pearl glaze and pink tones. What do you think a gal should charge for a loaf like that?
I'm pretty sure I'm in love.
Don't forget to join in on our Upcoming Giveaway! A 5 quart Paula Deen Cast Iron covered casserole. It's almost as stunning as this bread.
There you go!
Comments
anonymous
Awsome
anonymous
Gorgeous