Make a week's worth of sandwiches ahead and freeze them without the bread turning damp or soggy
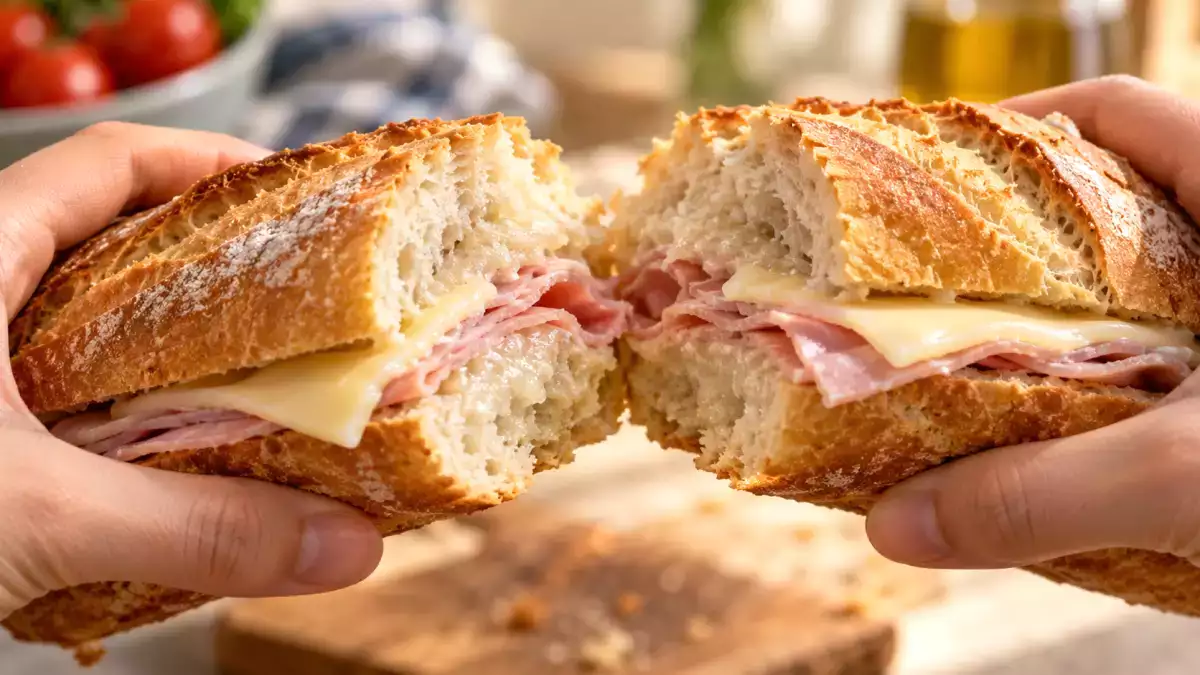
Making sandwiches for the whole week on Sunday seems like a great idea until, when you defrost the first one, the bread is damp, soggy, or squashed, and the filling has lost much of its appeal. The problem isn’t usually with freezing the sandwich itself, but rather with the type of bread you choose, what you put inside, and how you assemble it. With a few simple adjustments, you can have several sandwiches ready in the freezer that will still be appetizing days later.
Bread: better firm than too soft
For freezing, breads with some body work best: baguettes, rolls with a thin crust but a firm crumb, firm molletes, or dense sandwich loaves. Very soft, sweet, or airy breads tend to absorb moisture from the filling more easily and may lose their shape when wrapped.
Timing is also important. If the bread is homemade or fresh out of the oven, it must be completely cool before filling. If you assemble it while it’s still warm, steam will get trapped in the wrapper and end up making the crumb soggy.
To make the bases at home, you can use this recipe.
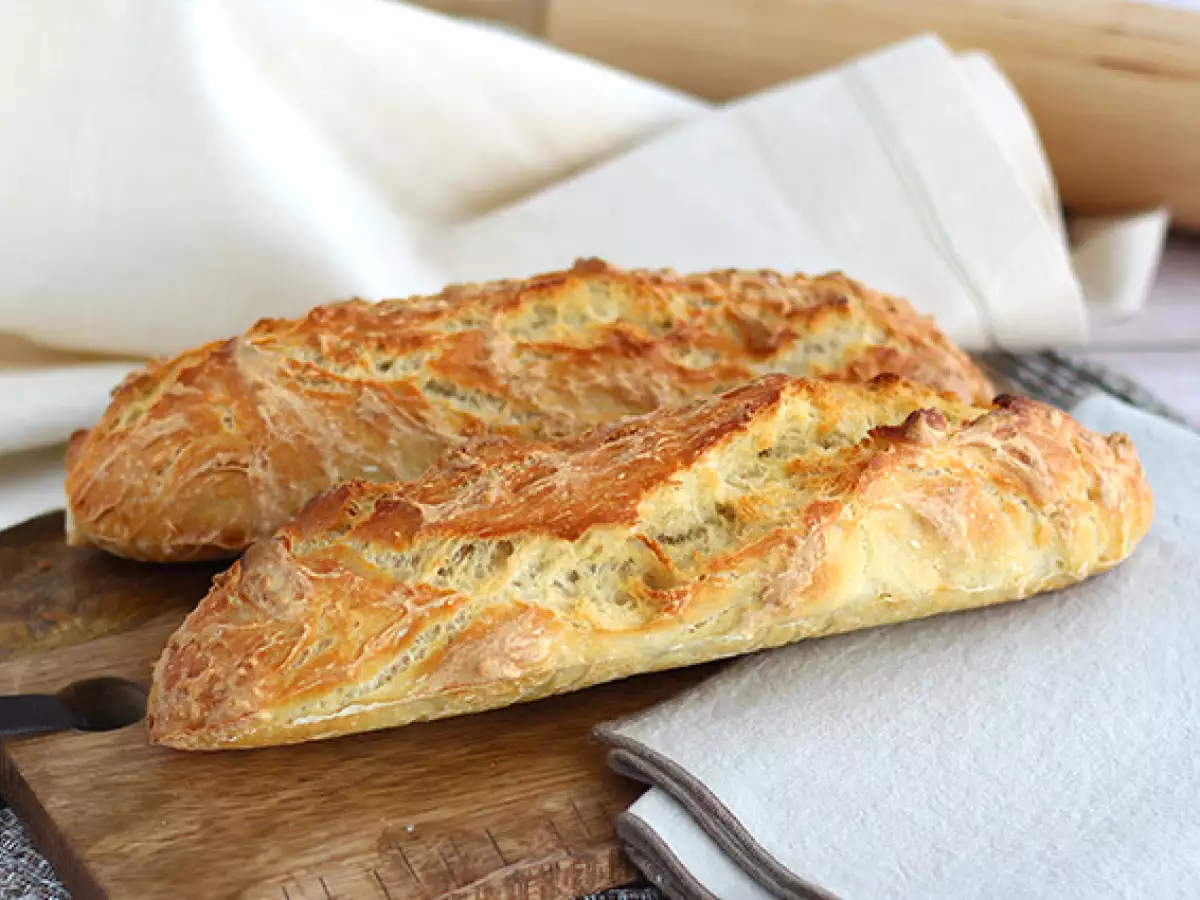
Craving a delicious baguette? Skip the trip to the bakery and make it at home! With this quick and easy recipe, making your own bread will be a breeze! You won't be able to resist the crisp crust and soft crumb of this baguette :-) Don't forget to save...
The golden rule: control humidity
Fresh sliced tomatoes, lettuce, cucumbers, ripe avocados, very moist tortillas, or creamy salad dressings aren't the best choices for spending several days in the freezer. Some lose their texture and release water when thawed; others also require extra care to stay cold if the sandwich is going to be transported for several hours.
Whenever possible, it’s best to add them on the day of consumption or replace them with more stable options, such as sun-dried tomatoes, well-drained roasted peppers, aged cheese, cooked ham, turkey, cooked and cooled chicken, or well-drained tuna.
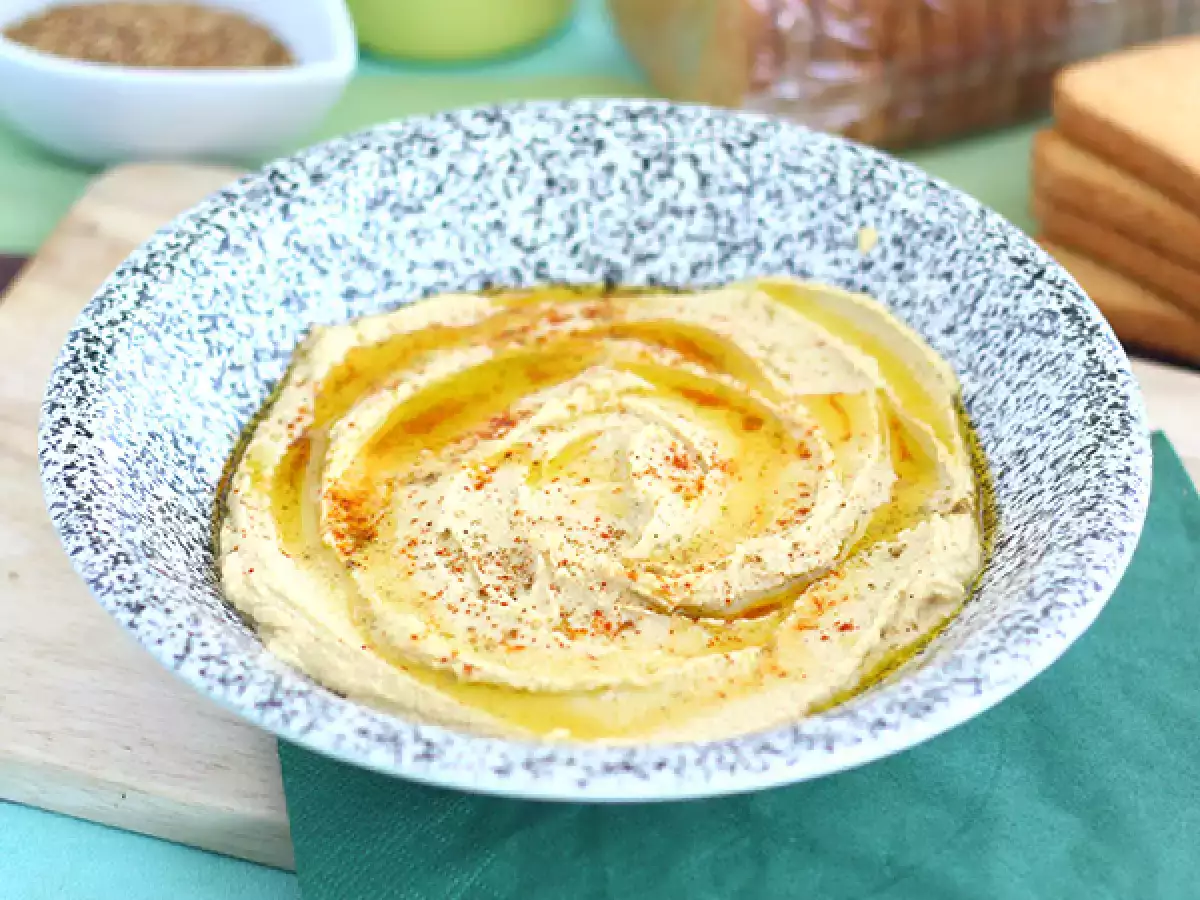
Chickpeas are on the menu today! Enjoy this recipe as a starter or an appetizer, served with pita bread, toast, or crudités ;-)
Five-Day Kit: Small, Flat, and Labeled
When freezing them, it’s best not to make the sandwiches too large or overload them. Medium-sized sandwiches freeze and thaw more evenly.
The filling should be cold, spread evenly, and not have too much sauce. If you’re using chicken, for example, it’s best to cook it, let it cool, and slice it thinly before assembling the sandwich:

Fancy a tender, juicy chicken breast in no time? Pan-frying is the ideal way to get meat that's golden on the outside and soft on the inside. Fast, simple and tasty, it's the perfect solution for a quick, healthy and delicious meal . Whether...
Wrap each sandwich individually. First, use parchment paper or food-safe plastic wrap, fitting it snugly but without crushing the sandwich; then place it in a freezer bag or an airtight container. Squeeze out as much air as possible, label with the date and contents, and arrange the sandwiches in a single layer until they are completely frozen. Once they are completely frozen, they can be stacked.
Thaw without ruining the crumb
The easiest way is to move the sandwich from the freezer to the refrigerator the night before. If you’re taking it to school or work and it contains perishable ingredients, it should be kept cold during transport, preferably in a cooler bag with ice packs.
If it contains meat, fish, eggs, cheese, or other ingredients that require refrigeration, you shouldn’t leave the sandwich at room temperature for several hours.
To restore some of its texture, remove the wrapper and, if the filling allows it, heat the sandwich for a few minutes in a skillet, in the oven, or in an air fryer. If you can easily separate the two halves, you can also lightly toast the bread. There’s no need to toast it too much—just enough to remove some of the surface moisture and restore a bit of firmness to the crust.
If it contains leafy greens, fresh tomato, or a delicate sauce, add them after thawing.
Combinations That Usually Work
 Patricia González
Comments