This is the simple trick for cleaning shrimp that will change your life forever

Cleaning prawns may seem like a boring task, but it's very simple once you learn the right technique. Knowing how to peel and remove the intestines (remove the black thread) is essential for leaving the dish beautiful, clean and fresh-tasting. Here's the easy step-by-step guide to doing it without a mess.
The truth is that prawns are an incredible ingredient: they go well with pasta, risottos, salads, grilled meats and even quick snacks. But to enjoy all the flavor and texture of this fruit of the sea, it's important to prepare each step well, starting with cleaning. Many people avoid buying fresh shrimp in the shell because they think it's a lot of work, but with a few simple tips, this task becomes practical and even pleasurable. In just a few minutes, you can have clean shrimp ready for any recipe and save money, as shrimp in the shell are usually cheaper than clean shrimp.
Step 1: Selection and initial preparation
Wash the prawns well under running water. If they are frozen, let them defrost naturally in the fridge for a few hours or in cold water for about 15 minutes.
Fresh prawns have a mild smell, a firm shell and a bright color.
Step 2: Remove the head and legs
Hold the shrimp firmly and twist the head slightly to loosen it.
Then pull the legs. This movement helps loosen the shell and makes cleaning easier.
Step 3: Peel the body easily
Use your fingers to remove the shell from the legs.
Leave the tail on if you want it to look nicer, especially if you're grilling it or serving it whole.
The secret is to do this when the shrimp are still a little damp, as the shell comes off much more easily.
Step 4: Remove the intestine (black thread)
Use a small knife or toothpick.
Make a light cut along the shrimp's back, just enough to expose the intestine (black thread).
Pull gently until it comes out in one piece.
If you want to make it easier, put the prawns in very cold water for a few seconds - this helps the intestine to come out without tearing the meat.
Step 5: Wash and dry
Once cleaned, rinse them quickly under running water and pat them dry with a paper towel.
This way, they won't release water into the pan and will be more golden and tasty.
Extra tip
To enhance the flavor, season the cleaned prawns with salt, lemon and garlic and leave to rest for 10 minutes before cooking.
If freezing, store in tightly closed jars, interspersed with cling film to prevent ice crystals.
Did you like the tips?
Cleaning prawns is simple when you follow the right order: head, legs, shell and intestine (black thread).
With a little practice, you can have everything ready in just a few minutes and prepare delicious recipes with fresh, perfect prawns.
Once you've learned the process, it's impossible not to notice the difference. The taste of fresh, well-cleaned shrimp is incomparable - softer, sweeter and with a firm texture. What's more, when you do the cleaning yourself, you can better control the quality of the ingredient and ensure that each piece is impeccable.
A good tip is to take advantage of the cleaning time to separate the prawns by size. The larger ones are perfect for grilling or breading, while the smaller ones are ideal for risottos, sauces and fillings. This way, you optimize use and avoid waste.
Another advantage is that the skin and head, which many people discard, can make a delicious broth. Simply sauté with a little olive oil, garlic and onion, add water and let it boil for a few minutes. This broth concentrates the flavor of the sea and can be used in soups, moquecas, paellas or even to cook risotto rice.
Taking good care of the details transforms the final result. Clean, well-prepared prawns are the basis of incredible dishes, whether simple or sophisticated. And with practice, what once seemed laborious becomes a quick and even pleasurable task - a small ritual that makes all the difference in the kitchen.
Want a recipe?
Now that you know how to clean prawns like a chef, how about putting the theory into practice and making this delicious recipe:
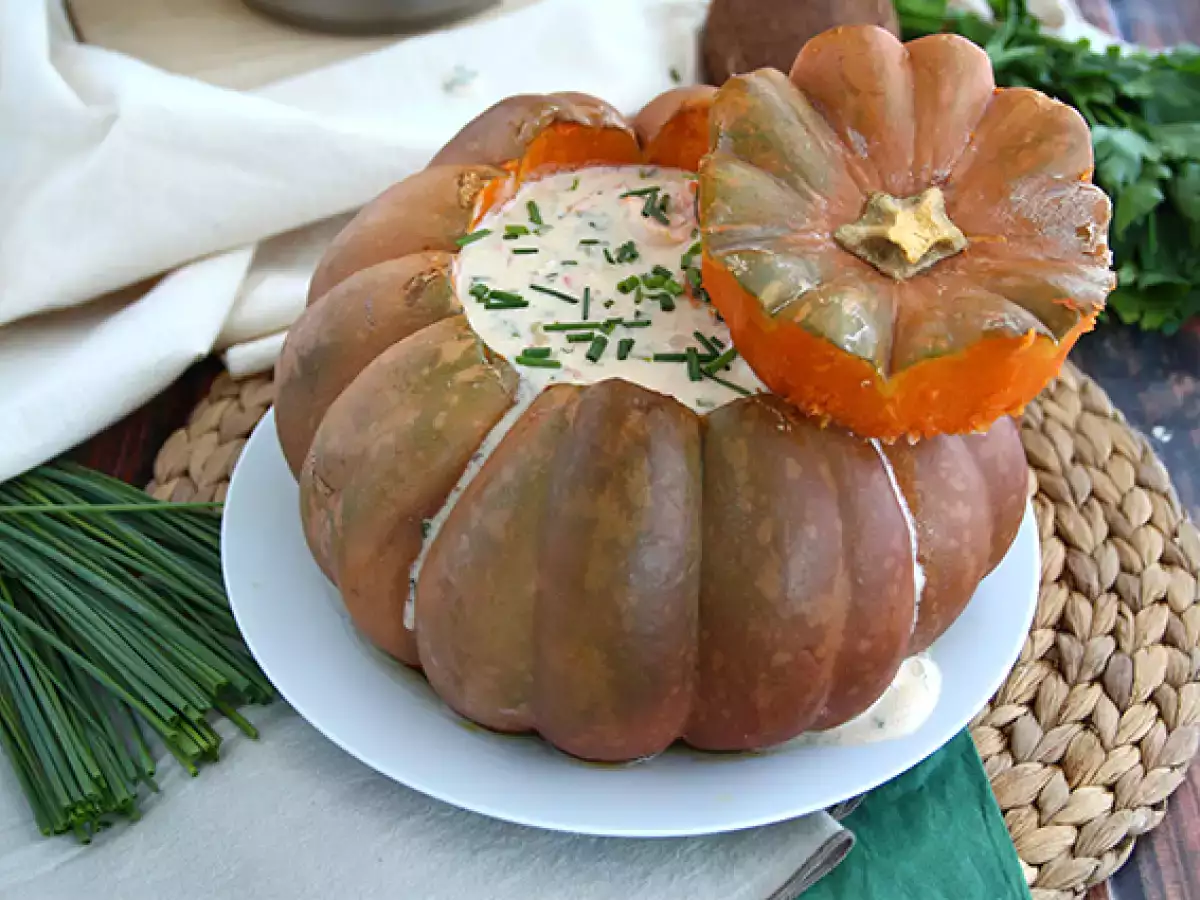
How about sharing a delicious dish with family today? As autumn begins, the cold weather makes us crave comfort food. To warm up our plates, we bring you this recipe from Brazil: Camarão na Moranga. A hollowed pumpkin filled with a shrimp marinade....
 Mirella Mendonça
Comments