Bunny cake
Transform regular brownies into a cute rabbit for Easter or any occasion. Follow our step-by-step guide to create these two cakes, assemble them, and decorate them. Just follow the steps outlined below and refer to our video recipe!
Ingredients
Brownies :
Decor :
Materials
- 18 cm round cake pan
- Piping bag
Preparation
 White chocolate ganache :
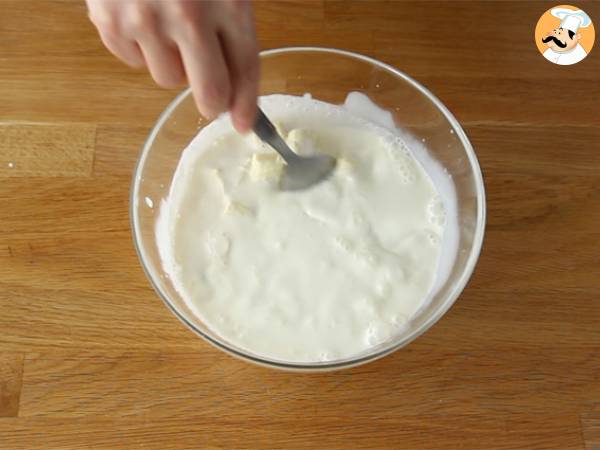
Heat the cream. In a bowl, put the white chocolate in pieces. Pour the hot cream over it and stir until the mixture is smooth.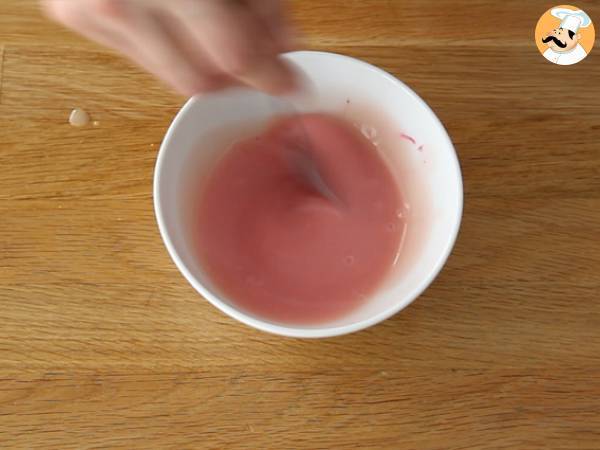 Take 2 tbsp of this ganache and color it pale pink (it will be used to draw the ears and nose). Place both ganaches in the fridge for at least 4 hours.
 Brownies batter :
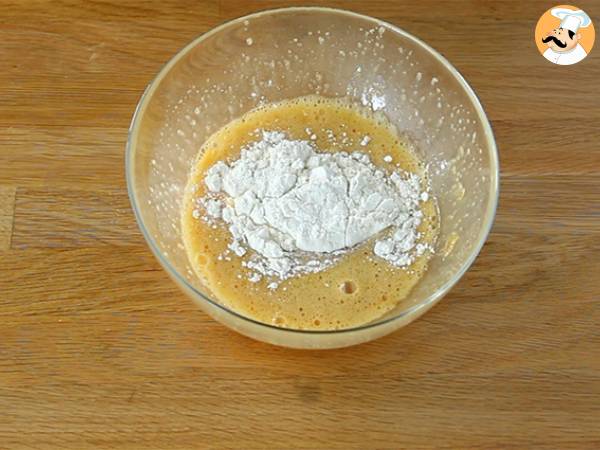
Combine the eggs with the brown sugar, then add the flour.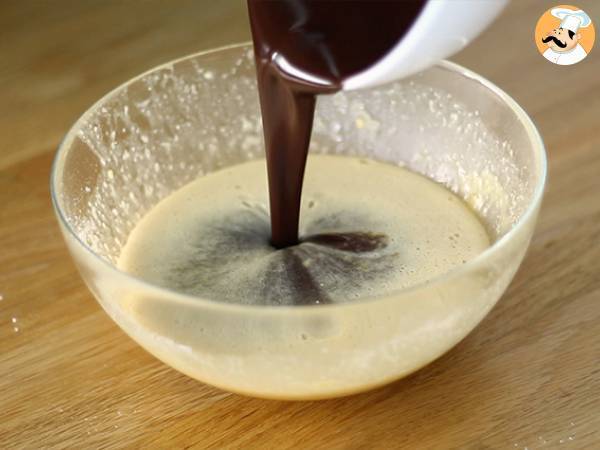 Melt the chocolate with the butter, and add it to the batter. Mix well. Split the batter in half.
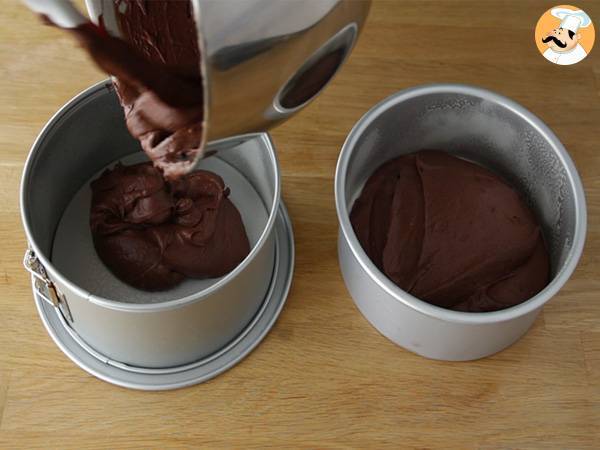 Pour the mixtures into 2 greased round molds of the same size (or one at a time if you only have one mold). Bake for 20 minutes at 350°F (180°C). Let cool.
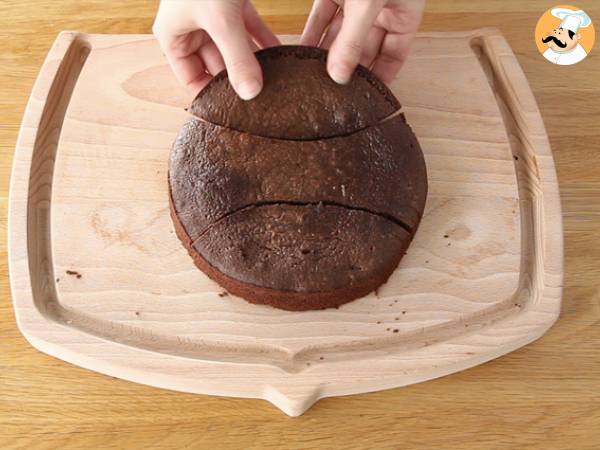 Place one of the brownies on a cutting board. Cut the other as shown in the picture (or in the video below) to form 2 ears and a bow tie.
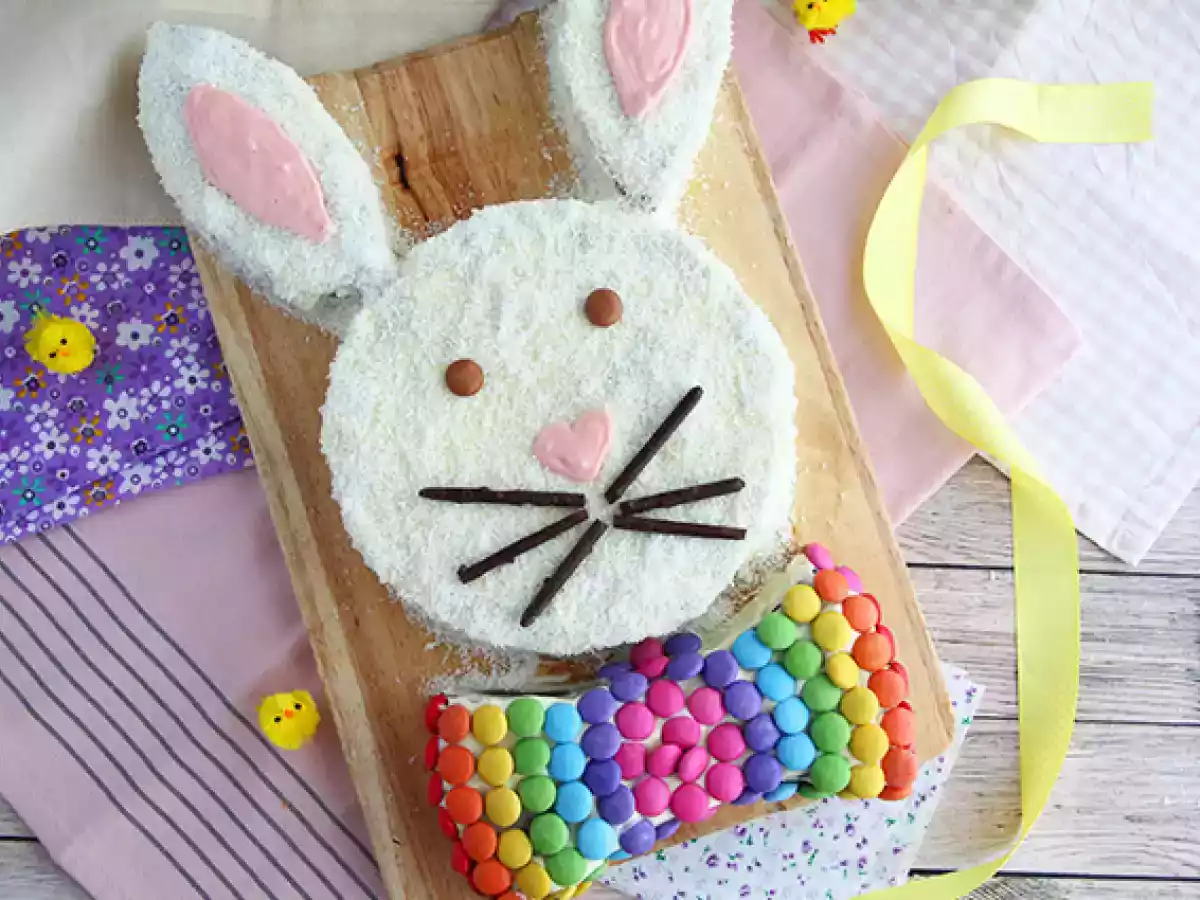
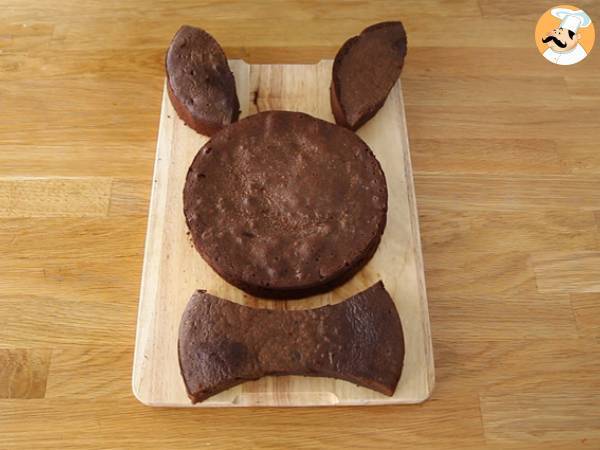 Arrange these pieces with the whole brownie on a serving tray to form your rabbit.
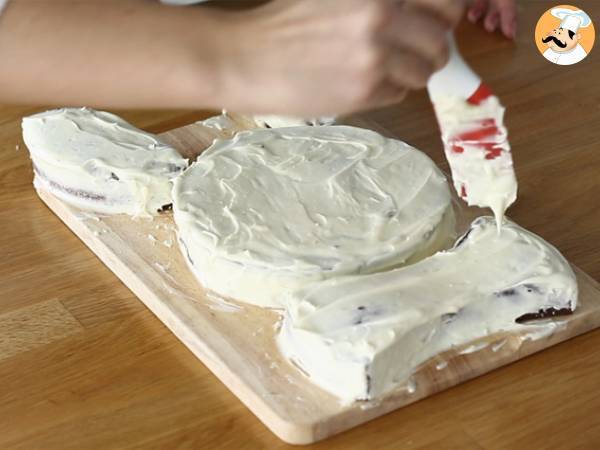 Spread some white chocolate ganache over the entire cake. It doesn't matter if it's not very smooth, as it will be covered later.
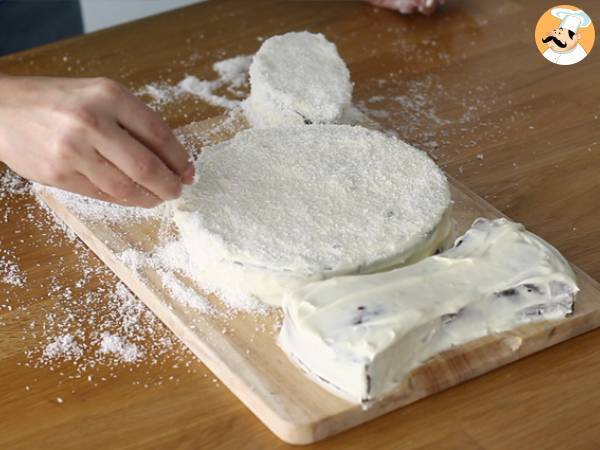 Sprinkle the head and ears of the rabbit with grated coconut to create the fur. Stick it on the edges; it will hold well thanks to the ganache.
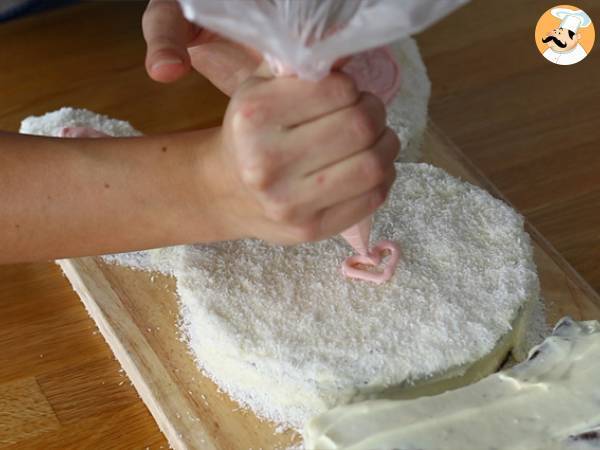 Using a piping bag, draw the inner ears and the nose with the pink ganache.
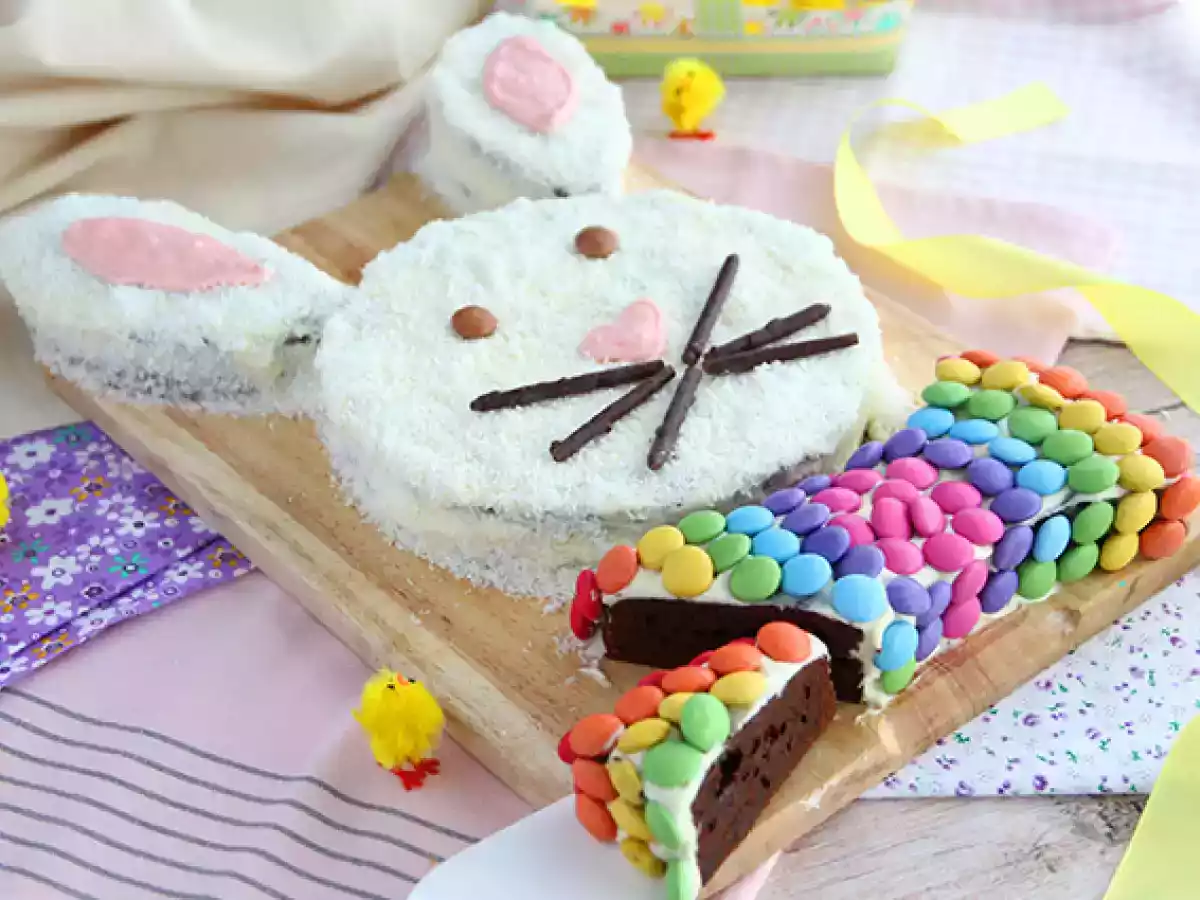
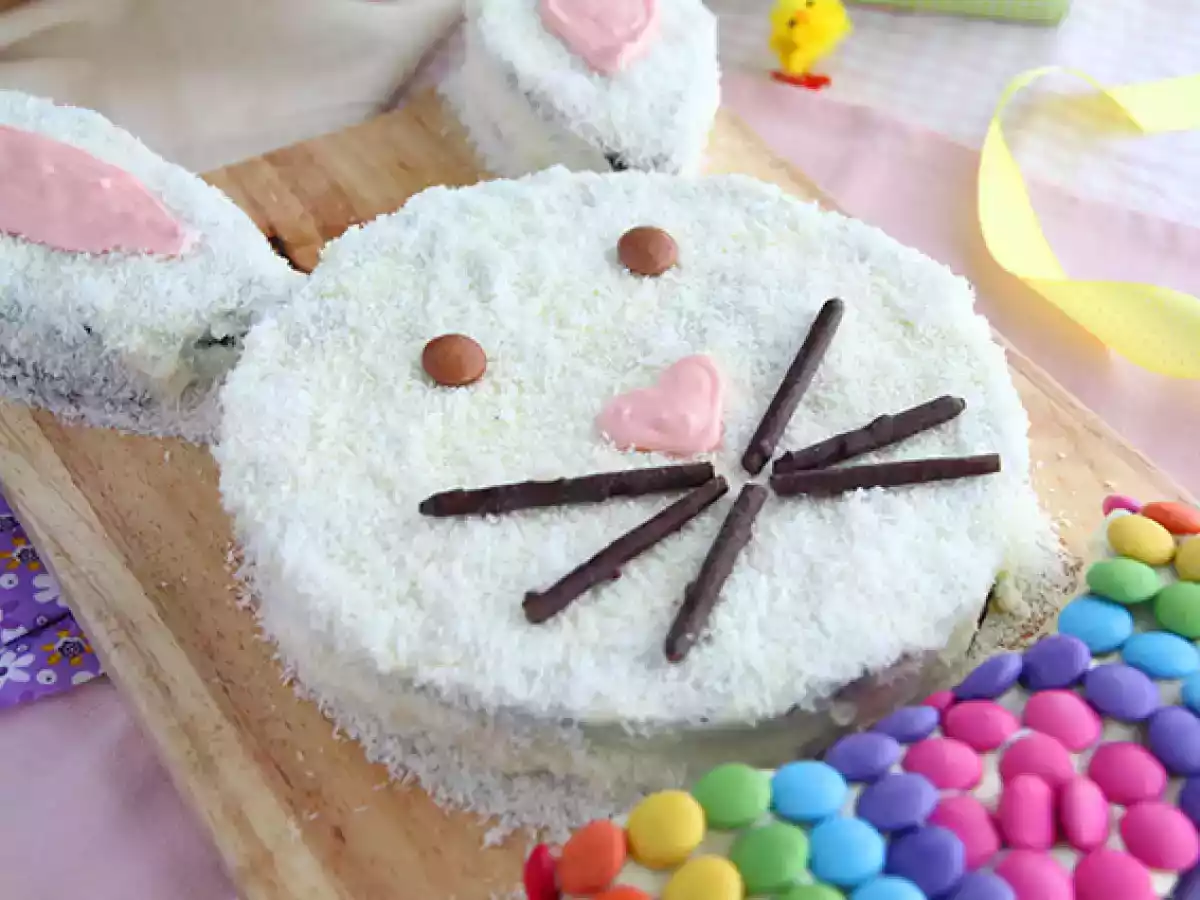
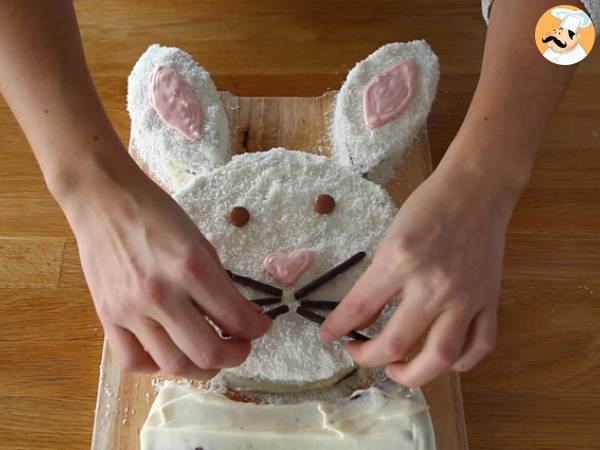 Break the pocky sticks in half and place them around the nose to create the whiskers. Place 2 brown M&M's on top to make the eyes.
 Then, gradually stick the M&M's onto the bow tie, trying to follow a rainbow color pattern.
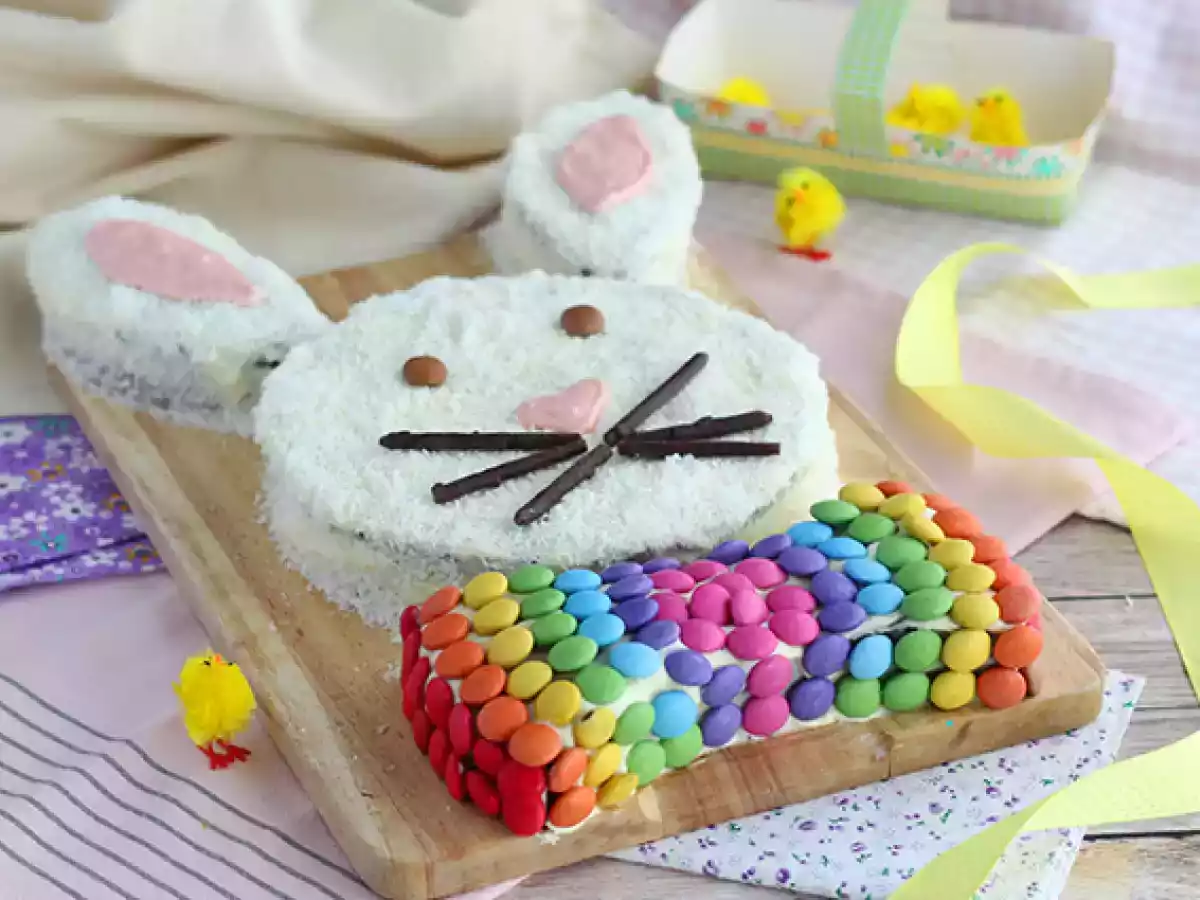
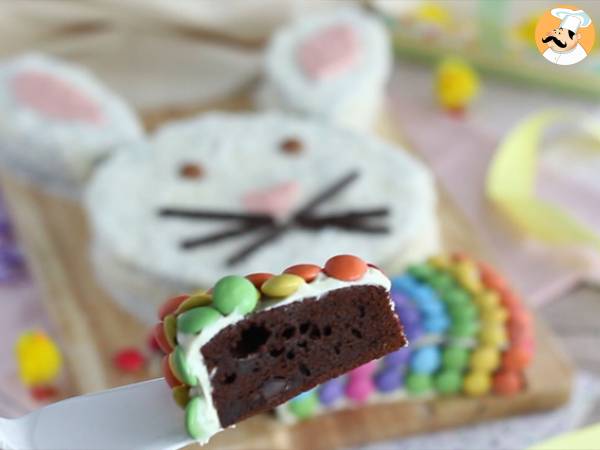 And there you have it, your rabbit cake is ready!
Observations
Base Cake: You can use any cake you like, keeping in mind that a cake that is too fluffy won't be flat enough for decoration.
Ganache: You can make it with dark chocolate (using equal amounts of cream and chocolate) to create a brown rabbit. In this case, do not add grated coconut.
Decoration: Feel free to let your imagination run wild!
Storage: Since there is ganache on this cake, it is best to store it in the refrigerator for a maximum of 4 days. To serve, take it out 30 minutes before serving so that the brownie is nice and moist.
Nutrition
- Carbo: 39.7g
- Total fat: 35g
- Saturated fat: 22.2g
- Proteins: 6.2g
- Fibers: 3.1g
- Sugar: 30.3g
- ProPoints: 14
- SmartPoints: 24
You may like
Berry cake - the best summer fruit cake
Turnip cake/ daikon cake ( loh pak koh)
Super bowl cake aka punch bowl cake, "granny's recipe"
Black forest cake: a detailed recipe

Sri-lankan chocolate cake
Sticky toffe date cake
Disney Princess Theme Based Birthday Cake-My 100Th POST
Irish car bomb cake
Orzechowiec / Walnut Cake Recipe
The best savoy cake

Baked tapioca honeycomb cake ( bingka embun)
Rate this recipe