The Hummingbird Bakery's Lemon Meringue Cupcakes
I know, I know- The Hummingbird Bakery again? Well, you see, I have this terrible habit of getting stuck on certain cookbooks. I tab all of the recipes that I'd like to bake and then proceed to bake, using the sliding scale of my excitement to guide me.
As it happens, I recently got a new job, which means my days of torturously licking the pages of my cookbooks are over, indefinitely! I have plenty of recipes stocked up from days of money draught, so I'm afraid you're just going to have to put up with me for now, until I've exhausted my new-found freedom.
Anyway, you shouldn't complain- this is an absolute stonker of a recipe. The Hummingbird Bakery have really upped their game with their new Cake Days book. The recipes are flashier, prettier and more daring. And a damn site more tasty. This Lemon Meringue Cupcake recipe is a perfect example of that.
These 'flashy' cupcakes are definitely worth the bit of extra time & effort, if only to watch the look on your friends' faces as they bite into them!

 I used my measuring spoons to cut out sponge.
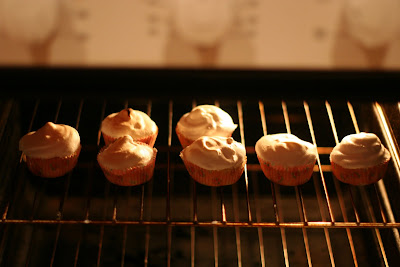 My meringues basking in the glorious light of the grill!


As it happens, I recently got a new job, which means my days of torturously licking the pages of my cookbooks are over, indefinitely! I have plenty of recipes stocked up from days of money draught, so I'm afraid you're just going to have to put up with me for now, until I've exhausted my new-found freedom.
Anyway, you shouldn't complain- this is an absolute stonker of a recipe. The Hummingbird Bakery have really upped their game with their new Cake Days book. The recipes are flashier, prettier and more daring. And a damn site more tasty. This Lemon Meringue Cupcake recipe is a perfect example of that.
These 'flashy' cupcakes are definitely worth the bit of extra time & effort, if only to watch the look on your friends' faces as they bite into them!
Lemon Meringue Cupcakes
Ingredients:
For the Sponge
80gof Unsalted Butter
280gCaster Sugar
240gPlain Flour
1 tbspBaking Powder
1/2 tspSalt
1 tspfinely grated Lemon Zest
2Large Eggs
240mlWhole Milk
For the Filling & Frosting
200gCaster Sugar
4Egg Whites
70gLemon Curd (I made my own- it's very easy)
For the Lemon Curd (Optional)
56gRoom Temperature Butter
87gCaster Sugar
1Egg
Zest & Juice of1Lemon
1 tbsp spoon of Cornflour
Preheat your oven to 190°C (GM 5, 375°F) & line your muffin tray with cases.
For your sponge, mix together the butter & sugar with an electric whisk (as specified by the book!) until creamed until you reach a breadcrumb-y consistency.
Whisk together the eggs and milk in a jug and pour gradually into the dry mixture whilst whisking together until all of the liquid is incorporated.
Spoon the mixture into the muffin cases until around two thirds full and then get those babies to the oven asap, so we can move on to the next stage. They should be done after around 18-20 minutes, but use this as a guide! Don't take them out until the sponge feels springy, or an inserted skewer comes out clean.
This part is optional, as you can use shop-bought lemon curd but why bother when making your own is so simple! Begin by whisking your eggs in a pan, add the rest of your ingredients (cornflour, lemon juice & zest, sugar, butter) and heat. Now you need to WHISK CONTINUOUSLY. Sorry about yelling, just needed to stress that point. So you're whisking...and you're whisking...and you're still whisking...and, oh, wait, yes, the mixture has finally thickened. You can now remove from the heat and leave to cool while the cupcakes bake.
Now whilst the cupcakes are still baking, use this opportunity to make the Meringue frosting. This involves making Italian Meringue. Sounds tricky, but really isn't as difficult as you think. The first time I tried it, I was so nervous that I actually felt overcome with self-achievement after I'd done it.
Okay, so we put the sugar into a pan, cover with water (about 150ml) and leave to boil. It will thicken and turn syrupy eventually, but in the meantime get whisking your egg whites, stop when they start to thicken and become frothy. Put aside and attend to the sugar syrup. It needs to reach 'soft-ball stage', you can either use a sugar thermometer or test by putting a few drops of the syrup into a bowl of cold water, the syrup is ready when the water-submerged syrup forms a ball shape. It should be looking fairly viscous and bubbly at this stage.
N.b. If you'd like to read more about the Soft Ball stage, check here.
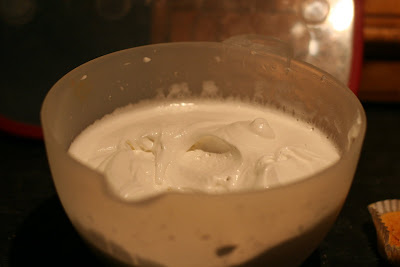
When your syrup is done, begin whisking the egg whites once more whilst adding the syrup gradually. Continue whisking until the meringue mixture has doubled in size, appears very glossy and is now damn sexy!
When your cupcakes have been cooling a while, cut out small section of the top of each cupcake, filling the hole with lemon curd, and then place the piece of sponge you cut out back over the lemon curd.
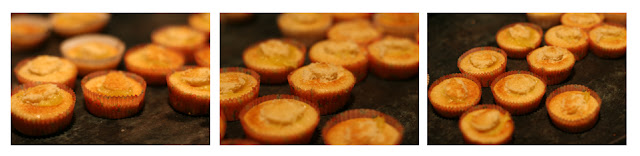
I used my measuring spoons to cut out sponge. When you've finished the lot, they should look something like this:
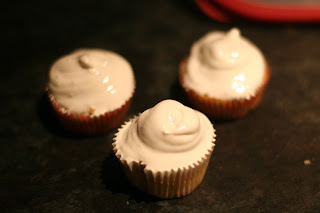
You may then proceed to smothering them with as much meringue as you can load up on there.
And for the last part (this makes them look like a real meringue pie) you can either torch the meringue with a cook's blowtorch (Oh, you don't have one either?) or stick them under the grill until they brown and crisp up a little.
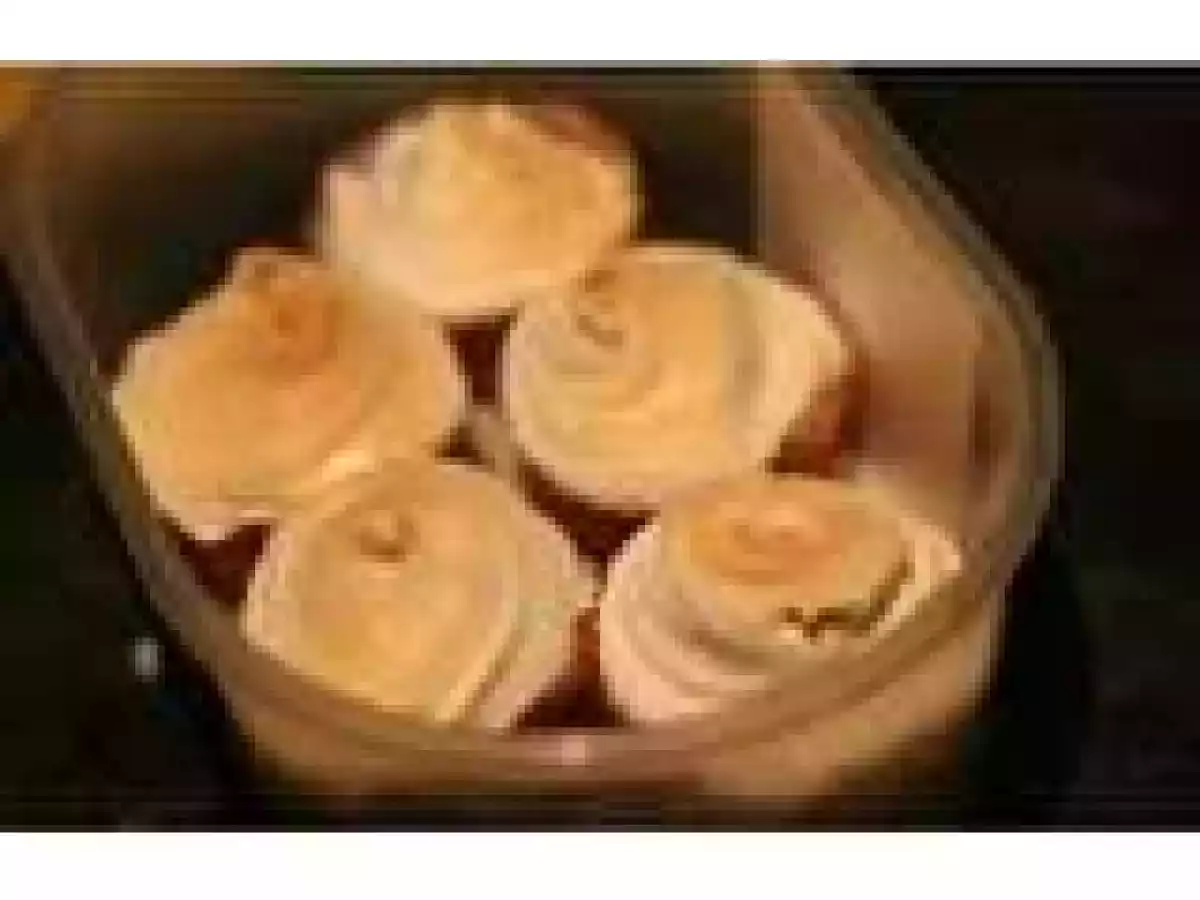
My meringues basking in the glorious light of the grill!And then you're left with the finished product! You are now free to gorge until your heart's content.
Tea and Two Slices
Comments
anonymous
Failed to mention very low heat grill or tops will burn without meringue setting
anonymous
You for got to include most of the dry mixture in the sponge
anonymous
Shite , 4got to put flour in