Clarified butter: Why do chefs love it so much?
Friday 13 November 2026 15:30 - Adèle Peyches
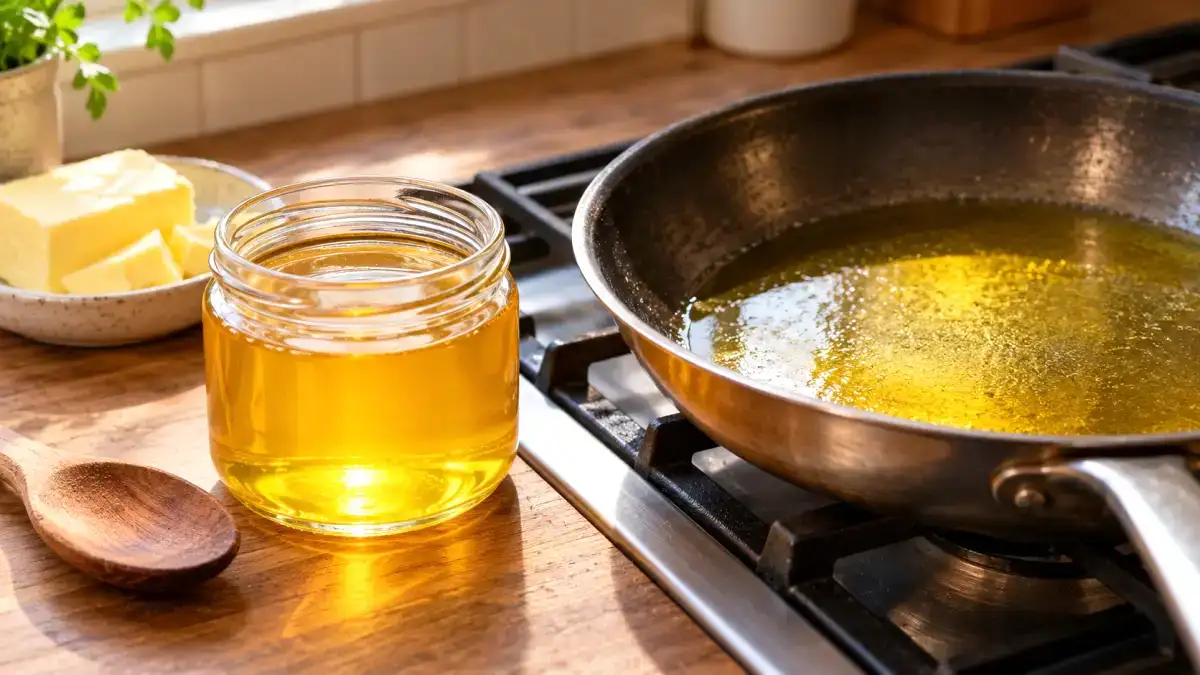
But sometimes, the butter starts to brown even though you’ve barely begun cooking. And if you’ve ever tried sautéing food for a while, you’re probably familiar with this little problem.
That’s where clarified butter comes in. The name might sound a bit technical, but don’t worry: making it is much simpler than you’d think. We’ll explain how to make it at home and when it can really come in handy ↓
What exactly is clarified butter?
Traditional butter consists mainly of fat, but also contains a small amount of water and milk solids.
When making clarified butter, the goal is to separate the fat from the water and milk solids. The result is a golden, almost transparent liquid that behaves differently when cooked.
This method has long been known in various culinary traditions. In particular, it allows the fat in the butter to be used at a higher temperature than regular butter, since most of the components that brown easily have been removed.
Be careful, though: it’s not a “magic” fat that can never burn. Even when clarified, butter must be heated with care.
When making clarified butter, the goal is to separate the fat from the water and milk solids. The result is a golden, almost transparent liquid that behaves differently when cooked.
This method has long been known in various culinary traditions. In particular, it allows the fat in the butter to be used at a higher temperature than regular butter, since most of the components that brown easily have been removed.
Be careful, though: it’s not a “magic” fat that can never burn. Even when clarified, butter must be heated with care.
What supplies do you need to prepare?
Good news: you don't need a professional kitchen!
To clarify butter, you'll need a small, heavy-bottomed saucepan, a spoon, and a clean, heat-resistant container. A fine-mesh strainer or suitable filter can be helpful for removing any remaining residue.
Choose good-quality butter (ideally unsalted) if you want to have full control over the seasoning of your dishes.
Our tip? Start with a moderate amount to get the hang of the technique. You’ll find it easier to understand the different layers that form during cooking.
Prepare everything before placing the saucepan on the stove, as hot fat must be handled with care.
To clarify butter, you'll need a small, heavy-bottomed saucepan, a spoon, and a clean, heat-resistant container. A fine-mesh strainer or suitable filter can be helpful for removing any remaining residue.
Choose good-quality butter (ideally unsalted) if you want to have full control over the seasoning of your dishes.
Our tip? Start with a moderate amount to get the hang of the technique. You’ll find it easier to understand the different layers that form during cooking.
Prepare everything before placing the saucepan on the stove, as hot fat must be handled with care.
How do you clarify butter at home?
Cut the butter into pieces and place them in a saucepan. Melt them very gently, without stirring vigorously or trying to brown them.
As you do this, you’ll see foam appear on the surface and lighter-colored residue settle at the bottom. Between the two lies the liquid fat that we want to recover.
Carefully remove some of the foam, then gently pour the golden liquid into a clean container, leaving the sediment at the bottom of the saucepan.
If necessary, strain it using heat-resistant equipment. Above all, never pour hot fat into a cold or fragile container.
And there you have it! You’ve made your own clarified butter. Not that complicated, is it?
As you do this, you’ll see foam appear on the surface and lighter-colored residue settle at the bottom. Between the two lies the liquid fat that we want to recover.
Carefully remove some of the foam, then gently pour the golden liquid into a clean container, leaving the sediment at the bottom of the saucepan.
If necessary, strain it using heat-resistant equipment. Above all, never pour hot fat into a cold or fragile container.
And there you have it! You’ve made your own clarified butter. Not that complicated, is it?
Clarified butter and ghee: Are they the same thing?
We often hear about ghee in Indian cuisine. It is very similar to clarified butter, but the preparation methods are not always the same.
In the traditional method of making ghee, the cooking process can be extended to lightly brown the milk solids. This gives the fat a more pronounced flavor, sometimes with a slight nutty note.
Classic clarified butter, on the other hand, can be removed from the heat before it browns significantly.
The two products are therefore similar, but not necessarily interchangeable in terms of flavor. For a recipe that specifically calls for ghee, it’s best to follow the instructions provided.
And if you find ghee in a store, check the ingredients and storage instructions listed on the packaging.
In the traditional method of making ghee, the cooking process can be extended to lightly brown the milk solids. This gives the fat a more pronounced flavor, sometimes with a slight nutty note.
Classic clarified butter, on the other hand, can be removed from the heat before it browns significantly.
The two products are therefore similar, but not necessarily interchangeable in terms of flavor. For a recipe that specifically calls for ghee, it’s best to follow the instructions provided.
And if you find ghee in a store, check the ingredients and storage instructions listed on the packaging.
What dishes can you use it in?
Clarified butter is particularly useful when you want to brown food in a skillet without the butter residue burning too quickly.
Try it with sautéed potatoes, certain vegetables, or any dish that calls for a nice golden color. It can also be used in various sauces or traditional recipes as needed.
That said, there’s no need to replace all the butter in your kitchen! For toast, mashed potatoes, or pastries where water and other components of butter play a role, traditional butter is often still the better choice.
Ptitchef’s tip? Choose the fat based on the recipe, rather than looking for a single product to use for absolutely every cooking application.
Try it with sautéed potatoes, certain vegetables, or any dish that calls for a nice golden color. It can also be used in various sauces or traditional recipes as needed.
That said, there’s no need to replace all the butter in your kitchen! For toast, mashed potatoes, or pastries where water and other components of butter play a role, traditional butter is often still the better choice.
Ptitchef’s tip? Choose the fat based on the recipe, rather than looking for a single product to use for absolutely every cooking application.
How can I store it safely?
Once your clarified butter is ready, let it cool under proper conditions before transferring it to a clean, suitable container.
For homemade clarified butter, store it in the refrigerator and use it within a reasonable amount of time. Don’t assume it will keep for months at room temperature just because some of the water has been removed.
Always use a clean spoon and avoid getting water or crumbs into the container. If the smell or appearance becomes abnormal, do not use it.
Finally, keep in mind that clarified butter is still a fat rich in lipids. Use it in moderation, just like regular butter.
As you can see, behind this somewhat mysterious name lies a very accessible technique!
For homemade clarified butter, store it in the refrigerator and use it within a reasonable amount of time. Don’t assume it will keep for months at room temperature just because some of the water has been removed.
Always use a clean spoon and avoid getting water or crumbs into the container. If the smell or appearance becomes abnormal, do not use it.
Finally, keep in mind that clarified butter is still a fat rich in lipids. Use it in moderation, just like regular butter.
As you can see, behind this somewhat mysterious name lies a very accessible technique!
 Adèle Peyches
Editorial manager who just can't wait for winter to enjoy raclette! Passionate about gastronomy and always on the lookout for new culinary gems, I first studied law before returning to my first love: the taste of good products and the joy of sharing around the table :)
Comments