How to cook corn on the cob: simple, foolproof methods for boiling, roasting in the oven, or grilling
Saturday 3 October 2026 21:00 - Adèle Peyches
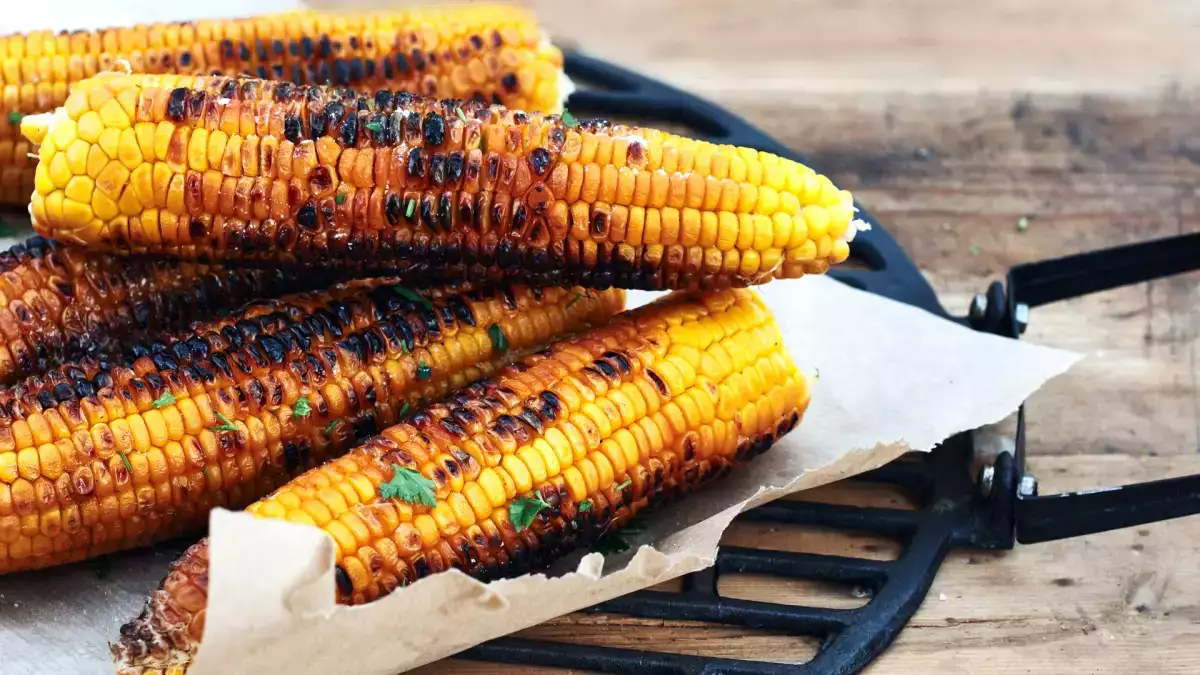
Fresh corn doesn’t need to be cooked for ages. Depending on the method, a few minutes may be enough. Whether boiled, baked, microwaved, or grilled, the key indicator remains the same: the kernels should be hot, glossy, and easy to bite into.
Here are the simplest methods for cooking corn on the cob, followed by a few ideas for serving it in ways other than with just a pat of butter.
How to choose good corn on the cob
At the market or supermarket, look for ears of corn with leaves that are still green and fresh. If you can see the kernels, they should be plump, uniform, and tightly packed.
An ear that’s too dry, with yellowed husks or shriveled kernels, will often yield less-than-satisfying results, even when cooked properly.
Fresh corn doesn’t keep for very long. It’s best to cook it soon after purchasing, especially if the husks have already been removed.
An ear that’s too dry, with yellowed husks or shriveled kernels, will often yield less-than-satisfying results, even when cooked properly.
Fresh corn doesn’t keep for very long. It’s best to cook it soon after purchasing, especially if the husks have already been removed.
Should you remove the leaves before cooking?
It all depends on the method you choose. If boiling, remove the husks and silk, then rinse the ears under cold water.
For oven or grill cooking, you can leave the husks on if they’re clean and still fresh. They protect the kernels and help retain some moisture during cooking.
If you want a more charred flavor, remove the husks and brush the ears with a little oil or butter before cooking.
For oven or grill cooking, you can leave the husks on if they’re clean and still fresh. They protect the kernels and help retain some moisture during cooking.
If you want a more charred flavor, remove the husks and brush the ears with a little oil or butter before cooking.
Boiling: The fastest method
Bring a large pot of water to a boil. Remove the husks and silk from the corn, rinse the ears, then submerge them in the boiling water.
Cook for about 5 to 6 minutes. This is usually enough for fresh, not-too-large ears of corn. Drain them immediately, then serve them hot.
Avoid cooking them longer than necessary: the longer the corn stays in the water, the more the kernels may lose their crunch and sweetness.
Cook for about 5 to 6 minutes. This is usually enough for fresh, not-too-large ears of corn. Drain them immediately, then serve them hot.
Avoid cooking them longer than necessary: the longer the corn stays in the water, the more the kernels may lose their crunch and sweetness.
Microwave cooking: Convenient for one or two ears of corn
The microwave is very convenient when you want to cook just a few ears of corn. Place the husked and rinsed ears of corn in a suitable dish, add a little water, then cover, leaving a small opening for the steam to escape.
Allow about 3 minutes per ear, adjusting the time based on the microwave’s power and the size of the ears.
Let them rest for a minute before handling: the steam is very hot, and the kernels will continue to soften slightly.
Allow about 3 minutes per ear, adjusting the time based on the microwave’s power and the size of the ears.
Let them rest for a minute before handling: the steam is very hot, and the kernels will continue to soften slightly.
Baking: ideal when making several at once
The oven is convenient when you want to cook several ears of corn at the same time without having to watch a pot.
Place the ears of corn in a baking dish or directly on a baking sheet. You can cook them with their husks on, or brush them with a little butter or oil before wrapping them in parchment paper or foil.
At about 370°F/190°C, cooking time is generally 20 to 30 minutes, depending on the size of the ears and how they’re wrapped during cooking.
Place the ears of corn in a baking dish or directly on a baking sheet. You can cook them with their husks on, or brush them with a little butter or oil before wrapping them in parchment paper or foil.
At about 370°F/190°C, cooking time is generally 20 to 30 minutes, depending on the size of the ears and how they’re wrapped during cooking.
Grilling or cooking on a griddle: for that grilled flavor
When grilled, corn develops a more pronounced flavor. Without the husks, the kernels brown faster and may develop small, delicious char marks.
On a very hot grill, allow about 10 to 12 minutes for husked ears, turning them regularly. With the husks on, cooking is gentler and may take longer.
Keep a close eye on them: the goal is to get golden kernels, not a burnt, dry surface.
On a very hot grill, allow about 10 to 12 minutes for husked ears, turning them regularly. With the husks on, cooking is gentler and may take longer.
Keep a close eye on them: the goal is to get golden kernels, not a burnt, dry surface.
The sign that shows the corn is cooked
A well-cooked ear of corn is easy to spot. The kernels are shiny, warm all the way to the center, and come off easily when you bite into them.
If they’re still very hard, continue cooking for a few more minutes. If they become soft, shriveled, or dry, they’ve been cooked too long.
The ideal result should remain juicy. Corn tastes best when it still has a little bite to it.
If they’re still very hard, continue cooking for a few more minutes. If they become soft, shriveled, or dry, they’ve been cooked too long.
The ideal result should remain juicy. Corn tastes best when it still has a little bite to it.
Seasonings that work every time
The simplest version is still butter, salt, and pepper. But corn also pairs well with bolder seasonings: lime, paprika, mild chili pepper, cilantro, parsley, garlic, Parmesan, or crumbled fresh cheese.
For a truly indulgent version, brush the hot ears of corn with a mixture of melted butter, smoked paprika, and garlic. For a fresher take, add lime, herbs, and a little yogurt or fresh cheese.
Since corn is naturally sweet, it pairs very well with acidity and spices.
For a truly indulgent version, brush the hot ears of corn with a mixture of melted butter, smoked paprika, and garlic. For a fresher take, add lime, herbs, and a little yogurt or fresh cheese.
Since corn is naturally sweet, it pairs very well with acidity and spices.
What to serve with corn on the cob
Corn on the cob pairs very well with grilled meats, mixed salads, eggs, chicken, red beans, tomatoes, avocado, and slightly spicy sauces.
For a simple meal, serve them with a green salad, a few potatoes, and a lemon-yogurt sauce. For a heartier meal, pair them with chili, marinated chicken drumsticks, or a rice salad.
For a simple meal, serve them with a green salad, a few potatoes, and a lemon-yogurt sauce. For a heartier meal, pair them with chili, marinated chicken drumsticks, or a rice salad.
Mexican chili con carne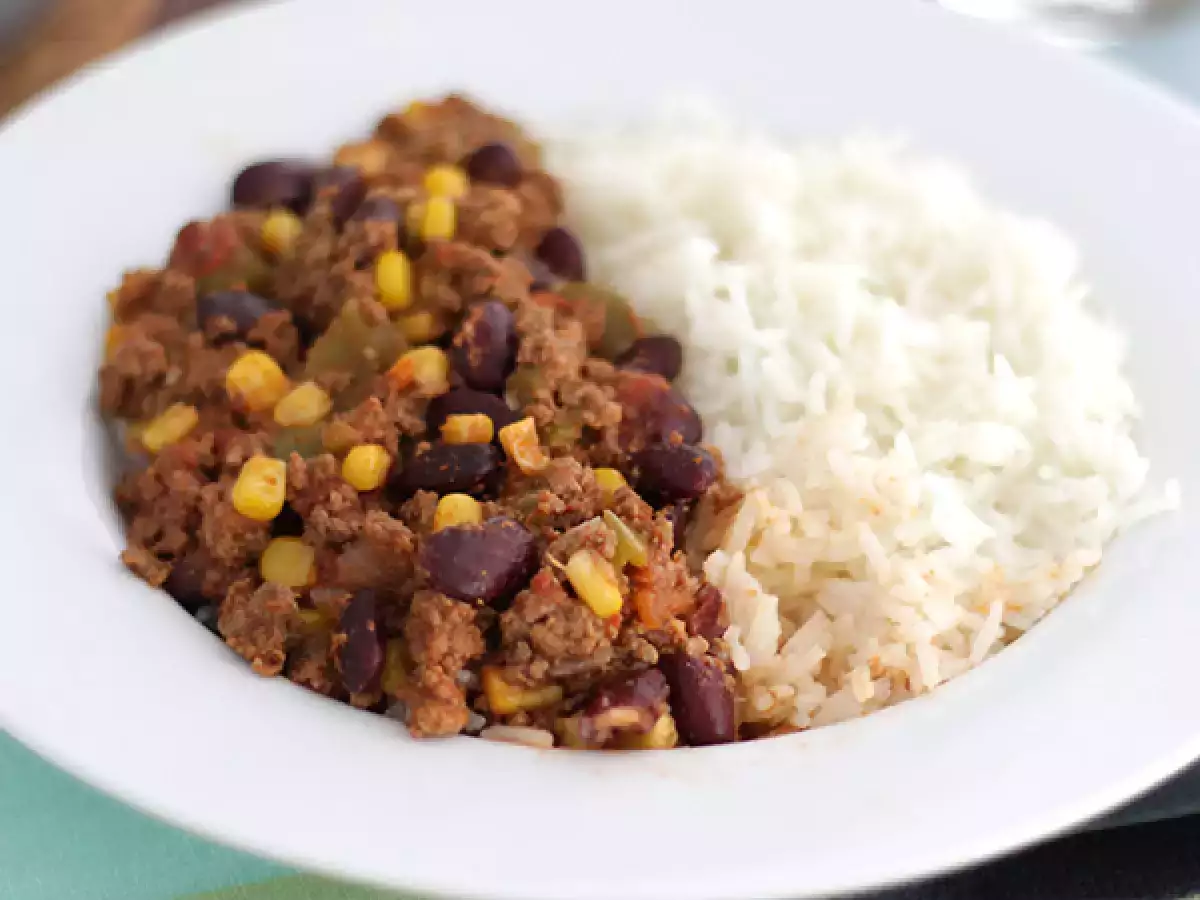
Head for Mexico and let your taste buds travel with a sombrero on your head thanks to our Chili Con Carne! This emblematic Tex-Mex recipe promises a heart-warming meal of spicy flavors. Let yourself be tempted by this delicious blend of meats and...
Vegetarian rice salad: feta, corn, carrots, peas, cherry tomatoes and mint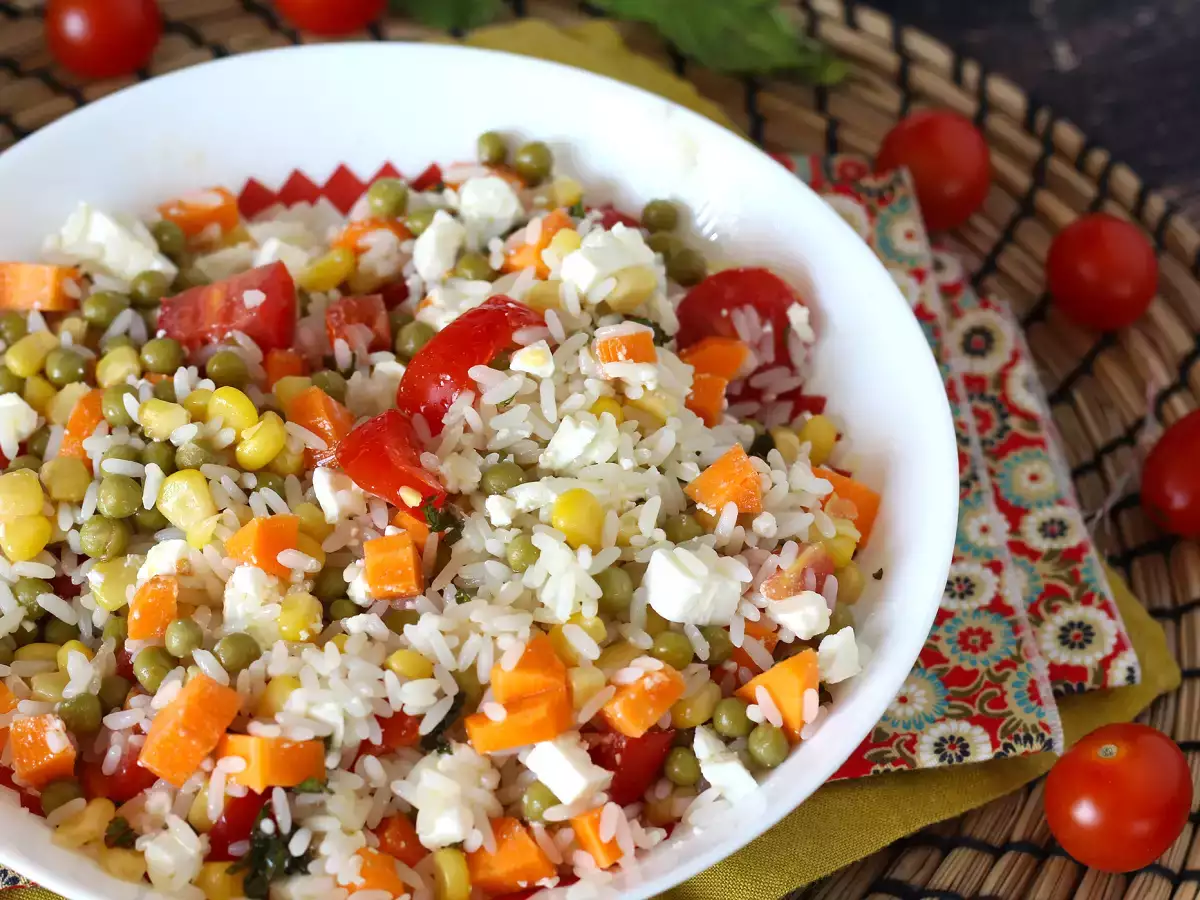
Rice salad is a staple in spring and summer: light yet nutritious , tasty, fresh and colorful . None of the ingredients we use need to be cooked (except the rice, of course), so you won't need to spend much time at the stove —and that's great news...
Recipe ideas for when you have leftover cooked corn
If you have any leftover cooked corn on the cob, cut the kernels off with a knife and use them in a salad, a stir-fry, tortillas, tacos, a rice dish, or soup.
Cooked corn pairs well with cherry tomatoes, tuna, feta, mozzarella, bell peppers, red kidney beans, or salsa. It’s also a great way to turn leftovers into a quick lunch.
Cooked corn pairs well with cherry tomatoes, tuna, feta, mozzarella, bell peppers, red kidney beans, or salsa. It’s also a great way to turn leftovers into a quick lunch.
The right thing to do before serving
Don't let the corn cobs sit around too long after cooking. Corn tastes best when served piping hot, with seasoning added at the last minute.
So get the butter, herbs, sauces, and side dishes ready before you start cooking. Once the ears are ready, all you have to do is brush them with the mixture, sprinkle them with salt, and serve!
So get the butter, herbs, sauces, and side dishes ready before you start cooking. Once the ears are ready, all you have to do is brush them with the mixture, sprinkle them with salt, and serve!
 Adèle Peyches
Editorial manager who just can't wait for winter to enjoy fondue! Passionate about gastronomy and always on the lookout for new culinary gems, I first studied law before returning to my first love: the taste of good products and the joy of sharing around the table :)
Comments