Taro Cake with Cream Cheese Frosting
vote now
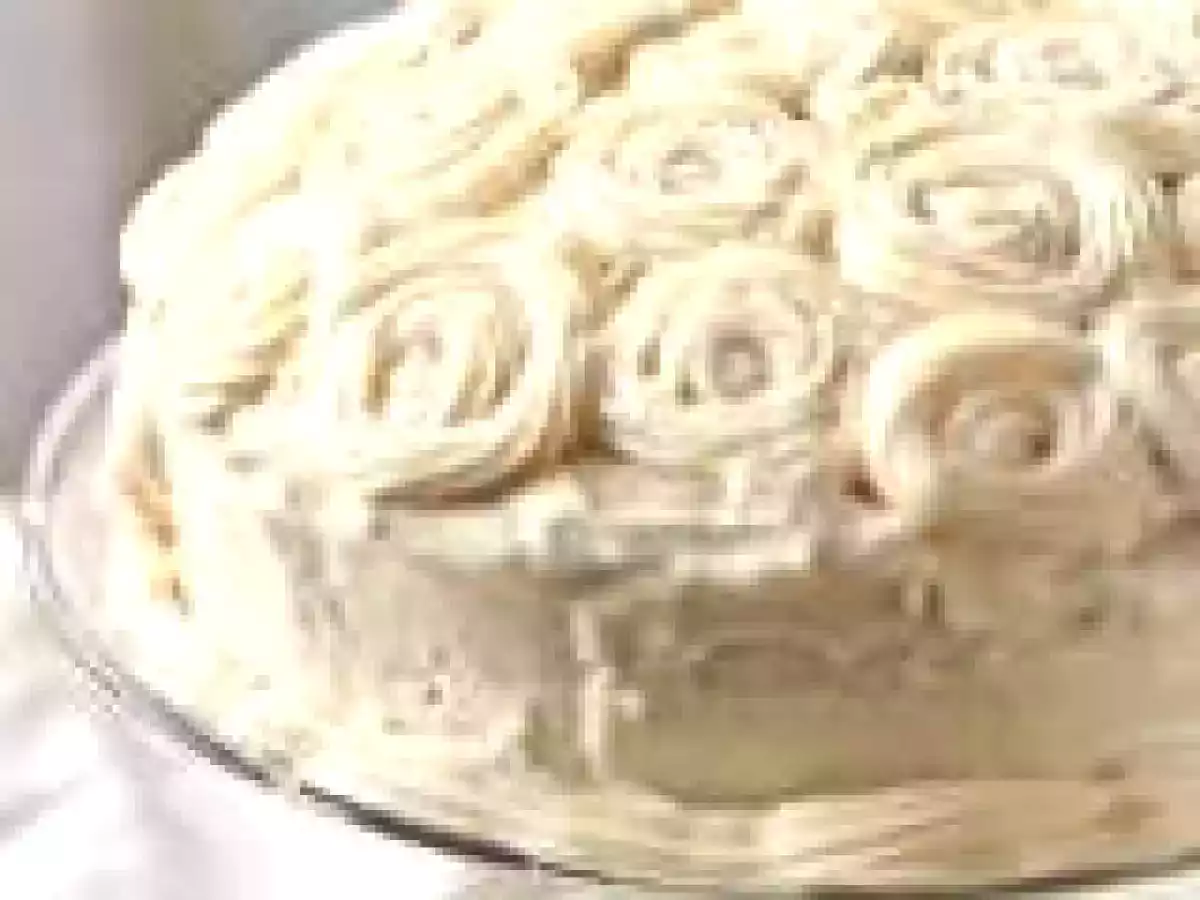
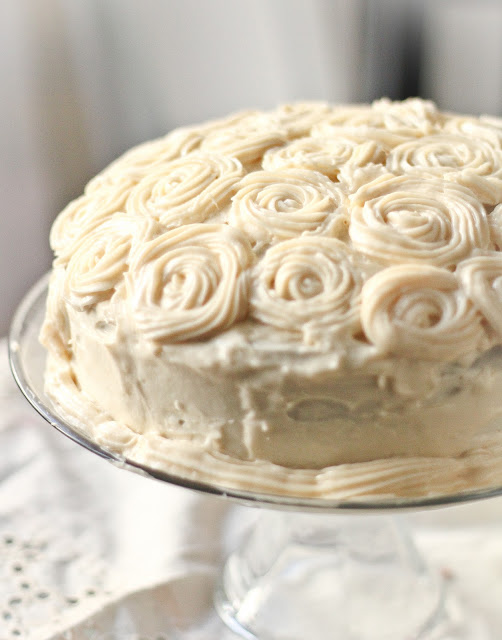
Good news everyone, yesterday was my birthday, YAY!!!! I wanted to make myself a cake that would be fun, but still pretty. So I decided to make a cake with taro powder and do a really fancy job with the icing. I saw the technique featured here at Project Wedding by i am baker, whose original post about it is here. Lovely, yes? The flowers look complicated, but they're actually really easy to do. In fact, this is my first post including an instructional video. It's a short clip that just shows how it's done. I'll also describe it in the recipe.


Ingredients:
4 Egg Whites
1 Whole Egg
2 and 3/4 Cup Cake Flour
1 Cup Ultrafine Sugar
1 Cup Whole Milk
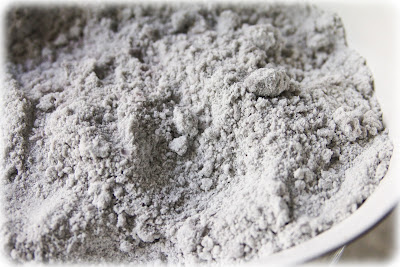
2/3 Cup Taro Root Powder
12 Tablespoons Butter, softened
1 Tablespoon Baking Powder
1 Tablespoon Vegetable Oil
1 Teaspoon Vanilla Extract
Cream Cheese Frosting
Preheat the oven to 350 degrees Fahrenheit. Mix all of the dry ingredients together in a large bowl. Add the butter and blend until the mixture starts to clump together if you squeeze some in your hand. Then add the egg whites, one at a times, beating well after each addition. Add the whole egg, (not the shell, just the white and yolk), and the vegetable oil and blend until smooth.


In a separate small bowl, mix the milk and the vanilla extract together. Then add them to the cake mix and blend until they form a smooth batter. Grease two 8 or 9 inch cake pans and equally distribute the cake batter between the two of them. Place them in the oven and bake for 25 to 35 minutes, or until a toothpick poked into the center of each cake layer comes out clean.

Once the pans are removed from the oven, shake them from side to side to loosen their grip on the bottom of the pan. Allow them to cool at room temperature for 15 minutes, then flip them over onto a plate, and over again so that they and right side up on a plate. Allow them to cool for 45 minutes.

Next, cut the dome off of the bottom layer of the cake so that the top layer will be able to lay flat on top of it. It is alright if the top layer has a dome, because that will look nice when it has the frosting roses on it. Place the bottom cake layer on a serving plate or cake stand and lightly frost the entire bottom layer. Then place the top layer on the bottom layer and lightly frost the entire top layer.
Now comes the fun part, using a pastry bag and a 1M frosting tip, or some other large star tip, place the tip in the middle of where you want the rose to be, and start frosting, continuing around the middle in a circle until the rose is the desired size. Repeat this process until all of the top surface of the cake has been covered with roses. Then simply pump the frosting in a single line around the base of the cake using the same large star tip. Serve immediately & enjoy!


Adventures in Cooking
Comments