Black forest cake: a detailed recipe
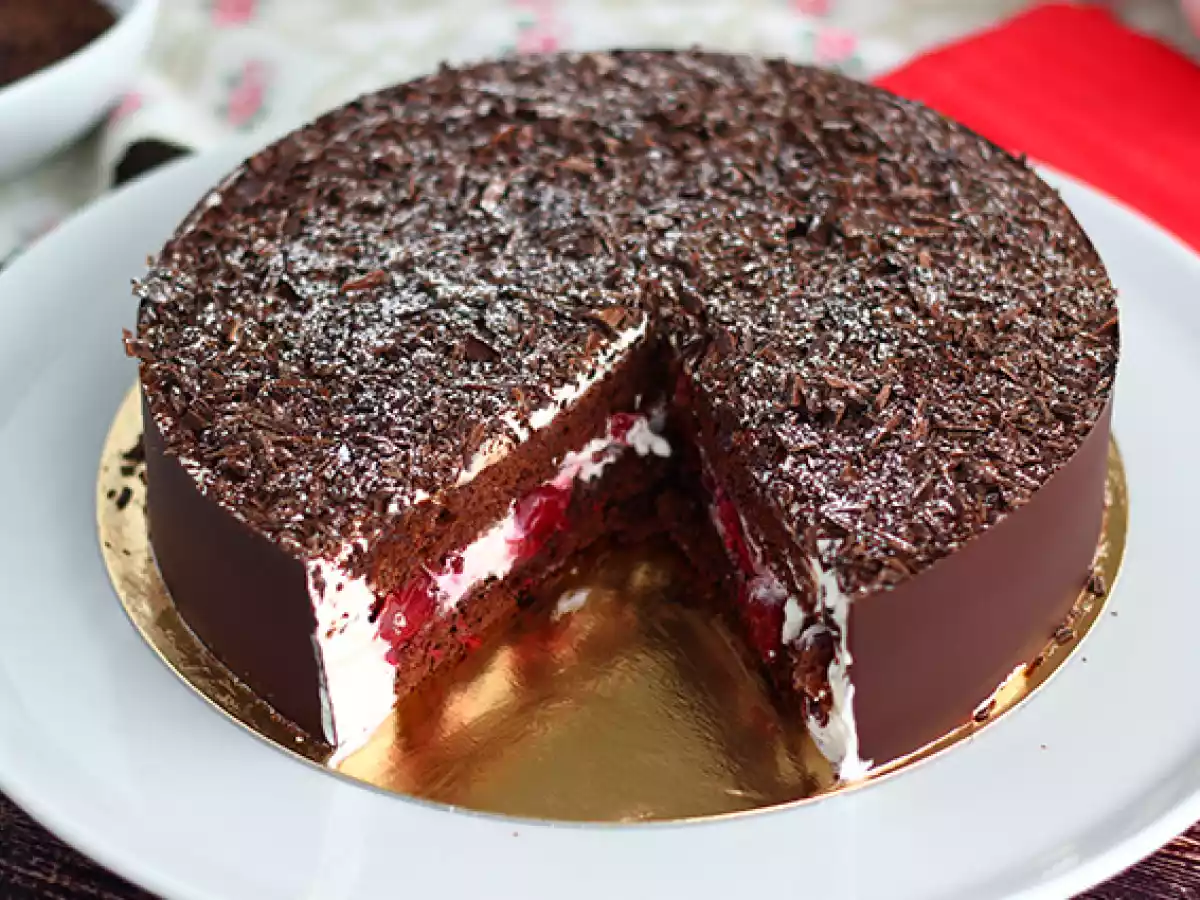
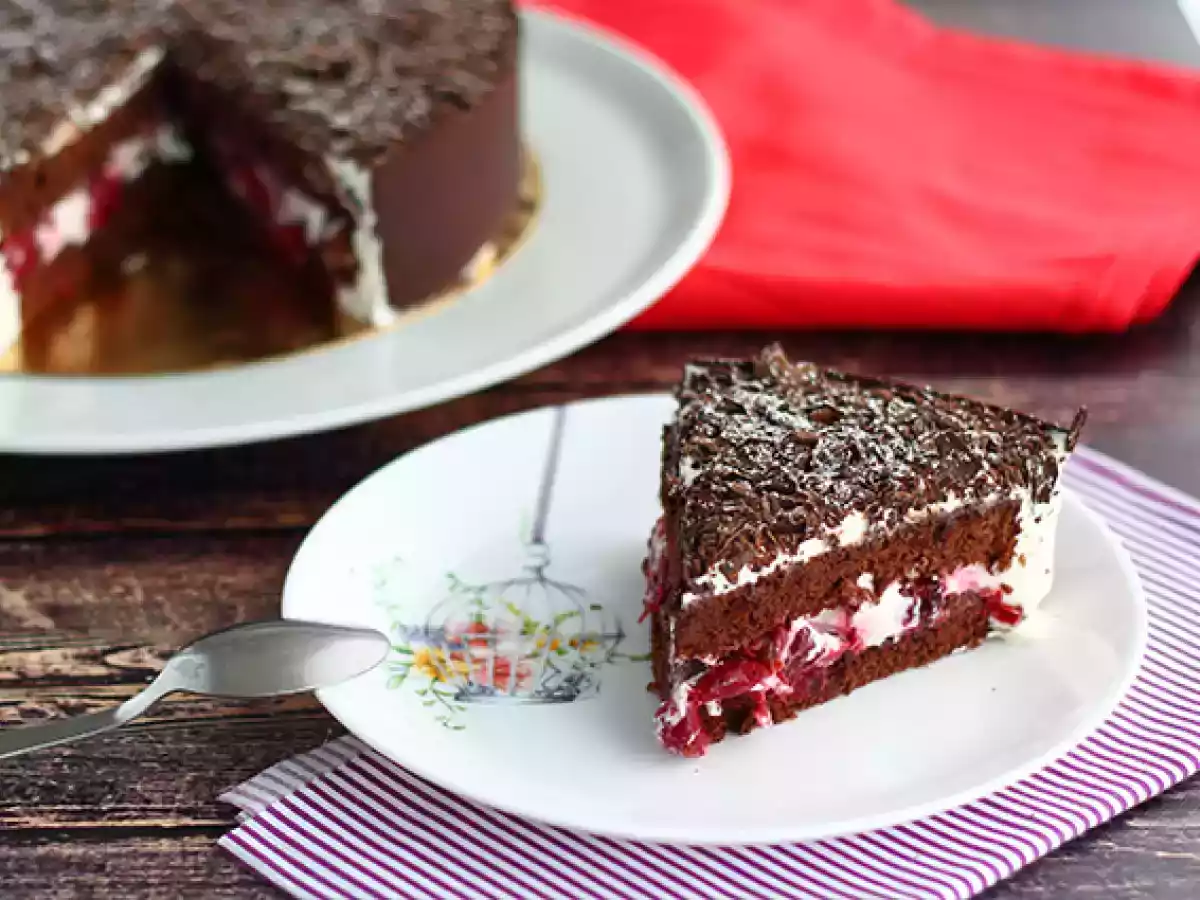
Dazzle your guests with our homemade Black Forest Cake. With our step-by-step instructions and photos below, we guide you through the creation of this stunning pastry. You'll achieve a perfect blend of a moist sponge cake, creamy whipped cream, and the sweet fruity flavors of cherries. The perfect combo to recreate for any event :-)
Ingredients
Cocoa sponge cake:
Cherries in syrup:
Vanilla whipped cream:
Decoration:
Materials
- Electric mixer
- Sifter
- 7 inches diameter cake mold
- 8 inches diameter cake ring
- Optional 9 inches golden ring
- 2 strips of acetate 25 inches long
- Offset spatula
- Piping bag (optional)
Preparation
 Cocoa sponge cake:
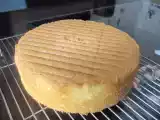
In a bowl, put the eggs and sugar. Whisk at full speed for about 5 minutes. The mixture should triple in volume.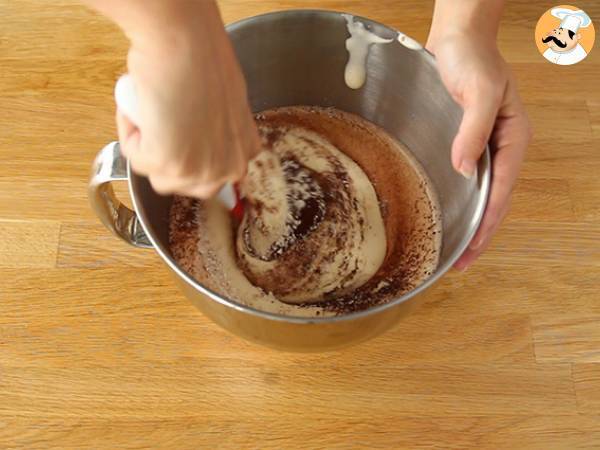 Sift the flour and cocoa over the mixture, and gently fold in without deflating the eggs, lifting the mixture over the dry ingredients. Be careful not to leave any flour at the bottom of the bowl.
Pour into a greased 7-inch diameter mold and bake for 20 minutes at 350°F (180°C).
Let cool.
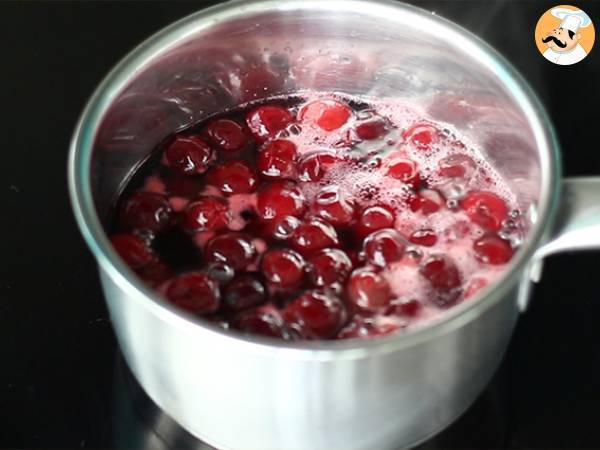 Cherries in syrup:
Put the water and sugar in a saucepan and bring to a boil. Add the frozen cherries and stir. Let it simmer until the mixture starts to boil, then remove from heat. The cherries should be just poached and not cooked to maintain their shape.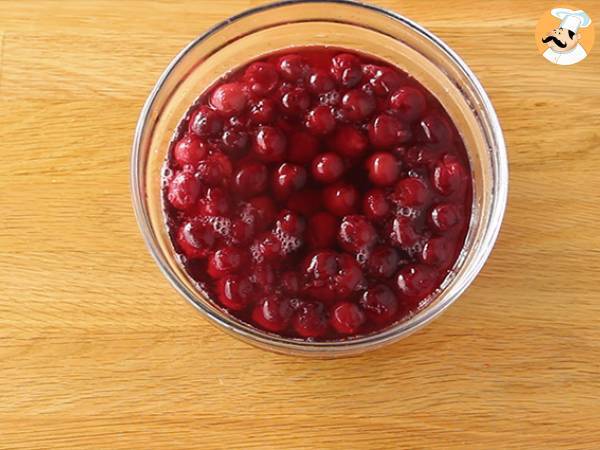 Add the kirsch to the warm mixture, stir, and let cool.
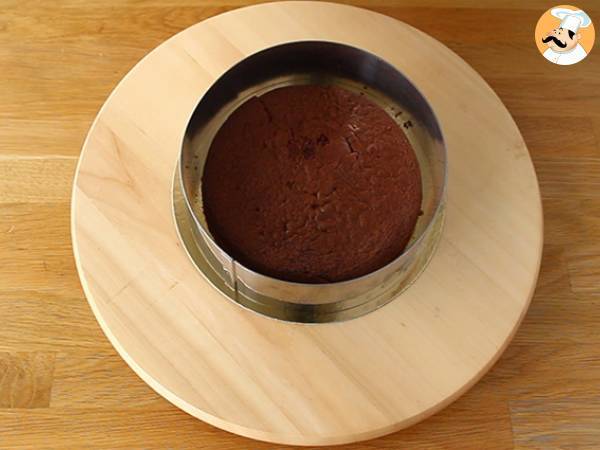 Assembly:
On a serving plate, place your cake ring, and insert the acetate strip inside and around the ring to facilitate unmolding.
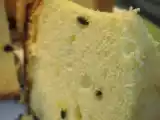
Cut the sponge cake in half lengthwise, and place the top half in the center of the ring.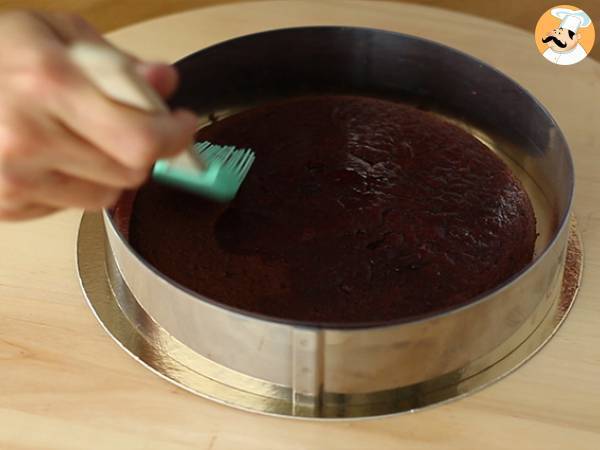 Strain the cherries and reserve the syrup to soak the sponge cake with a brush. Be generous; the sponge should be well soaked.
 Vanilla whipped cream:
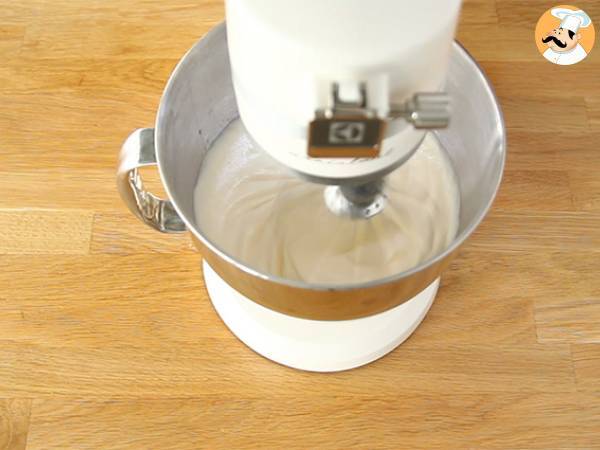
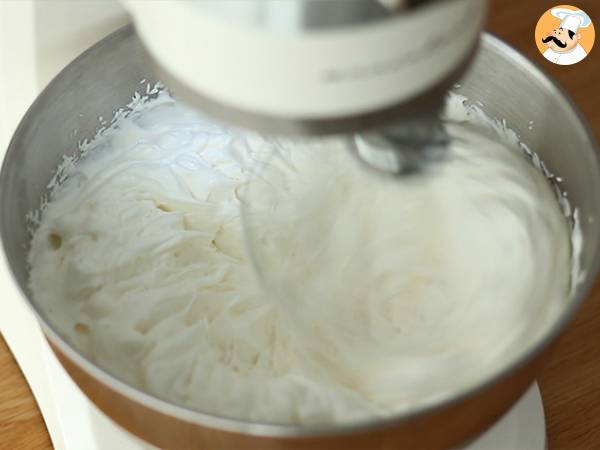
In a bowl, combine the very cold heavy cream, icing sugar, and vanilla bean seeds. Whisk at high speed until it forms whipped cream. Using a piping bag, fill the edges around the sponge cake with whipped cream, then cover the top with a layer of whipped cream, about 1 cm thick.
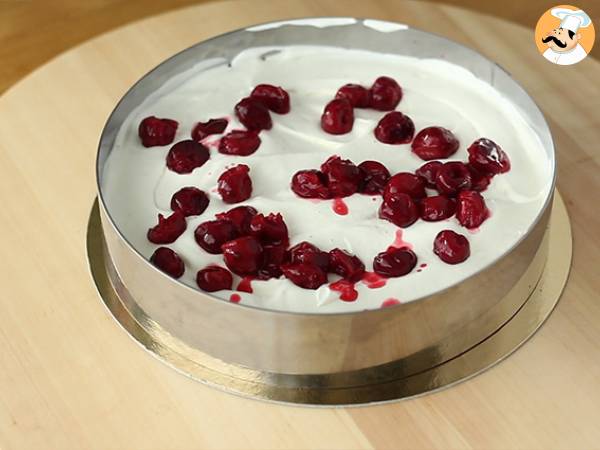 Sprinkle the previously strained cherries on top. Take the bottom half of the sponge cake and flip it over so the bottom of the cake is facing up. Press down to push the cream up the sides.
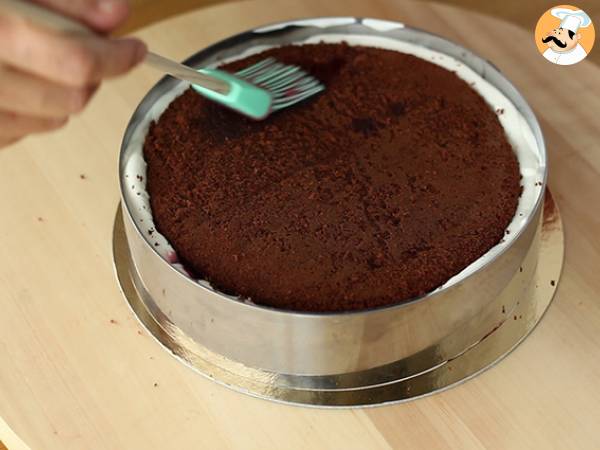 Soak the sponge cake with syrup. If you have leftover syrup, don't worry; it's normal. Then cover everything with whipped cream to fill the ring.
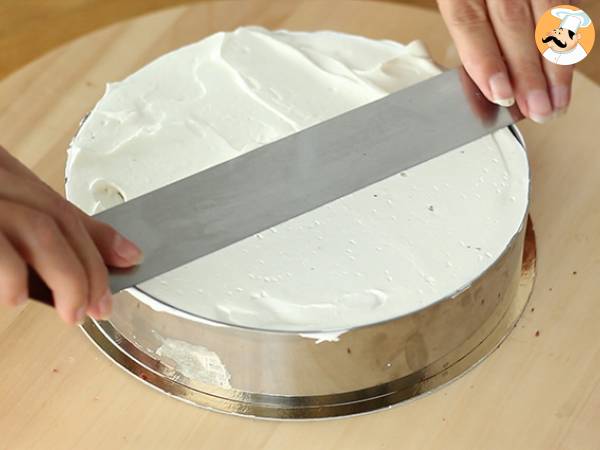 Using a spatula, smooth the top of the cake. Place it in the freezer for about 1 hour. After this time, remove the ring and the acetate strip from around the cake.
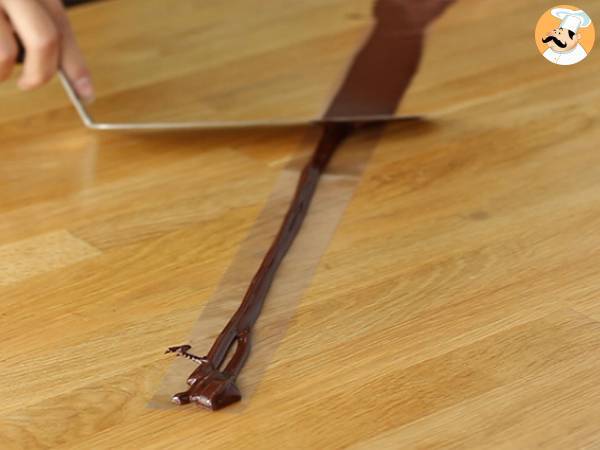 Chocolate ring:
Melt 60 g of chocolate. Cut a strip of acetate to the exact circumference of the cake (62.8 cm). Pour chocolate along the entire length of the acetate strip, and using a spatula, smooth the chocolate to cover the entire strip.
You can see the technique in the video at the bottom of this recipe.
 Gently lift the chocolate strip without touching the chocolate, then carefully place it around the cake. Refrigerate for about 15 minutes to allow the chocolate to set.
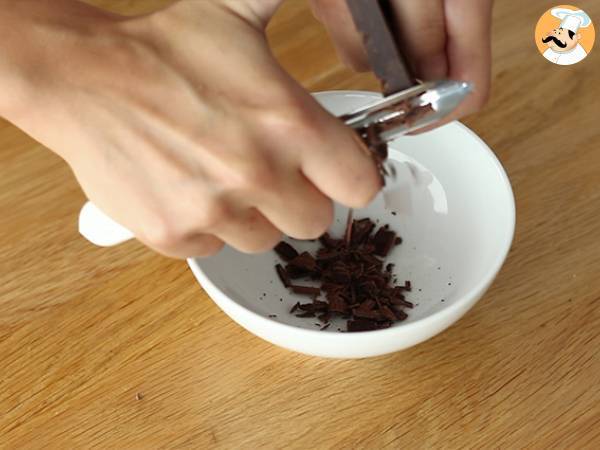 Meanwhile, prepare the chocolate shavings:
Take the remaining 60 g of chocolate and shave it using a vegetable peeler.
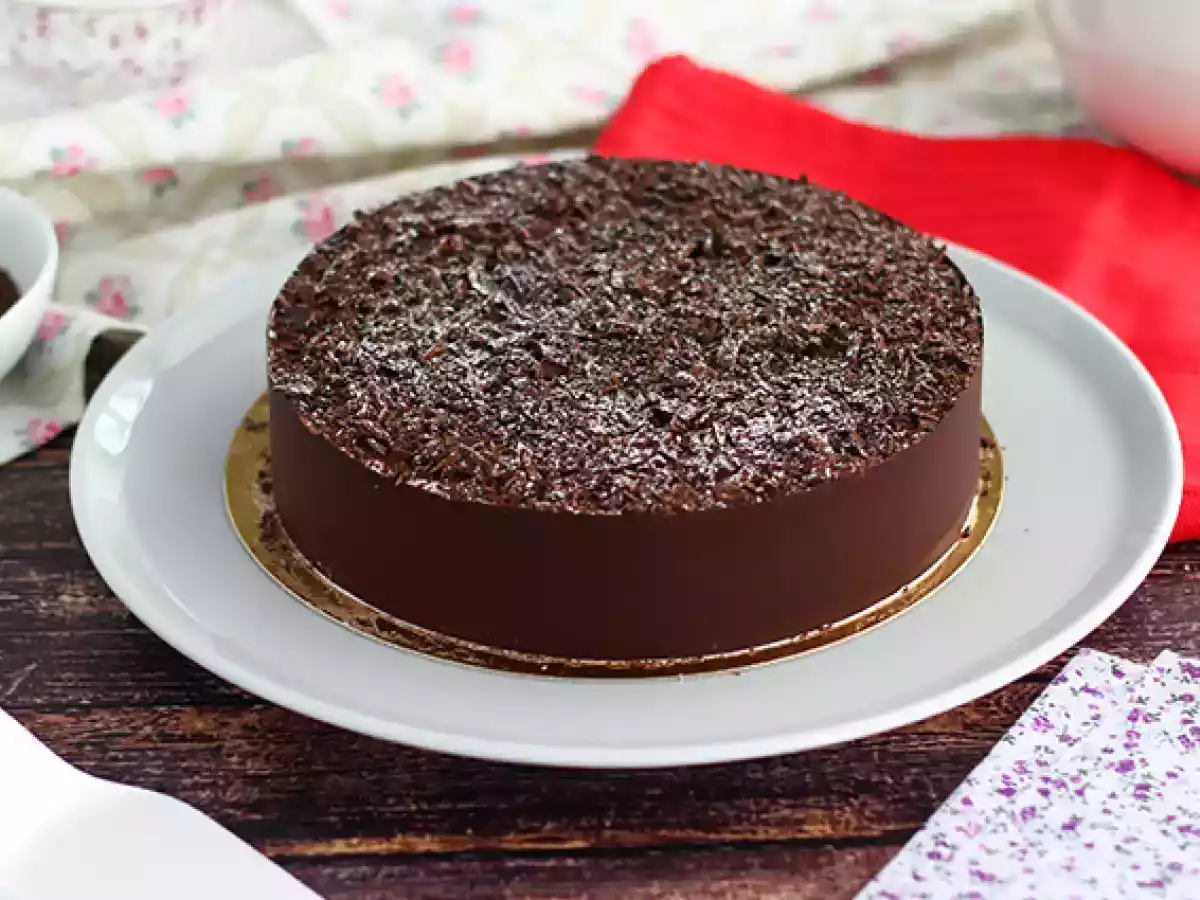
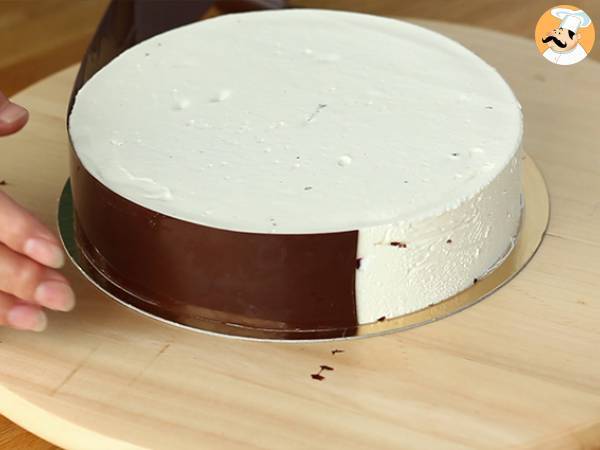
Remove the cake from the refrigerator and take off the acetate strip. The chocolate should stick to the cake.
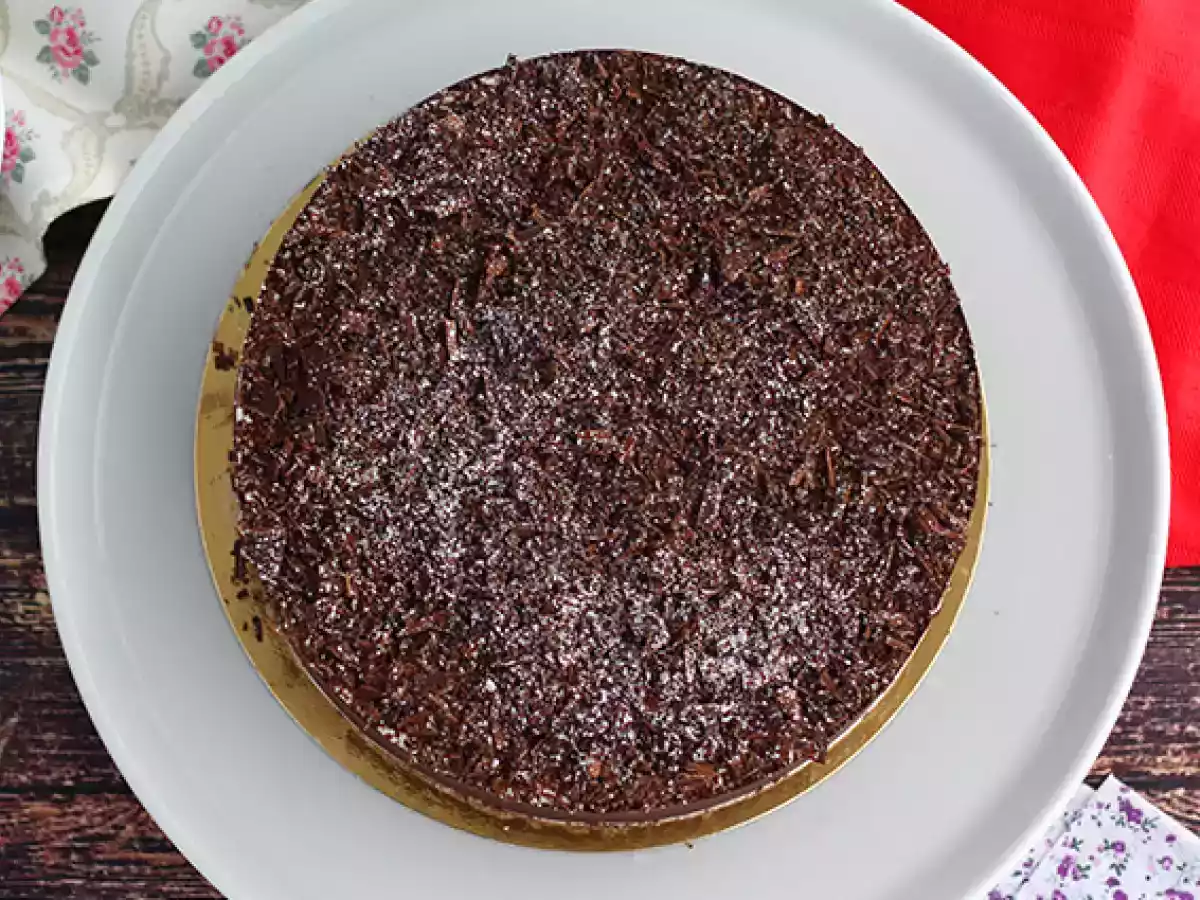
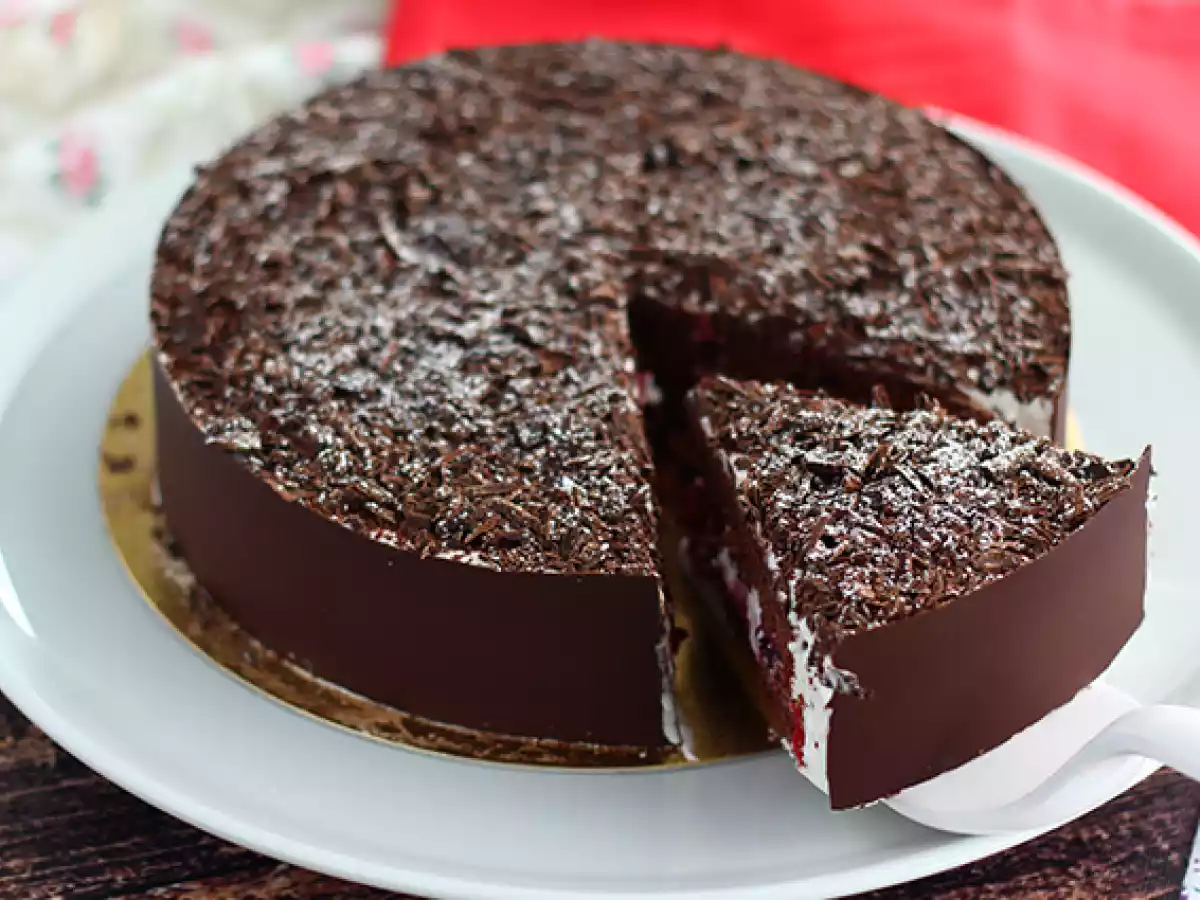
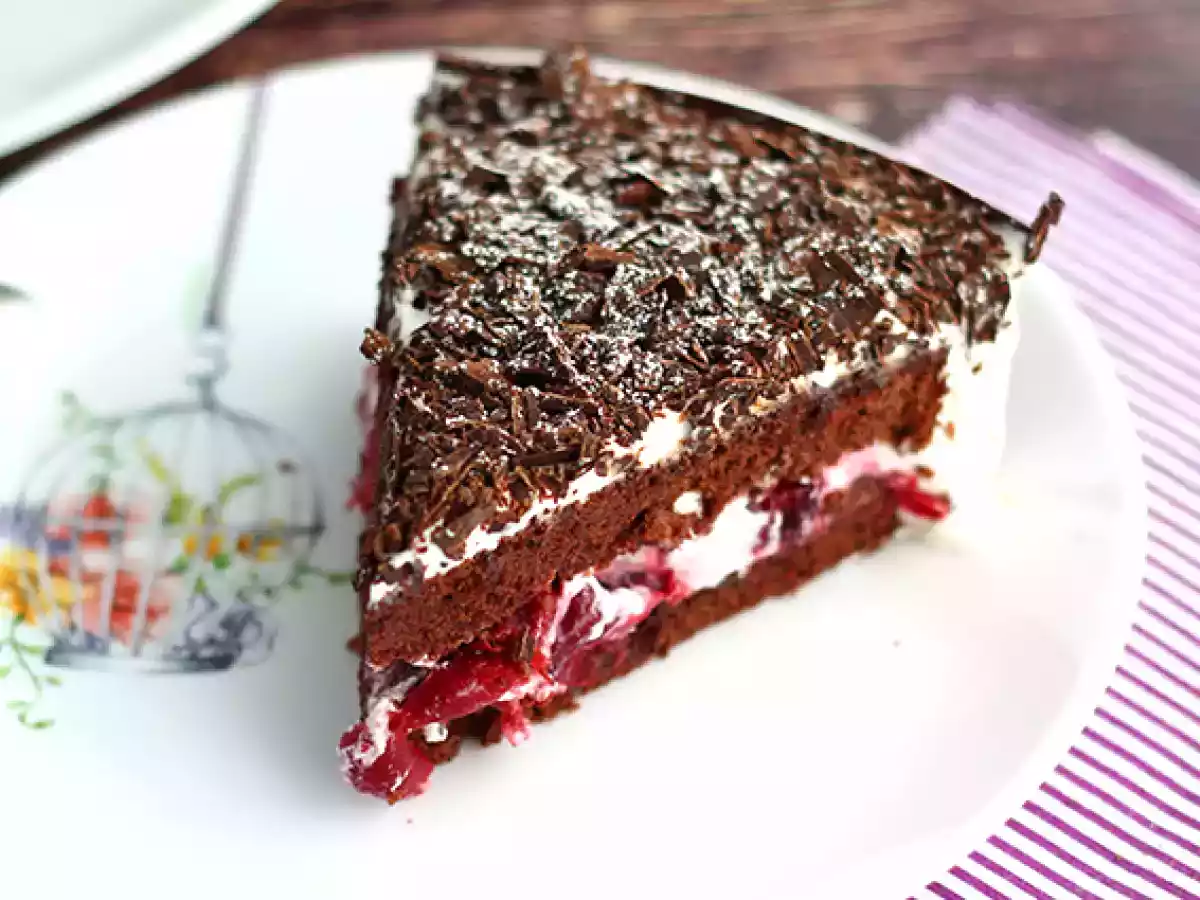
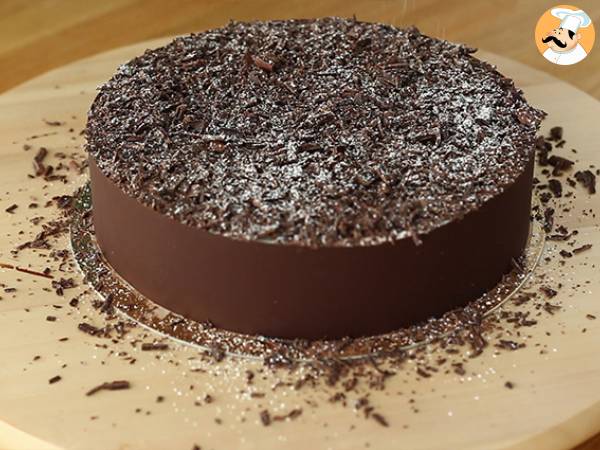 Sprinkle the top of the cake with chocolate shavings to cover all the visible whipped cream. Finish by dusting with icing sugar.
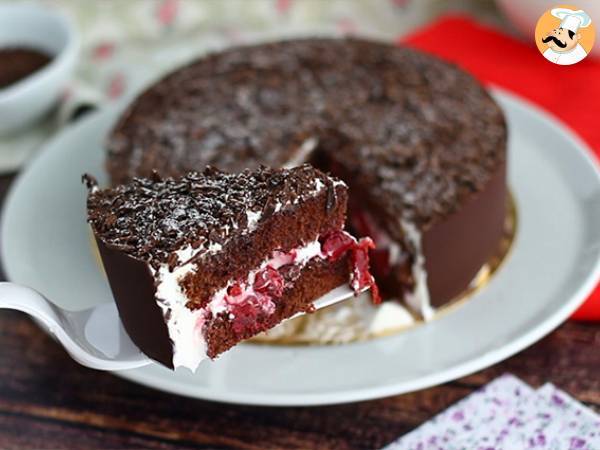 And there you have it, your Black Forest Cake is ready!
Observations
Cherries: You can replace them with canned cherries or fresh cherries if in season.
Kirsch: In this recipe, we use a small amount of alcohol, allowing the kirsch to impart its cherry flavor. If you prefer a more alcoholic Black Forest Cake, feel free to double the amount of kirsch.
Whipped cream: Be mindful of the ambient temperature when making this dessert. Even if the cream is cold, it may not whip if it's too warm. In this case, opt for a heavy cream that whips better, or add a bit of mascarpone to stabilize the cream.
No cake ring? You can use the ring from a springform pan, just be aware that the size will change the proportions of the ingredients.
No acetate? Cut strips of plastic similar to those used for overhead projectors or binder sleeves.
Storage time: Keep this dessert for a maximum of 3 days in the refrigerator.
Nutrition
- Carbo: 48.2g
- Total fat: 19.1g
- Saturated fat: 12.1g
- Proteins: 5.3g
- Fibers: 2.2g
- Sugar: 40.7g
- ProPoints: 11
- SmartPoints: 20
You may like
White forest cake

Dulce de leche cake
Coca cola cake-the perfect funeral food
Passionfruit chiffon cake
Guinness cake - video recipe !
Yummy Icebox Cake
Extra chocolaty molten lava cake
Muesli cake without added sugar - anti-waste recipe perfect for pre-workout!
Old fashioned sour cream pound cake
Black forest cake
Schwarzwald torte black forest cake

Rate this recipe