Christmas tree cake: the only recipe that can replace the yule log!
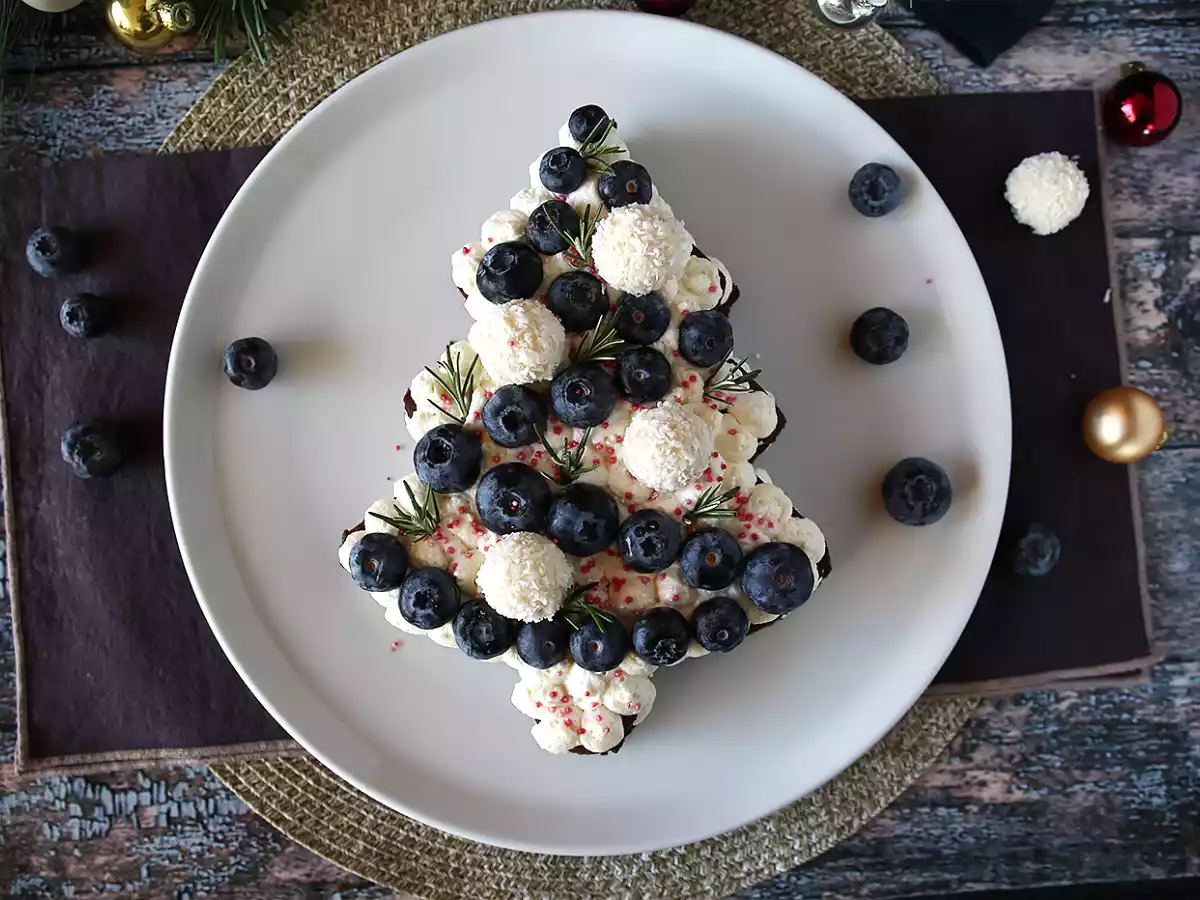
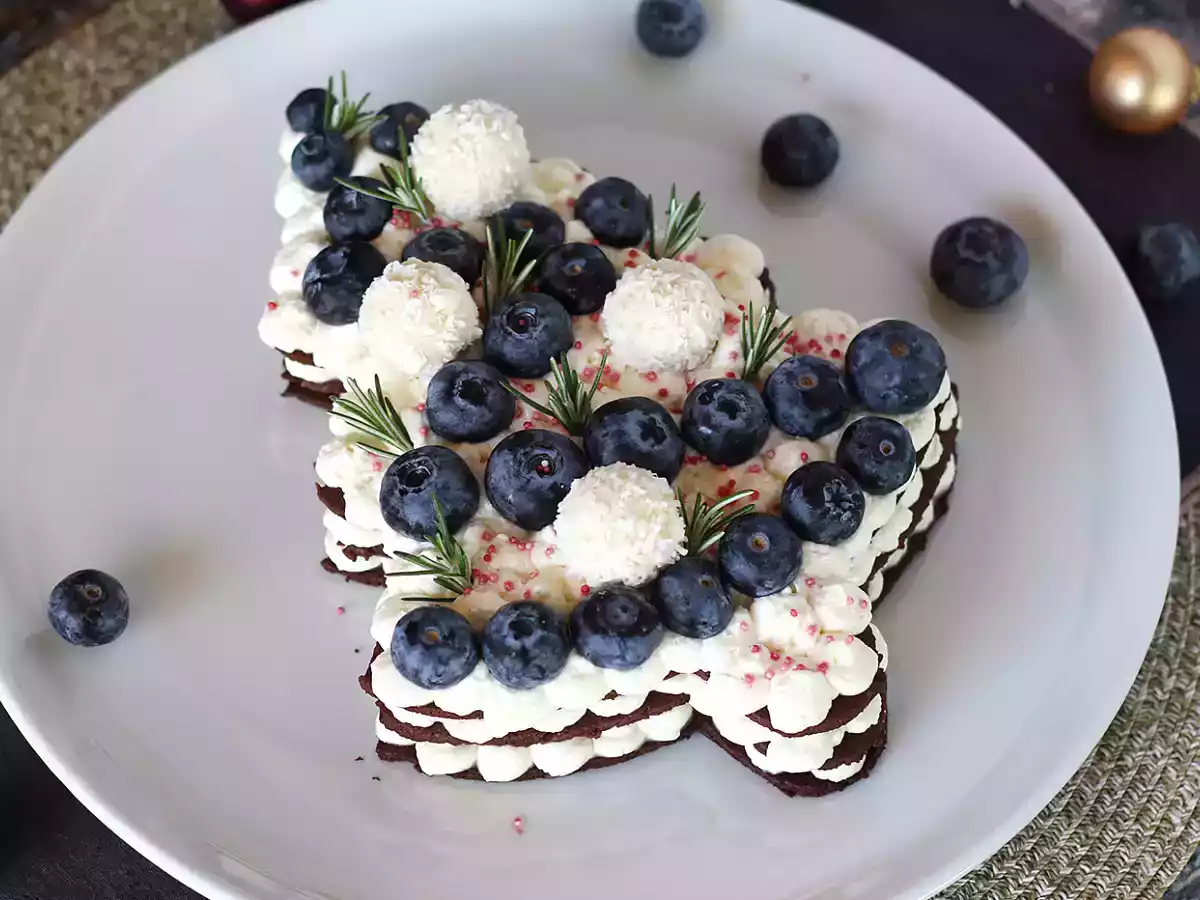
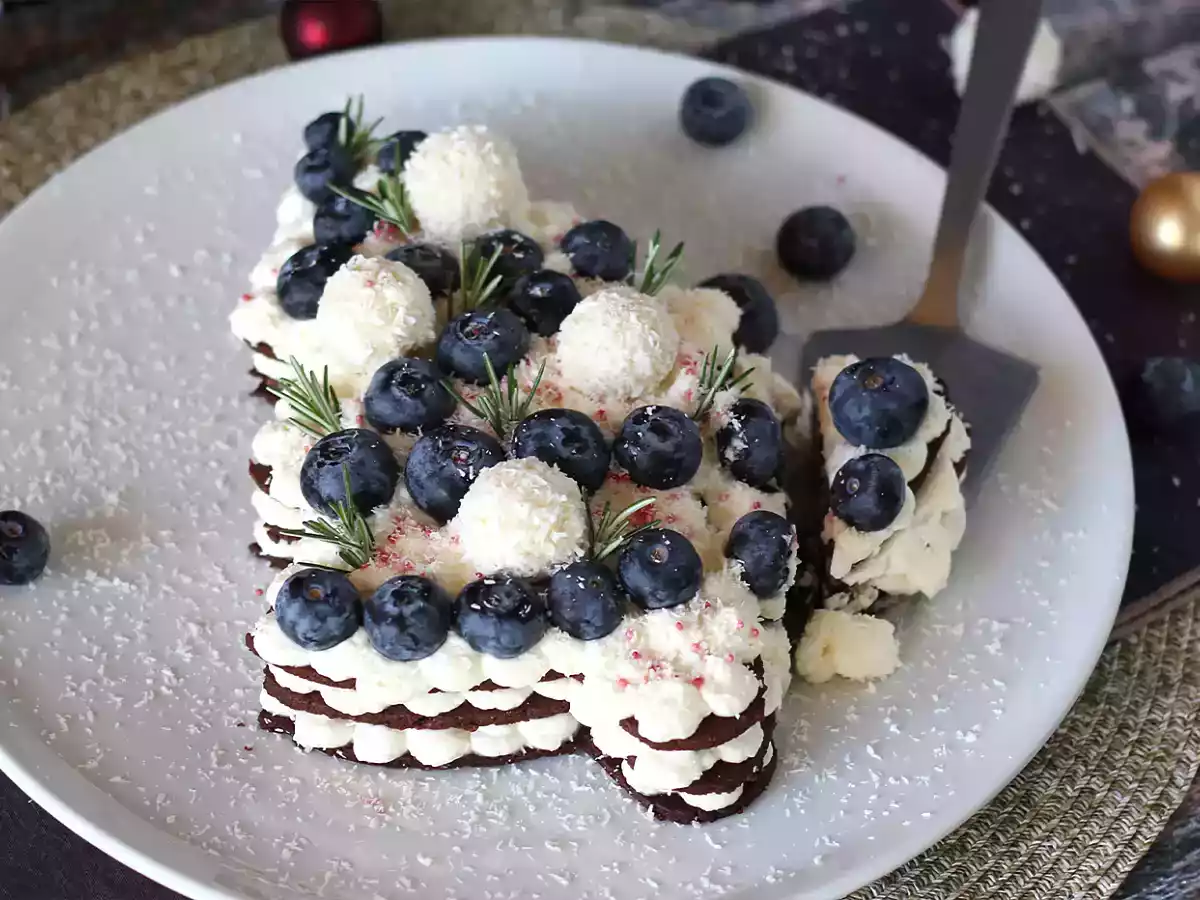
Forget about Yule logs for Christmas dessert! This year, innovate with an equally delicious dessert: the Christmas tree cake. It's easy; just cut out tree shapes from your chocolate shortcrust pastry and layer them with vanilla cream. Decorate with fruits and rosemary for an incomparable Christmas tree and garland effect. Follow our steps below ↓
Ingredients
20
Chocolate shortcrust pastry:
Vanilla cream:
To decorate:
Materials
- parchment paper
- rolling pin
- electric mixer
- piping bag
- star tip
- pastry scraper or spatula
- Christmas tree stencil
Preparation
Preparation30 min
Waiting time1 h 15 m
Cook time12 min
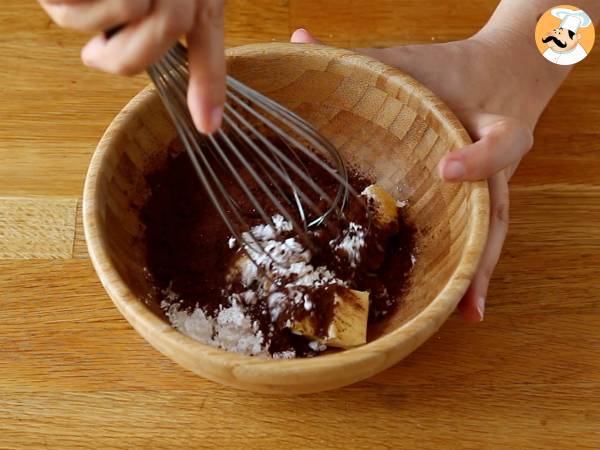 Chocolate shortcrust pastry:
Mix softened butter, icing sugar, vanilla sugar, salt, and cocoa.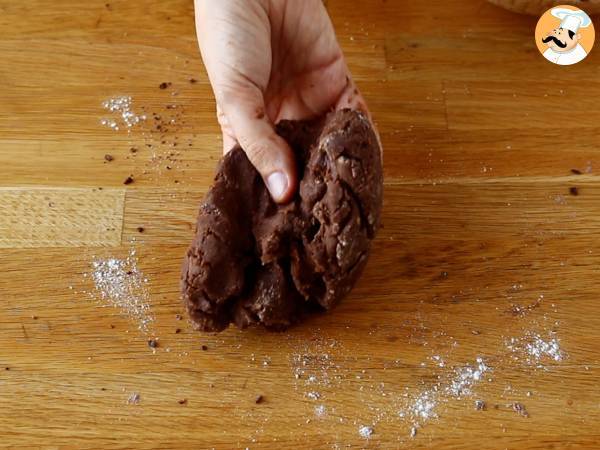 Add an egg and mix again until crumbly. Add the flour and finish mixing by hand until you have a uniform dough.
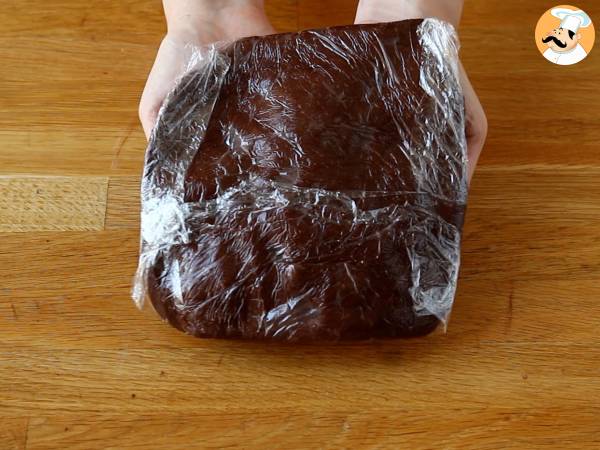 Form a ball, flatten it, then wrap it in plastic wrap and refrigerate for 1 hour.
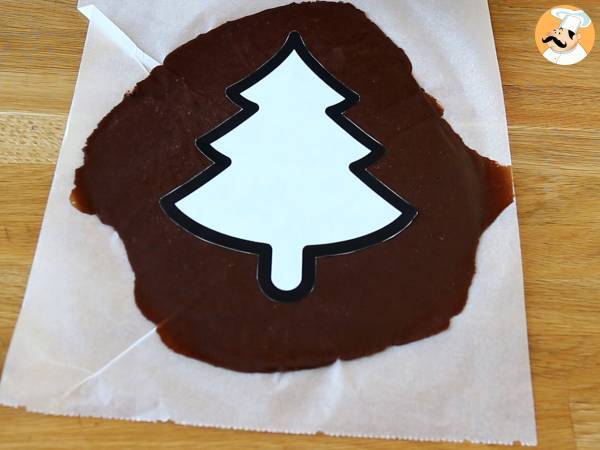 Divide the dough into 2. Roll out both pieces. Place the stencil on the dough and cut out the tree shape. Refrigerate for 15 minutes, then remove the excess dough.
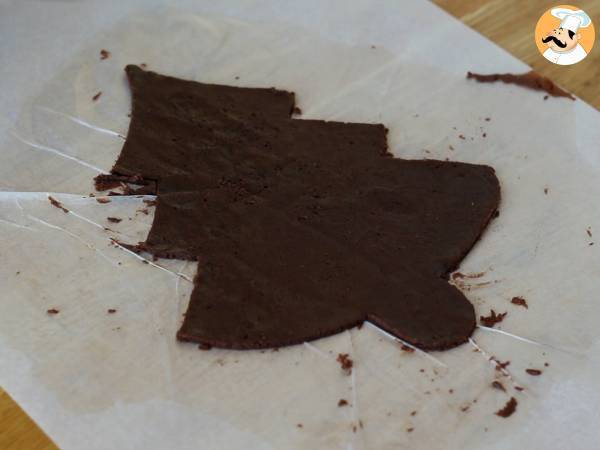 Preheat the oven to 350°F (180°C). Use the excess dough to make a third Christmas tree. Refrigerate before removing the excess dough (it will be easier to remove).
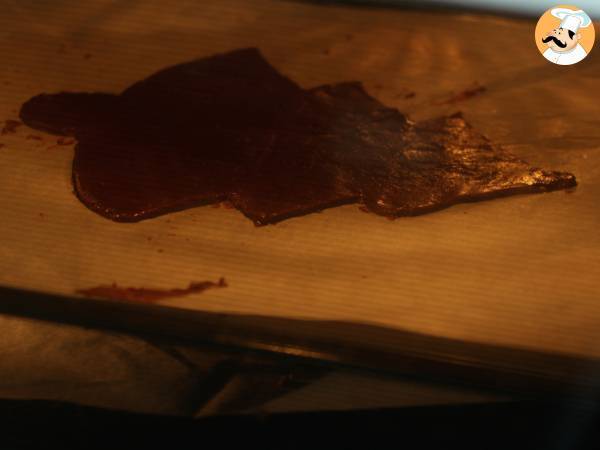 Place the Christmas trees on baking trays lined with parchment paper and bake for 12 minutes at 350°F (180°C). (The oven should be preheated beforehand).
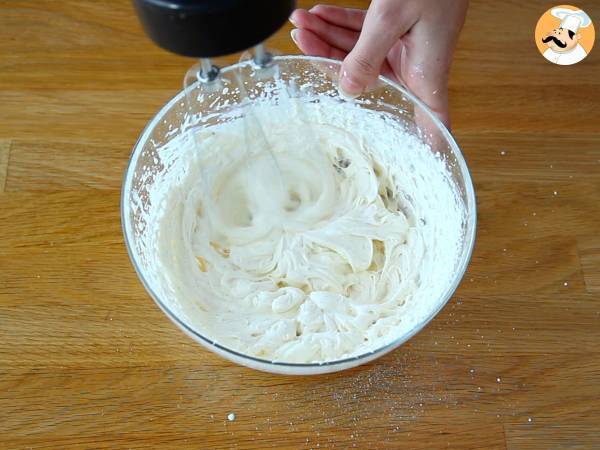 Mascarpone cream:
Put the cream and mascarpone in the freezer for 15 minutes before use. Whip the cream with the mascarpone, icing sugar, and vanilla bean until you have a firm cream.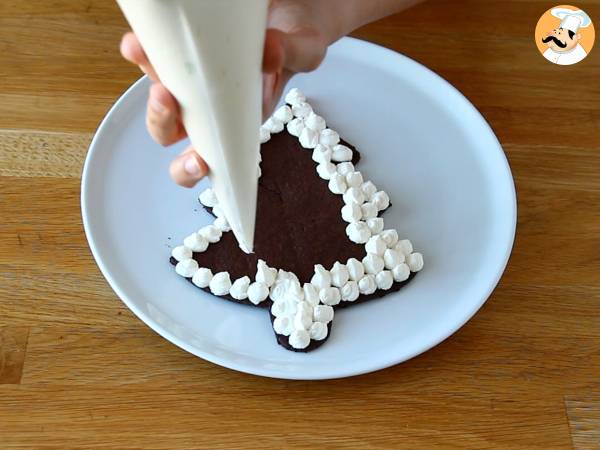 Let the shortbread trees cool. Transfer the cream into a piping bag. Place the first tree on the serving platter. Pipe small dollops of cream over the entire surface of the shortbread.
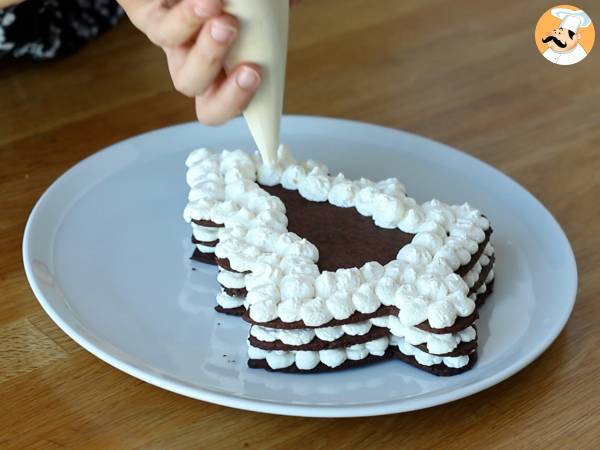 Place the second shortbread on top and pipe cream again over the surface. Repeat with the third shortbread.
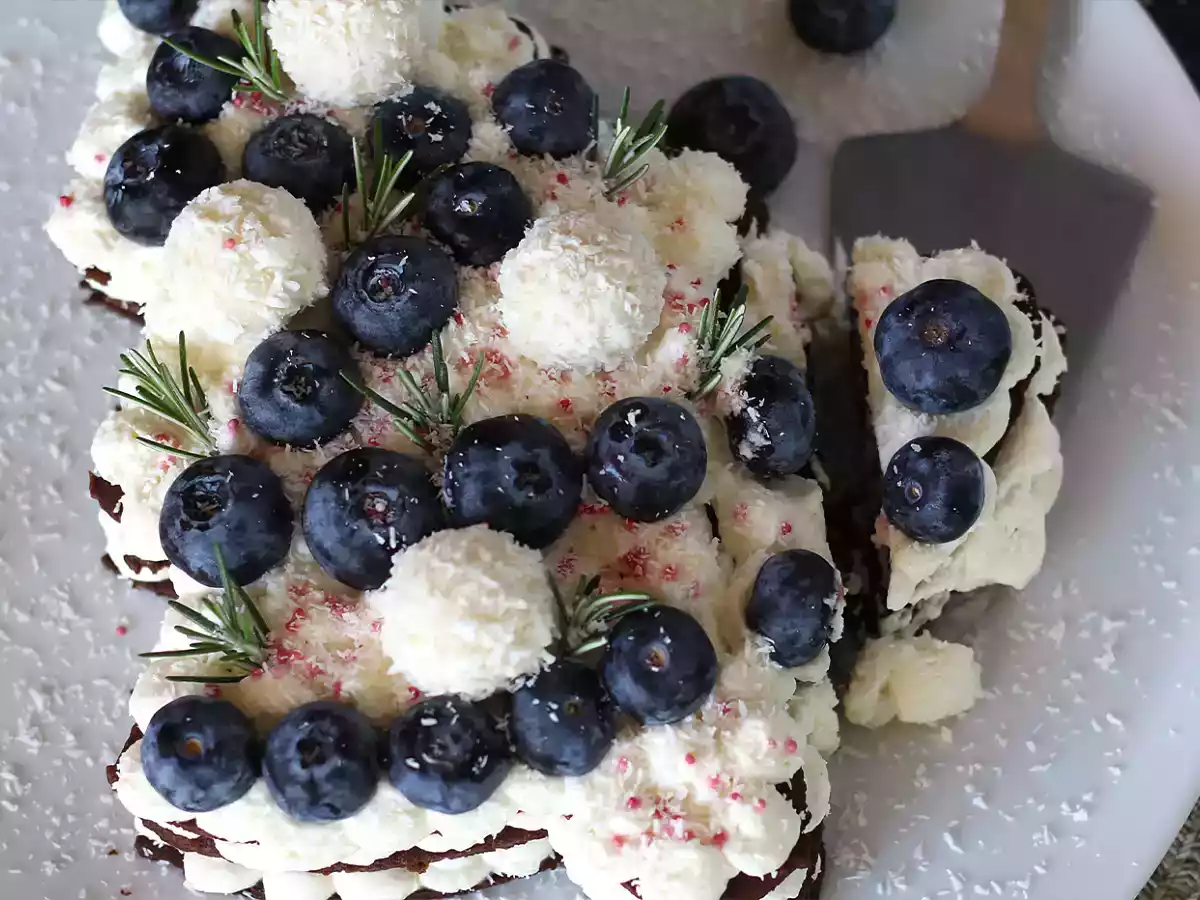
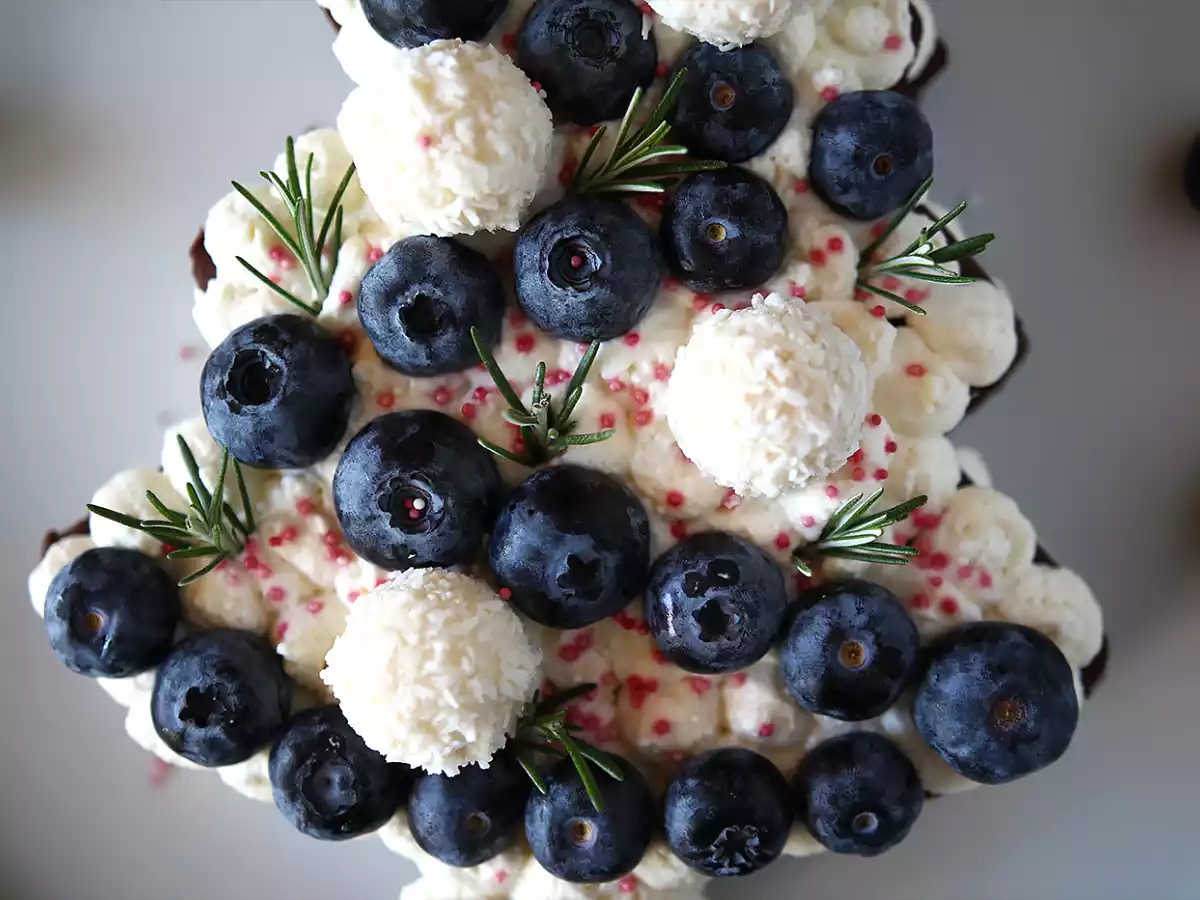
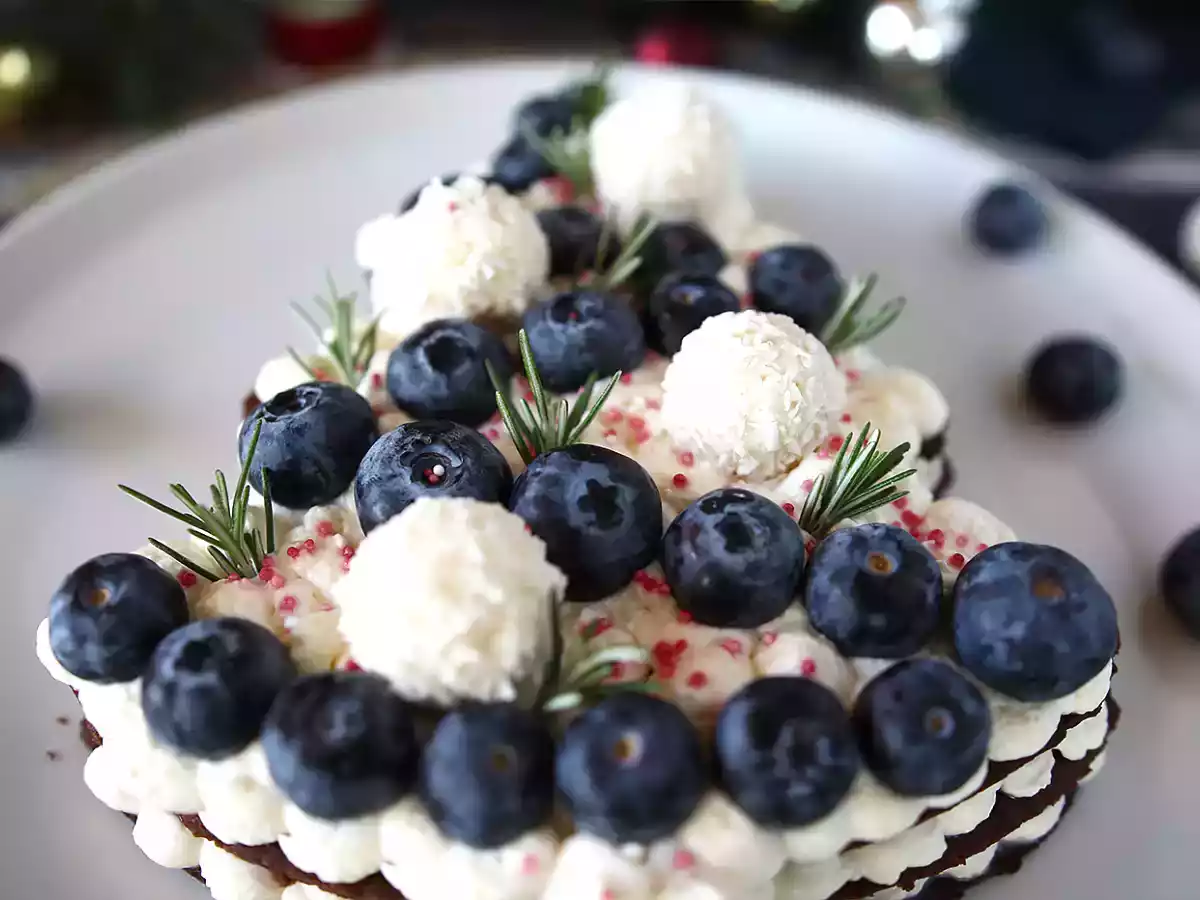
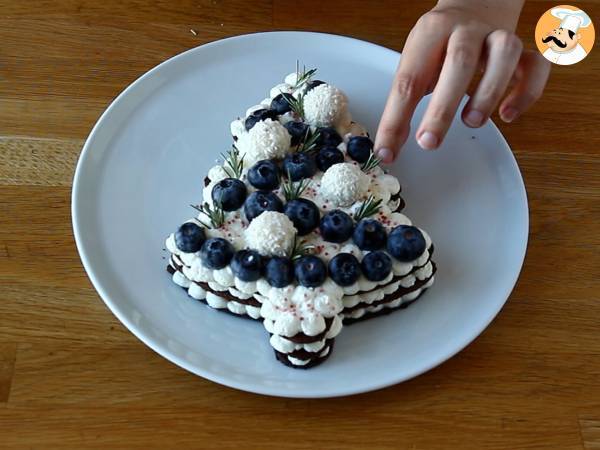 Decorate the Christmas tree: we made a garland of blueberries, added Raffaello balls, and small colored pearl sprinkles. We also added fresh rosemary for the branches and grated coconut for the snow.
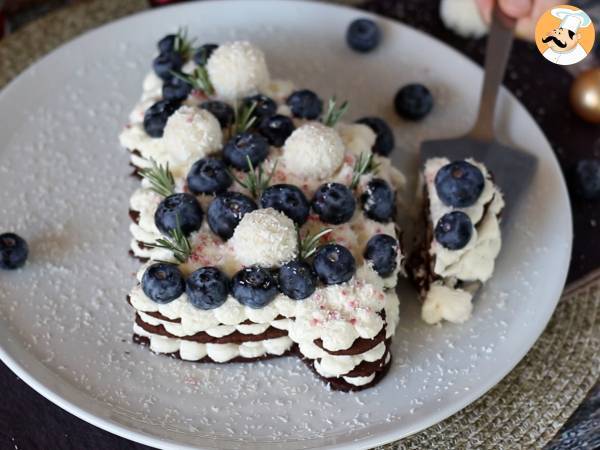 And there you have it, your Christmas tree cake is ready!
Observations
You can decorate your tree with many other fruits and treats to create your own original Christmas tree! Feel free to post a photo in the recipe comments :-D
You can replace the cocoa with almond flour and the vanilla bean with 1 teaspoon of vanilla extract or coffee extract, for example.
Nutrition
for 1 serving / for 100 g
Calories: 221Kcal
- Carbo: 18g
- Total fat: 20g
- Saturated fat: 13.8g
- Proteins: 3.1g
- Fibers: 1.7g
- Sugar: 10.7g
- ProPoints: 7
- SmartPoints: 11
Nutritional information for 1 serving (75g)
Cookware
oven
Attributes
Keep refrigerated
Questions
Photos of members who cooked this recipe
Comments
Rate this recipe:
3/5, 2 votes
Rate this recipe