Easter bunny tart with chocolate eggs
vote now
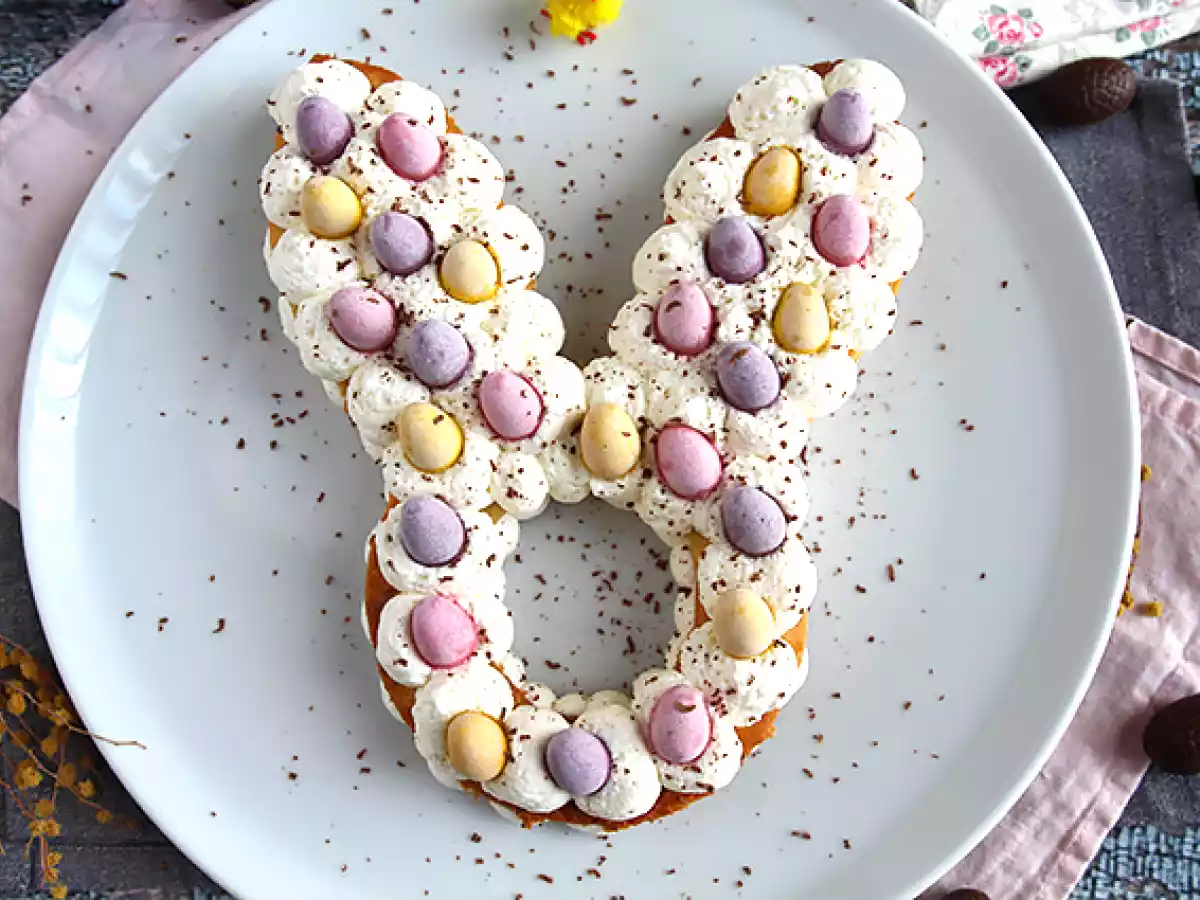
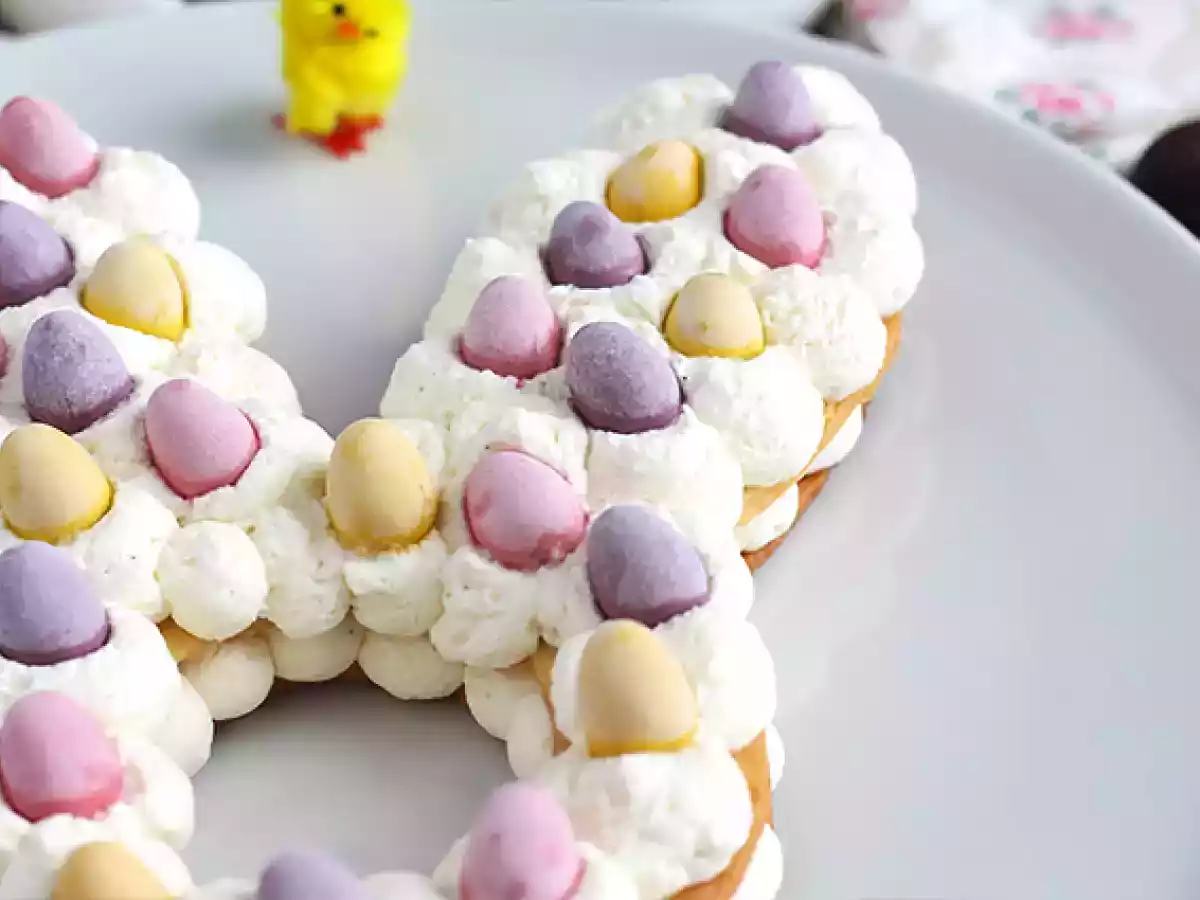
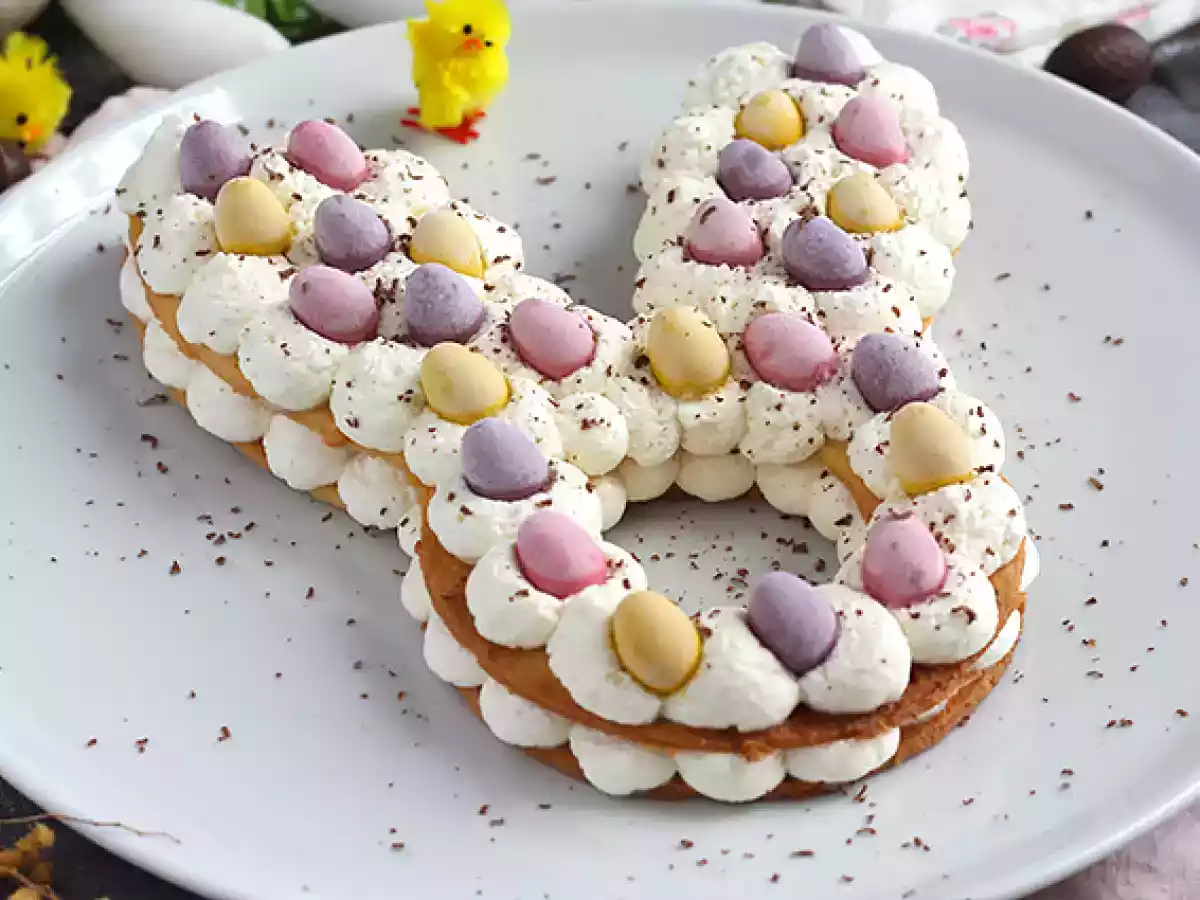
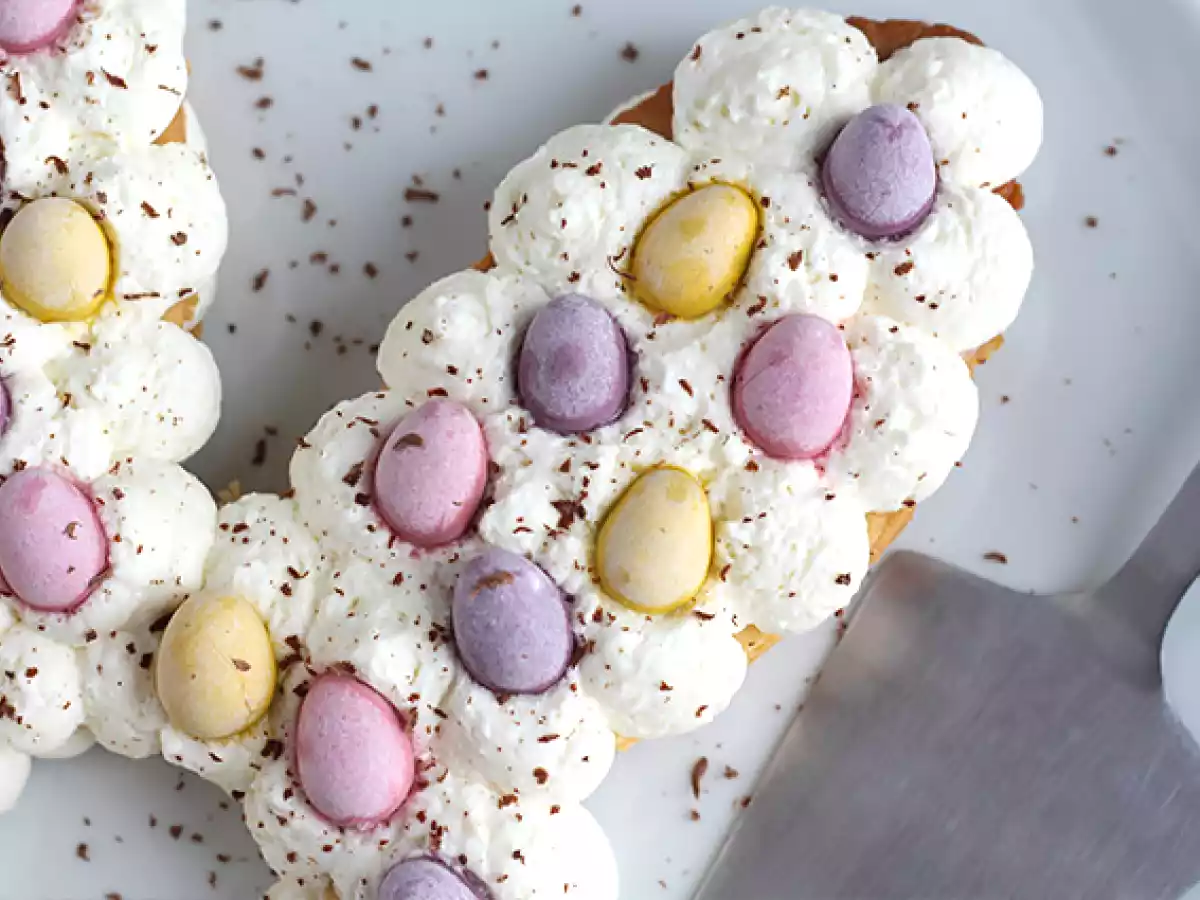
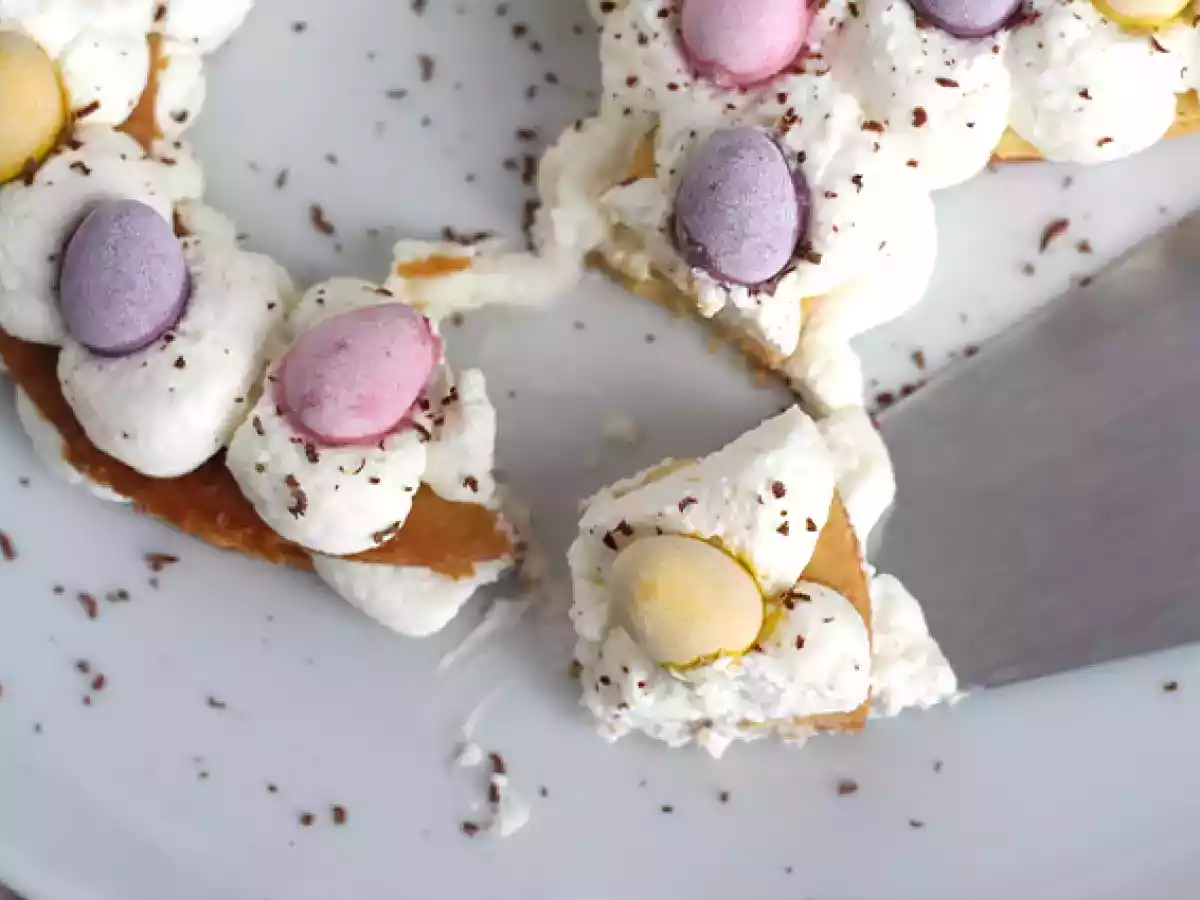
The bunnies are out celebrating Easter! They’re even knocking at your door at dessert time with this pretty tart, made with shortcrust pastry and generously filled with mascarpone whipped cream. All that’s left is to decorate it with chocolate eggs. Make this bunny tart step by step with our detailed recipe below ↓
Ingredients
10
Shortcrust pastry:
Mascarpone whipped cream:
Decoration:
Estimated cost: 7.69Euros€ (0.77€/serving)
Materials
- Bunny stencil
- Piping bag (optional)
- Round piping tip (10 mm diameter) (optional)
Preparation
Preparation30 min
Waiting time1 h 30 m
Cook time12 min
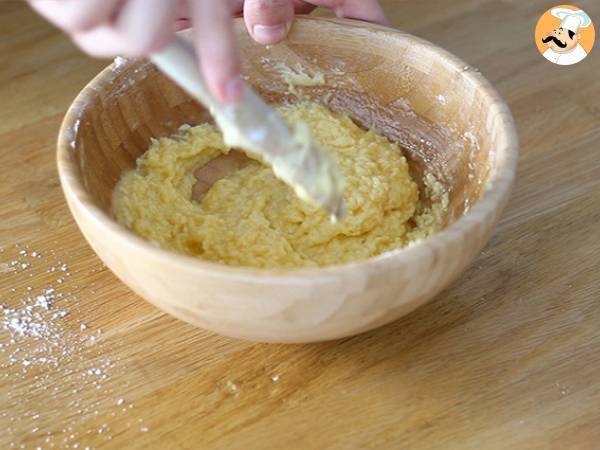 For the shortcrust pastry:
Mix softened butter, icing sugar, almond meal, vanilla sugar, and salt until creamy. Add the egg and mix. The texture will become crumbly.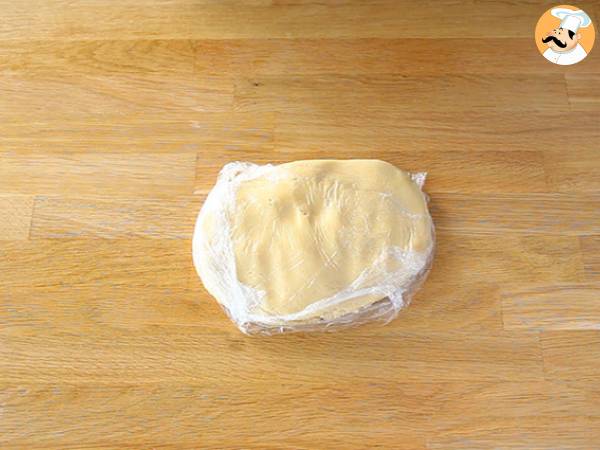 Add the flour and mix with your hands until the dough is smooth and uniform. Shape it into a ball, wrap it in plastic wrap, and flatten it slightly. Refrigerate for 1 hour.
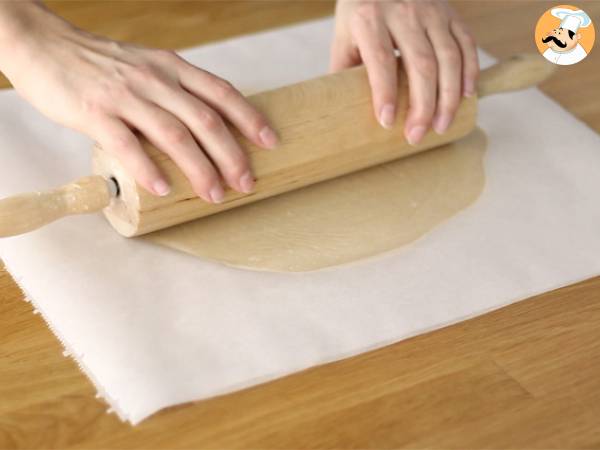 Divide the dough in half and roll out the first piece very thinly between two sheets of parchment paper.
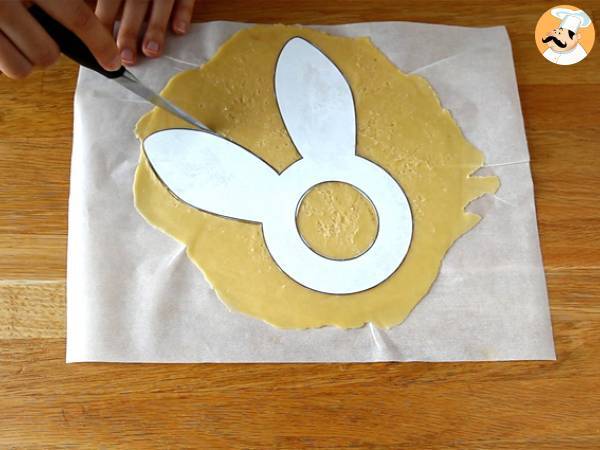 Print the bunny stencil (or your desired shape) and cut out the outline. Place the stencil on the dough and trace the outline with a knife. Repeat with the second piece of dough.
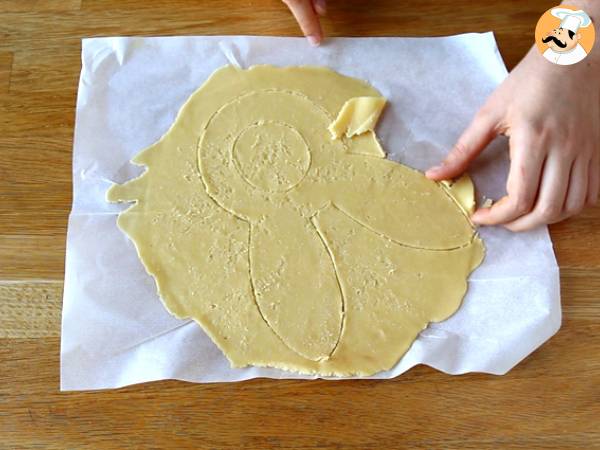 Chill both doughs for 30 minutes, then remove the excess dough.
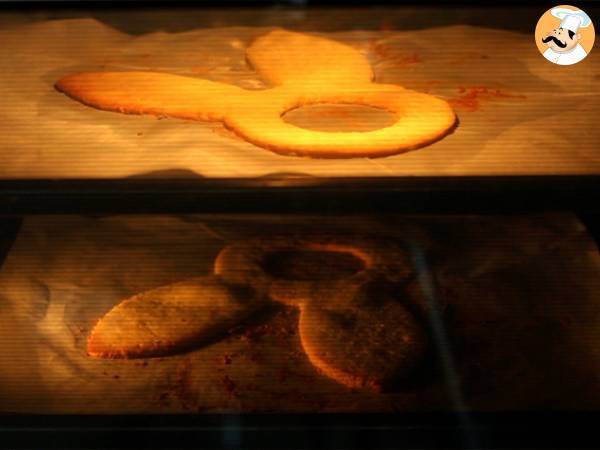 Bake both bunny shapes in a preheated oven at 180°C (350°F) for 12 minutes. Remove from the oven and let cool completely.
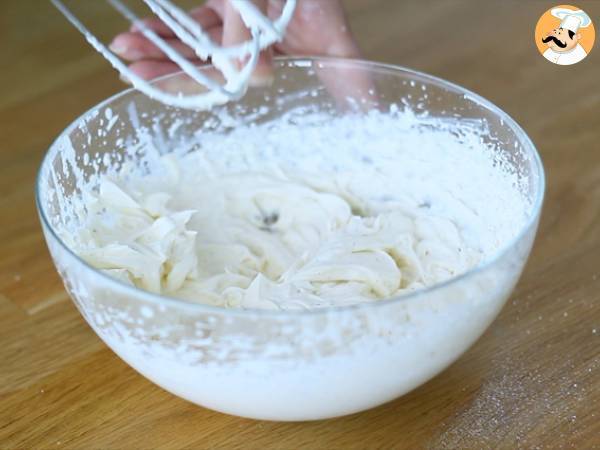 For the mascarpone whipped cream:
Whisk the very cold cream with the mascarpone, icing sugar, and vanilla bean. Once the whipped cream is ready, transfer it to a piping bag fitted with a round piping tip.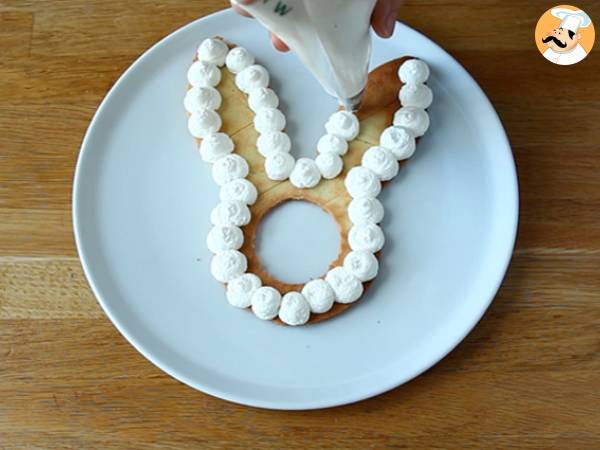 Place the first baked bunny crust on a serving plate (it’s okay if it breaks). Pipe the whipped cream in small dollops over the entire surface of the crust.
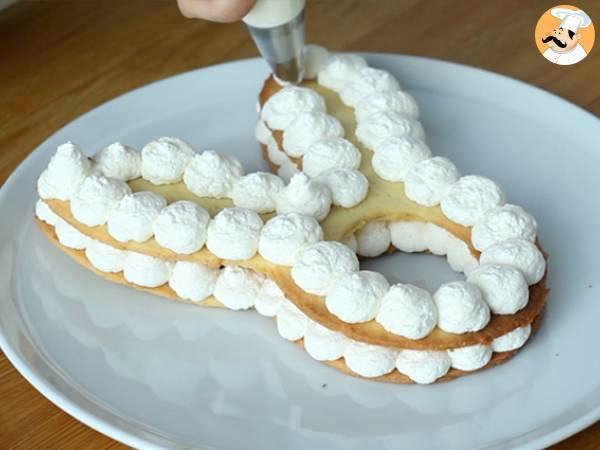 Place the second bunny crust on top and apply another layer of whipped cream over the entire surface.
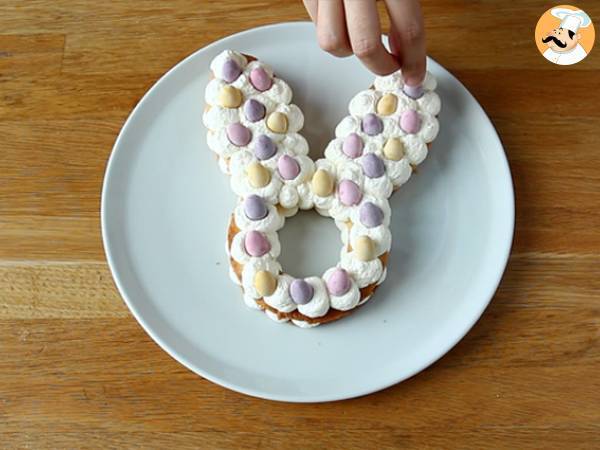 Add your toppings to the cream: we used colorful Easter eggs, but you can vary the toppings by adding fruit, for example.
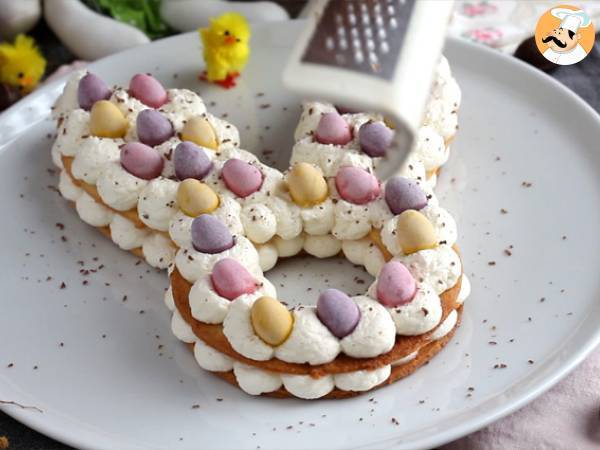 Grate some dark chocolate on top, and there you have it: your bunny tart is ready! It will taste even better after a night in the fridge ;-)
Observations
With these quantities, you can make two bunny tarts or several individual mini tarts in addition to your main bunny tart.
Feel free to vary the toppings: fruits, meringues, chocolate bars, chocolate eggs, marzipan...
Nutrition
for 1 serving / for 100 g
Calories: 377Kcal
- Carbo: 43.7g
- Total fat: 29.4g
- Saturated fat: 17.8g
- Proteins: 7.1g
- Fibers: 2g
- Sugar: 27g
- ProPoints: 13
- SmartPoints: 19
Nutritional information for 1 serving (133g)
Cookware
oven
Attributes
Keep refrigerated
 PetitChef_Official
You may like
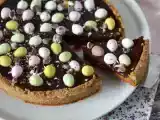
Easter tart, chocolate and caramel
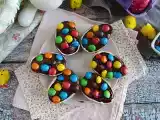
Easter eggs filled with chocolate dessert cream and m&m's
Pandan egg tart
Hong kong egg tarts

Pasteis de nata (little portuguese egg tarts)
Chocolate tart - video recipe!
Caramel and chocolate tarts
Clementine darling tart with chivalrous chocolate crust
Quick & easy egg tarts
Brownie with leftover easter chocolate
Oreo and chocolate tart - no bake

Cookies made with leftover easter chocolates
Questions
Photos of members who cooked this recipe
 Juliette Hess
I have been creating culinary content for Petitchef since 2017.
I love travelling and discovering new dishes, trying out new food trends and exploring new restaurants.
I’m a huge fan of pasta and noodles in all their forms ❤ from udon noodles to tagliatelle, I love cooking them and even making them from scratch!
I’m currently preparing, filming and photographing your next recipe, and I hope you’ll enjoy it!
Comments
Rate this recipe:
Rate this recipe