Easy apricot clafoutis
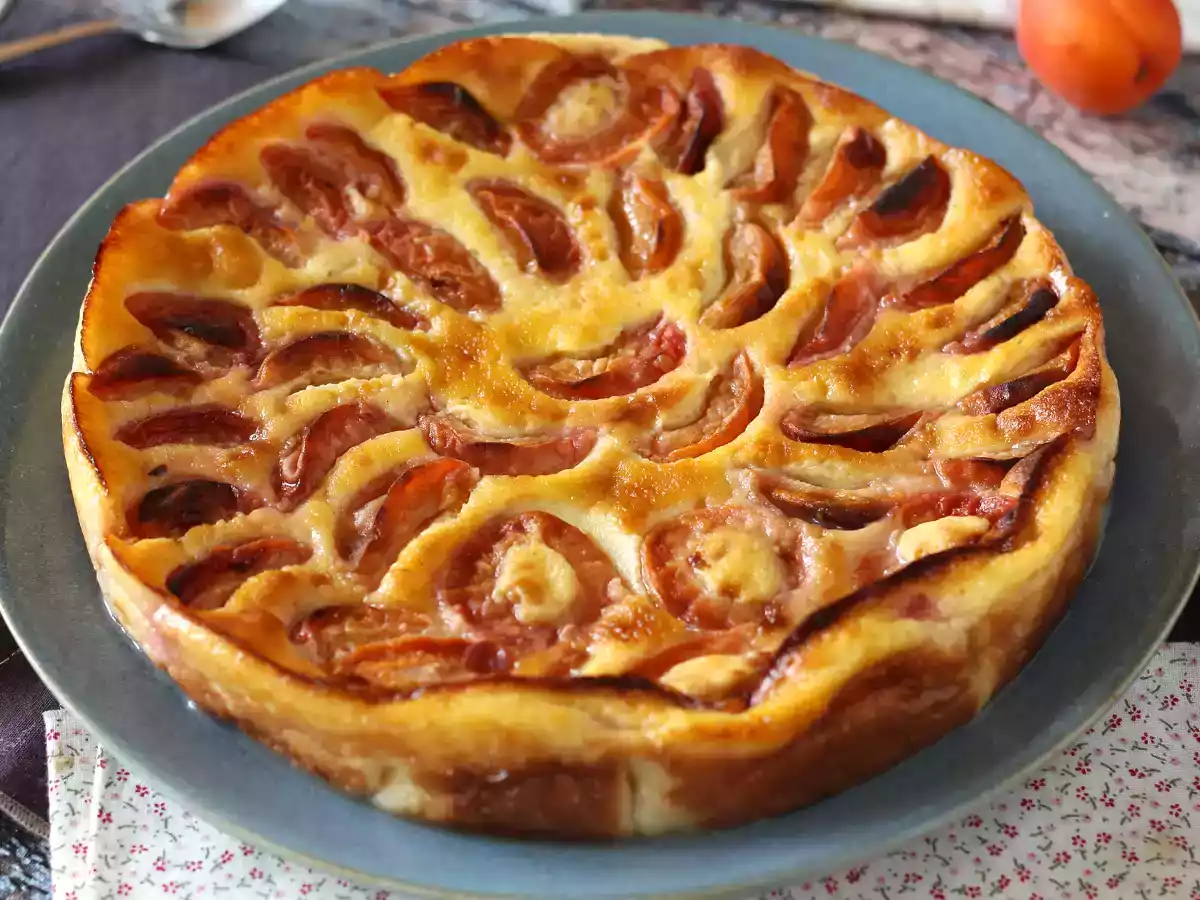
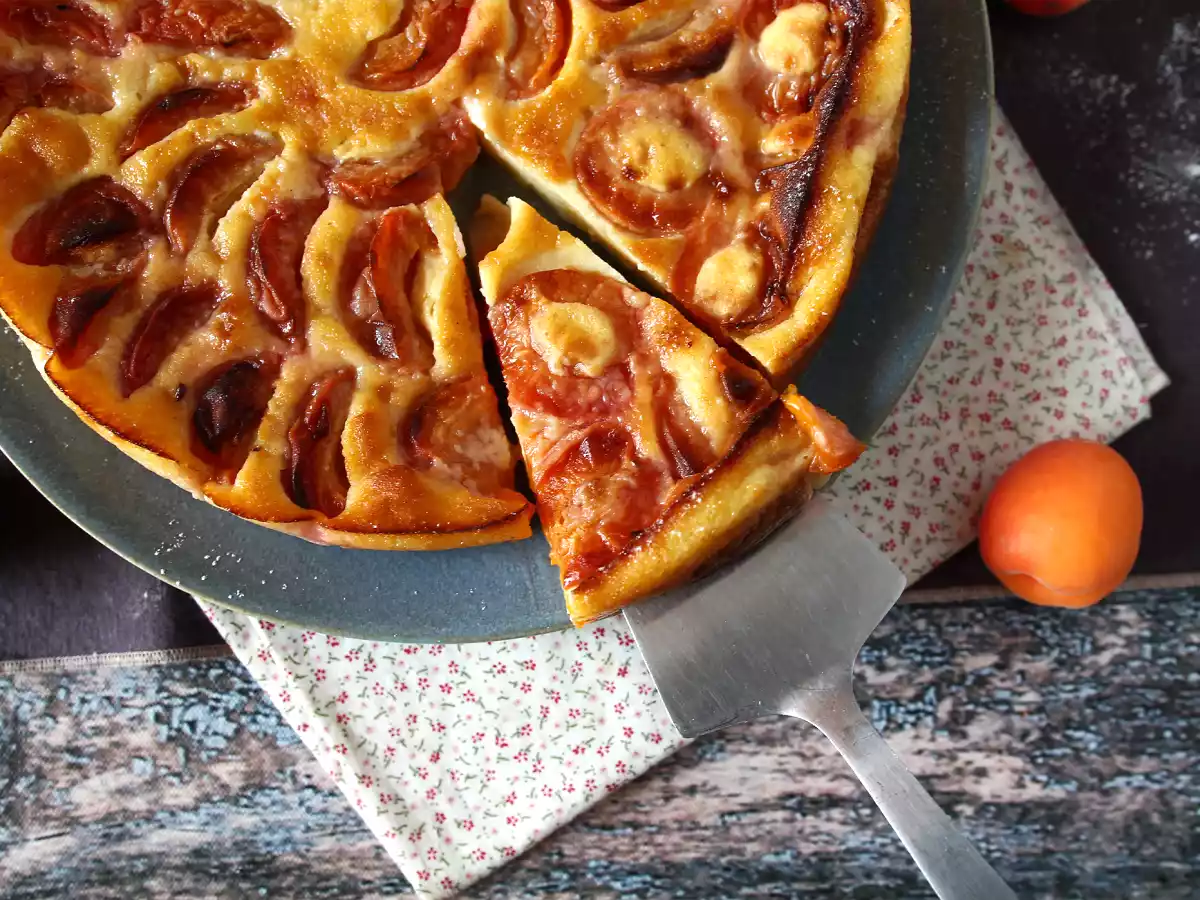
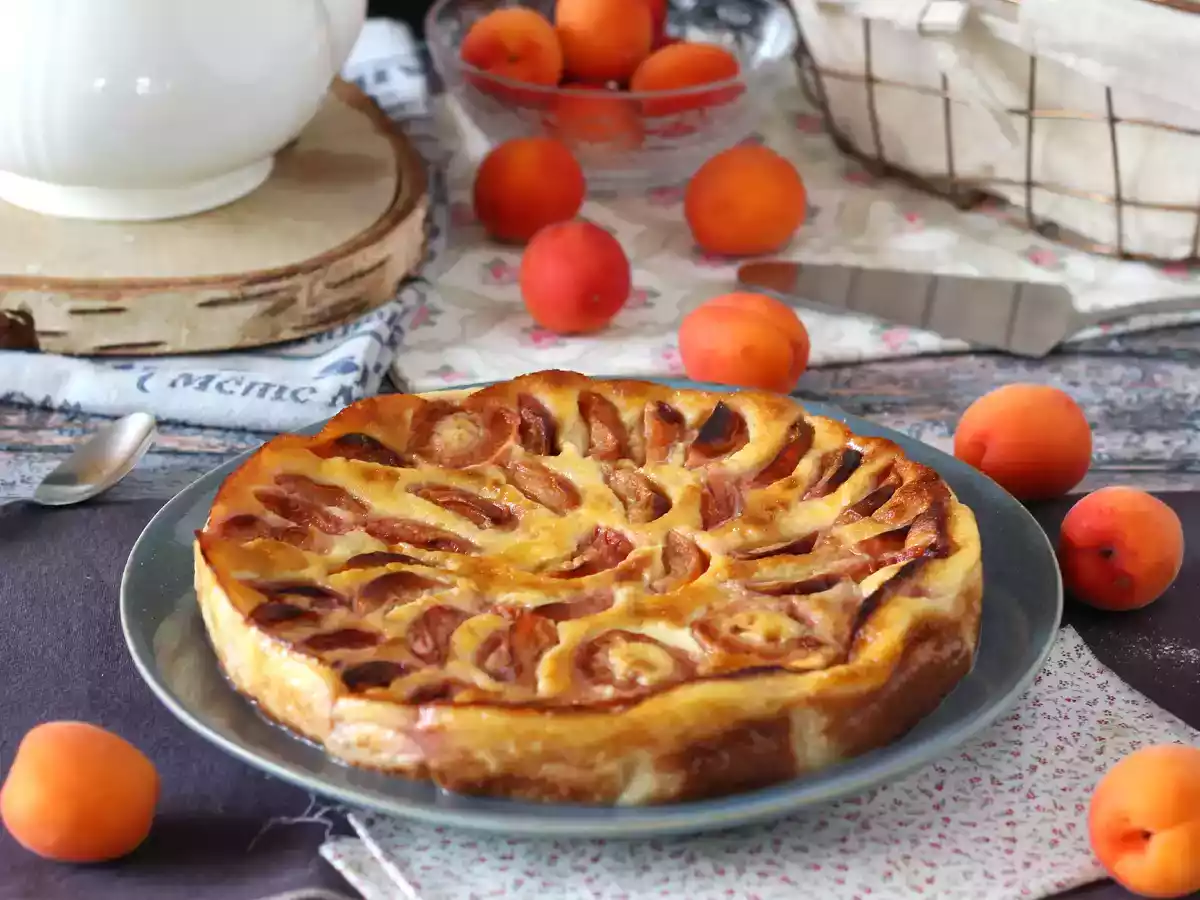
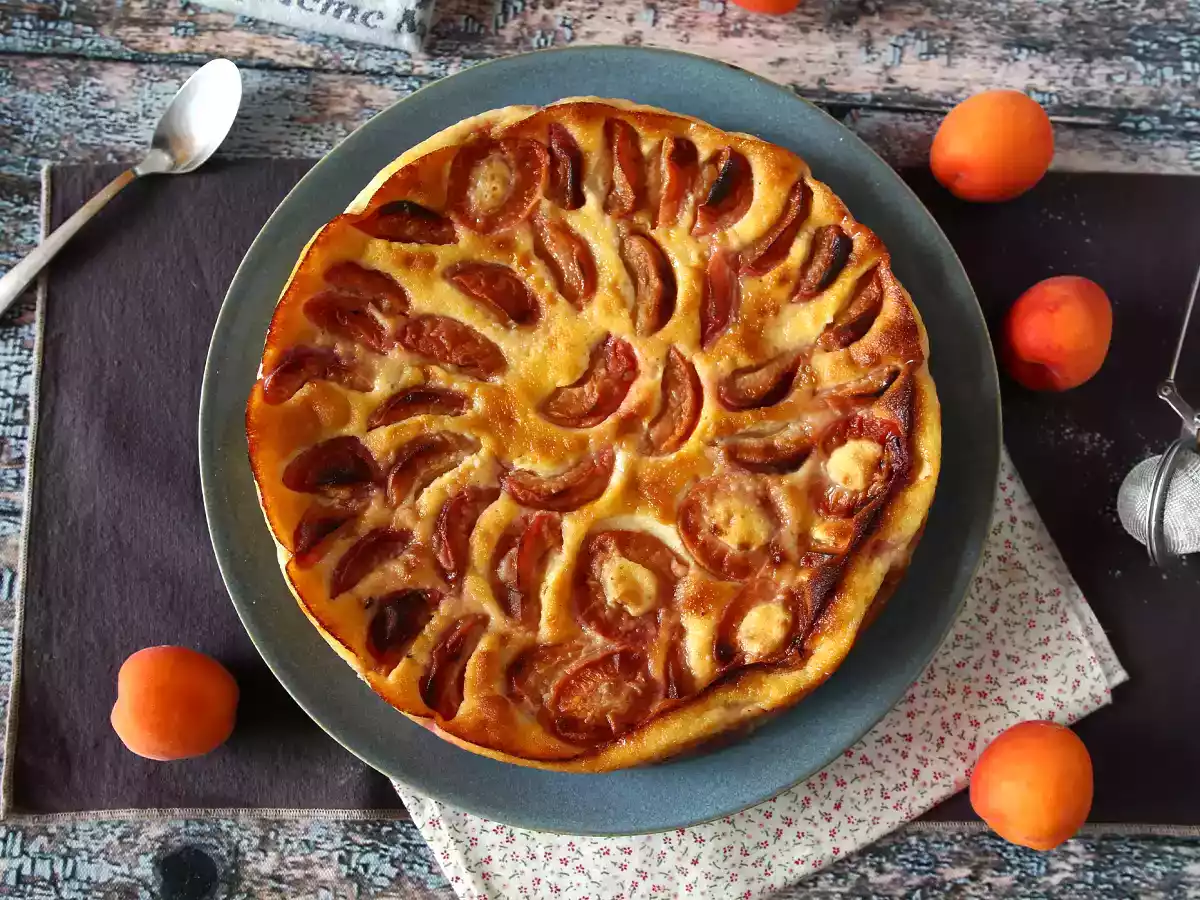
Let's make a delicious clafoutis for dessert! You'll love the taste of roasted apricot and the softness of this cake.
Ingredients
Materials
- Bowl
- Whisk
- 8.5 inches (22cm) diameter pan
Preparation
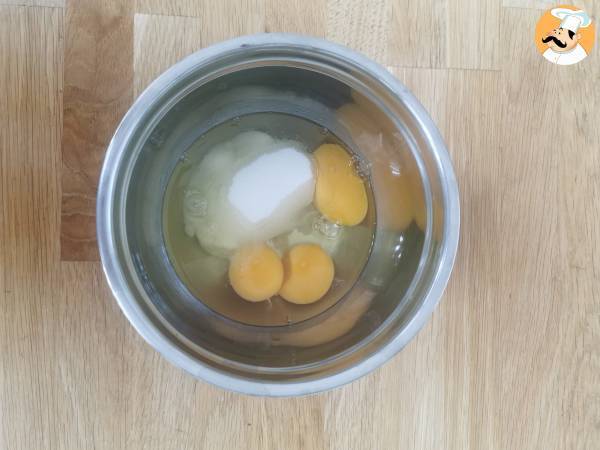 Combine eggs and sugar in a bowl with a whisk.
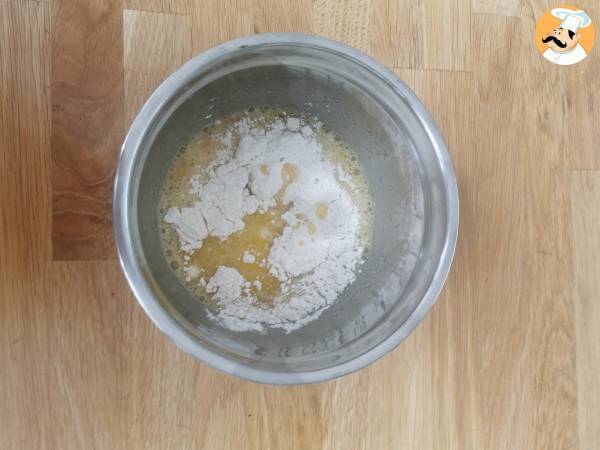 Add flour and melted butter and mix again.
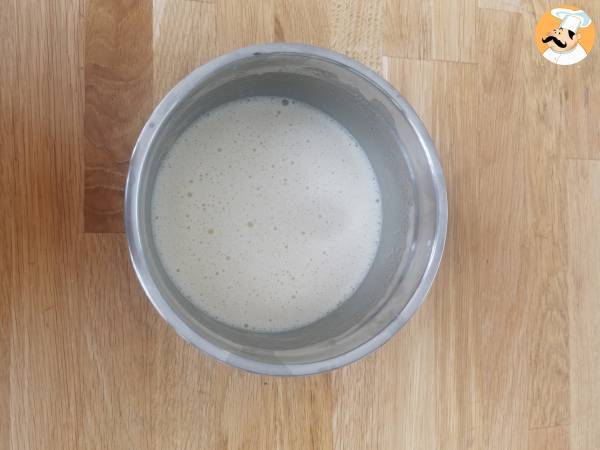 Add milk and mix until you have a homogeneous texture.
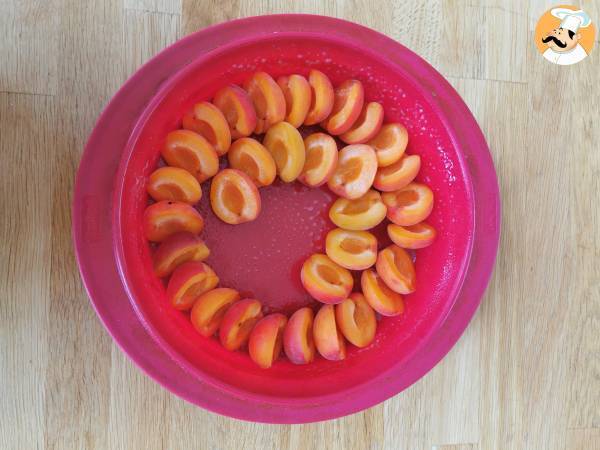 Wash and cut the apricots in 2, remove the pits. Place the apricots tightly in a greased pan.
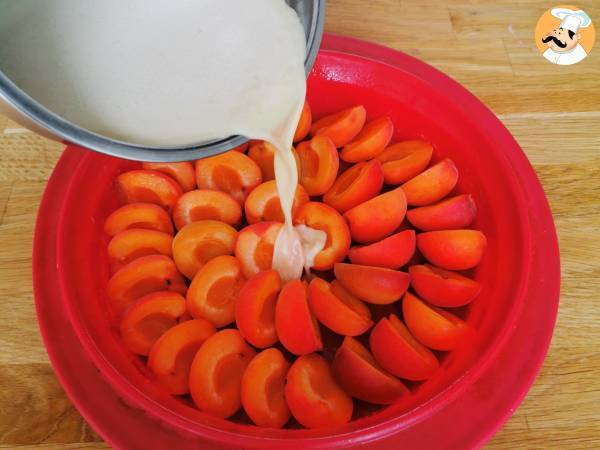 Pour the mixture from the baking bowl gently into the pan.
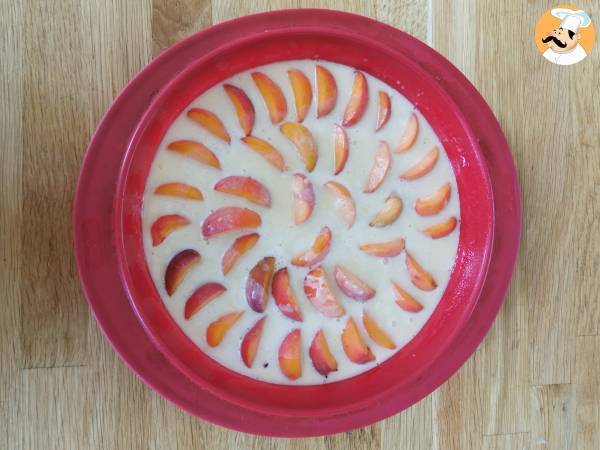 Let the batter rest and meanwhile preheat the oven to 390°F (200°C).
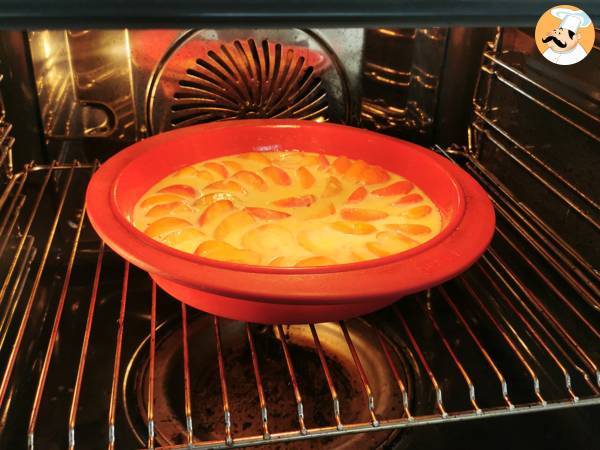 Bake for 45 minutes at 390°F (200°C).
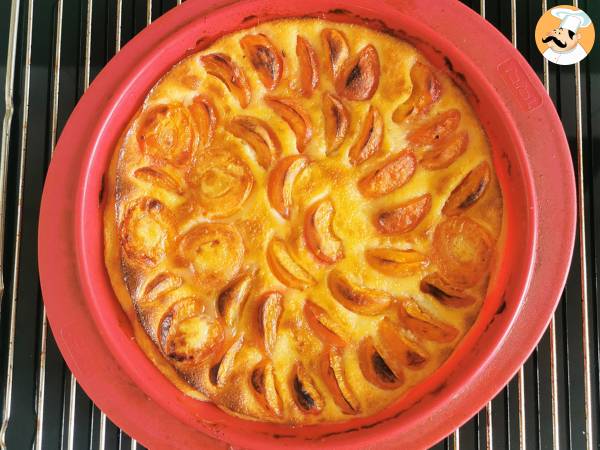 Take out of the oven and leave to cool down.
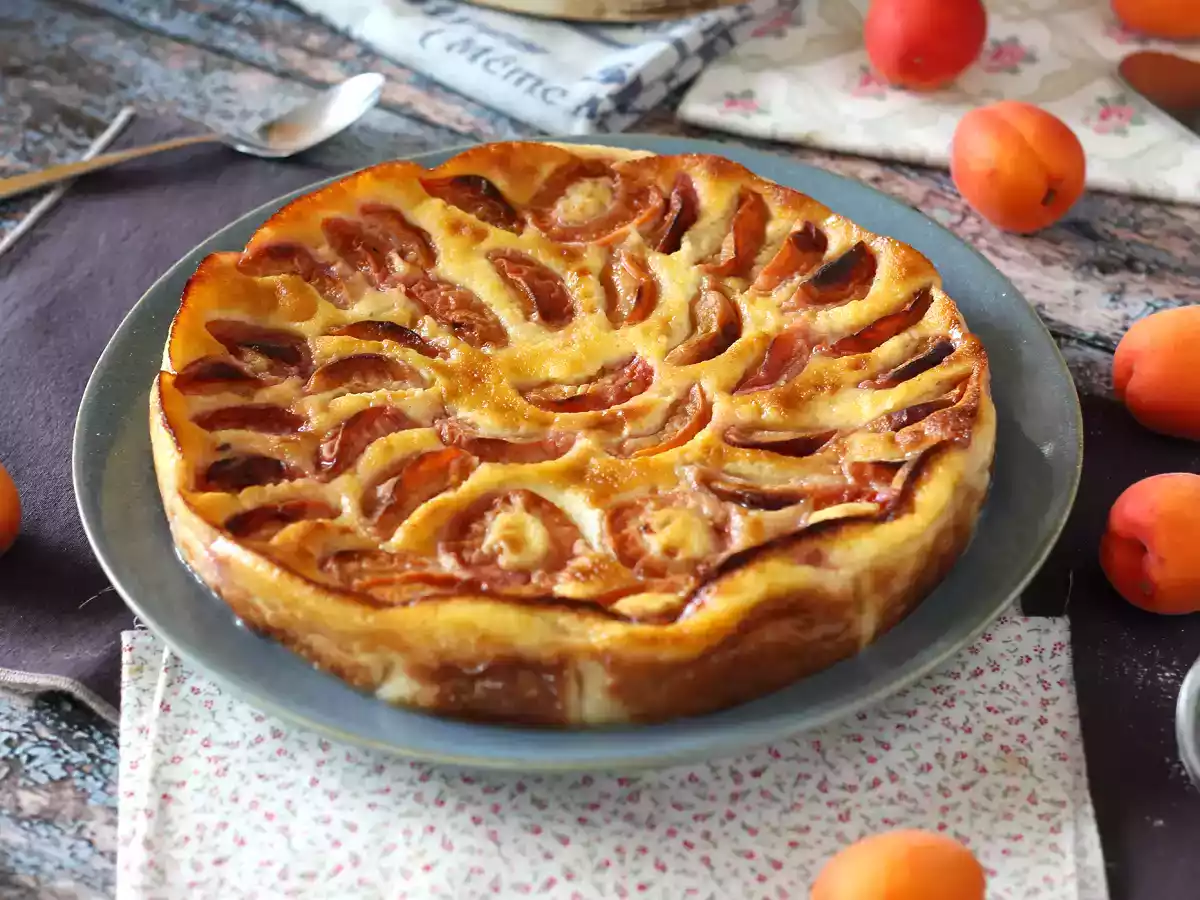
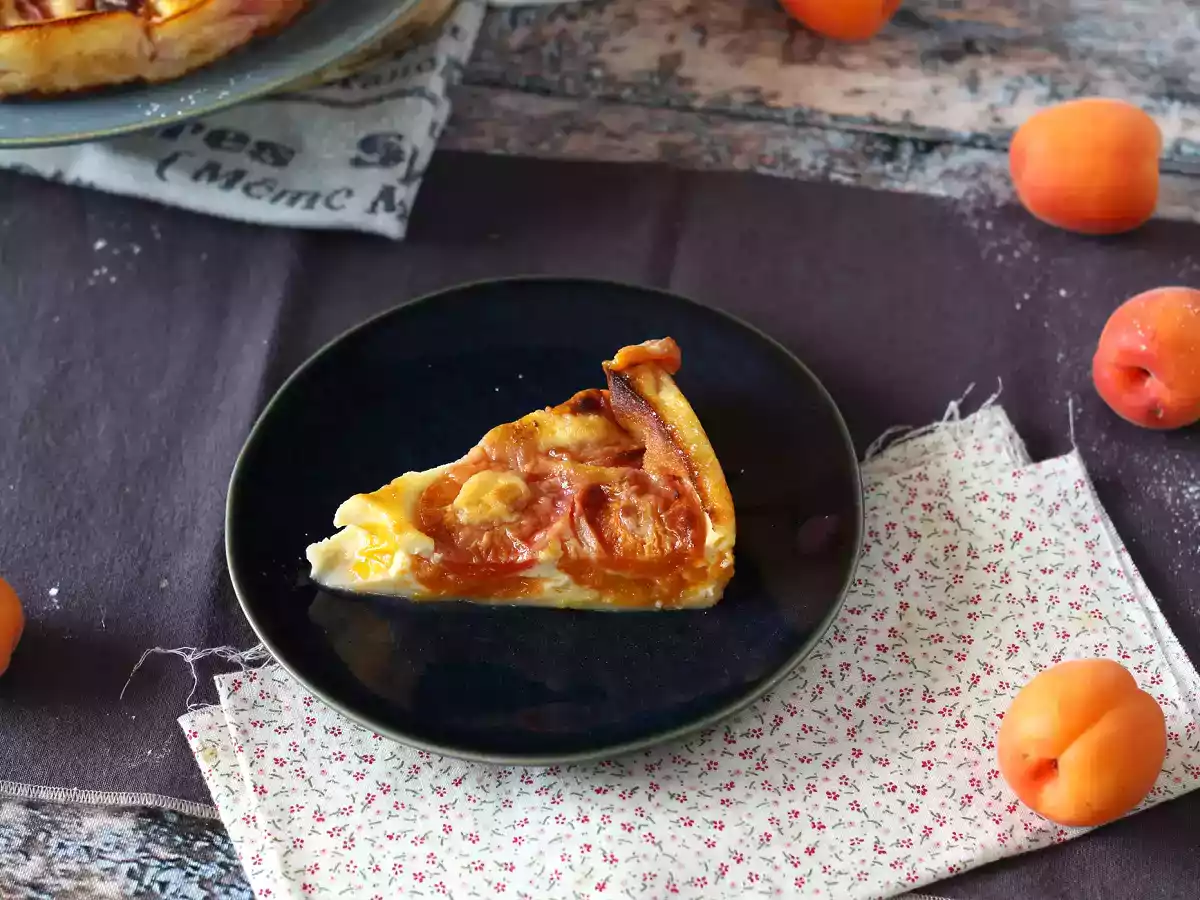
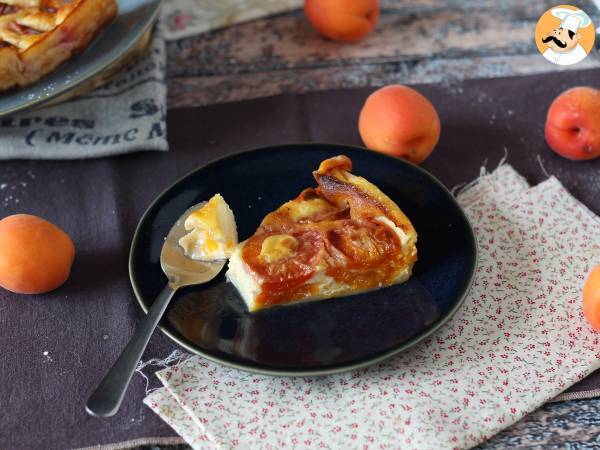 And there you are! You can eat it warm or cold, depending on your patience ;-)
Observations
Choose ripe apricots. If they are very large, you can cut them in 4. Make sure they are firm enough not to break down during cooking.
Grease the mold: To prevent the dough from sticking, generously butter the clafoutis pan before placing the apricots in it. You can also sprinkle the mold with sugar to obtain a slight caramelization.
Let the batter rest: Once the batter is prepared, let it rest for about 15 minutes. This will allow the flavors to develop and the batter to thicken slightly.
Allow to cool before serving: Once cooked, allow the apricot clafoutis to cool slightly before unmolding. You can enjoy it warm or at room temperature, accompanied by a scoop of vanilla ice cream or a dollop of whipped cream.
Nutrition
- Carbo: 8.4g
- Total fat: 2.2g
- Saturated fat: 1.1g
- Proteins: 1.7g
- Fibers: 0.5g
- Sugar: 6.8g
- ProPoints: 2
- SmartPoints: 3
Cookware
Attributes
You may like

Easy apricot mousse

Easy apricot tart

Apricot tatin tartlets, an easy an quick dessert!

No bake apricot mousse super easy to make, and with few ingredients!

Apricot clafoutis with air fryer


Rate this recipe