Gravity cake
Want to impress your guests? Nothing beats a beautiful Gravity Cake for that ;-)
Ingredients
10
The ganache:
Materials
- 1 straw
- 1 paper towel
- 1 wooden skewer
Preparation
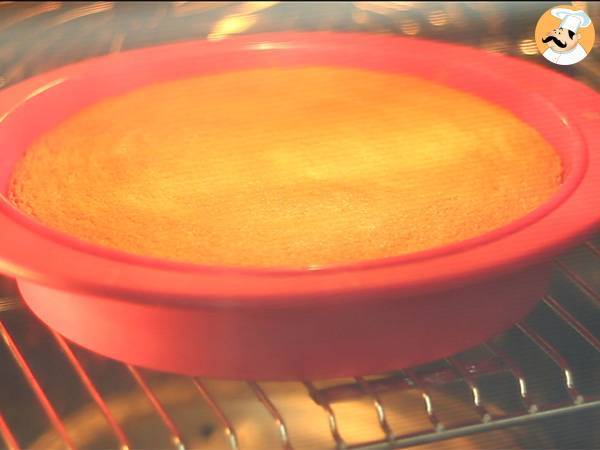 Prepare the base cakes, bake them, and let them cool.
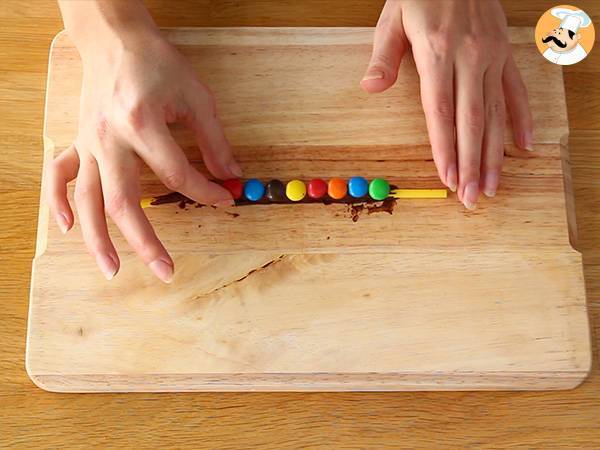 Prepare the ganache: bring the cream to a boil, then pour it over the chocolate pieces. Mix until the mixture is smooth. Refrigerate until use (not too long, or it may harden).
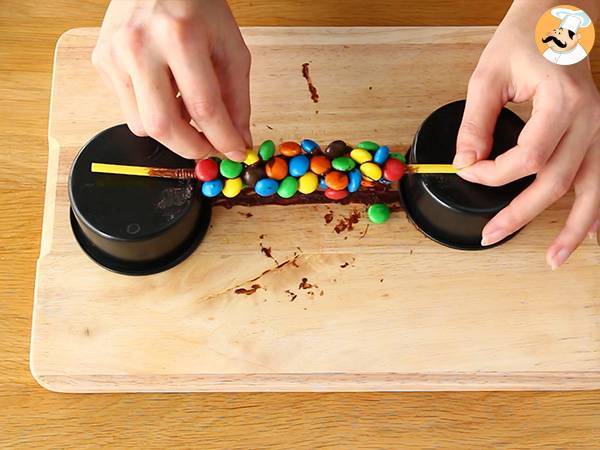 Brush the straw with melted chocolate and place some M&M's on it.
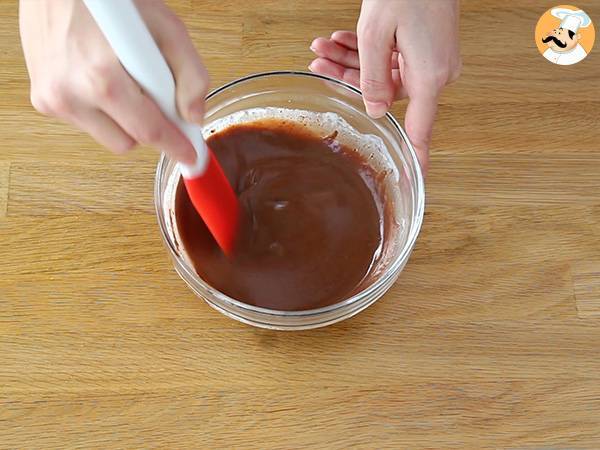 Continue sticking M&M's on it to add thickness, dipping them first in chocolate to help them stick. Let it set for 5 minutes, then refrigerate before using.
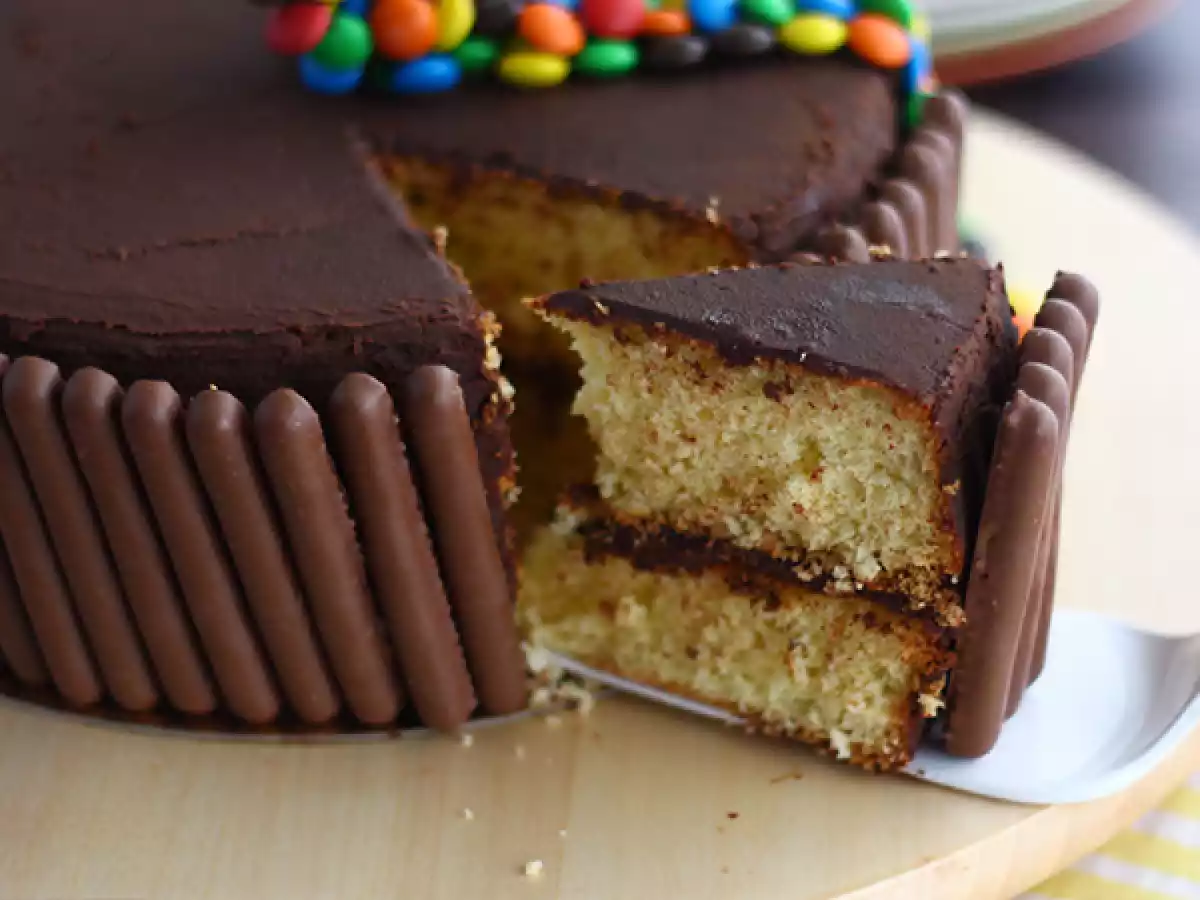
 Spread ganache on top of the first cake. Then, place the second cake upside down on the first.
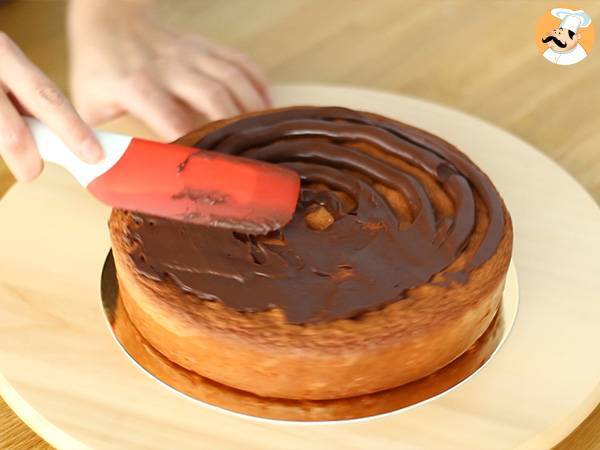
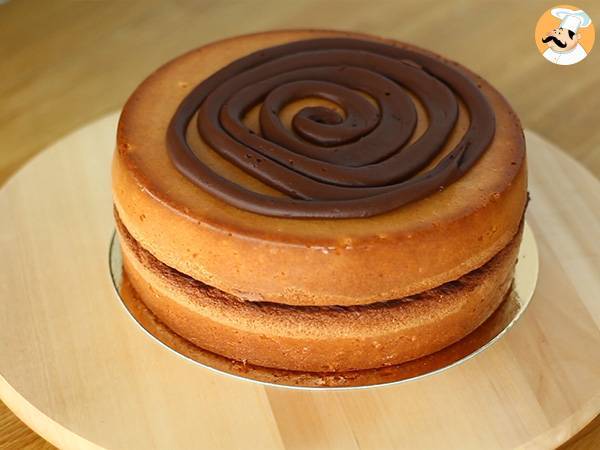 Spread the remaining ganache on top and the sides of the cake, ensuring it is completely covered. Smooth the top well.
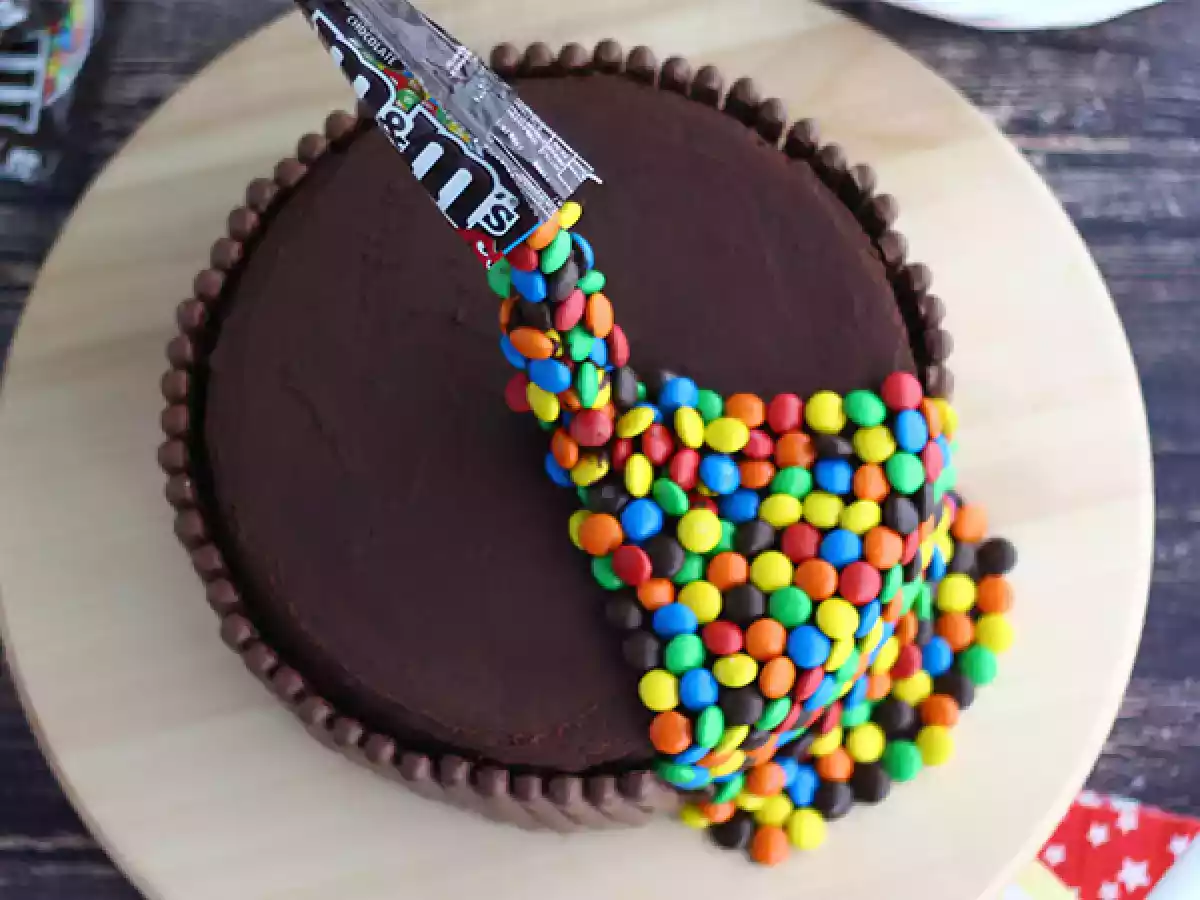
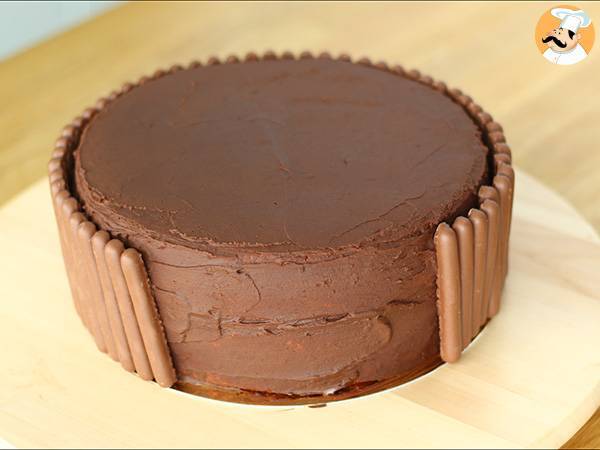 Stick the Finger biscuits all around the cake, leaving space for approximately one slice.
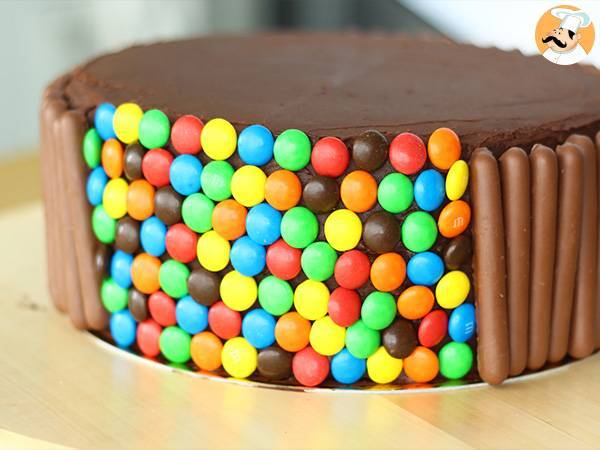 Stick M&M's on the empty edge of the cake; the ganache will act as glue.
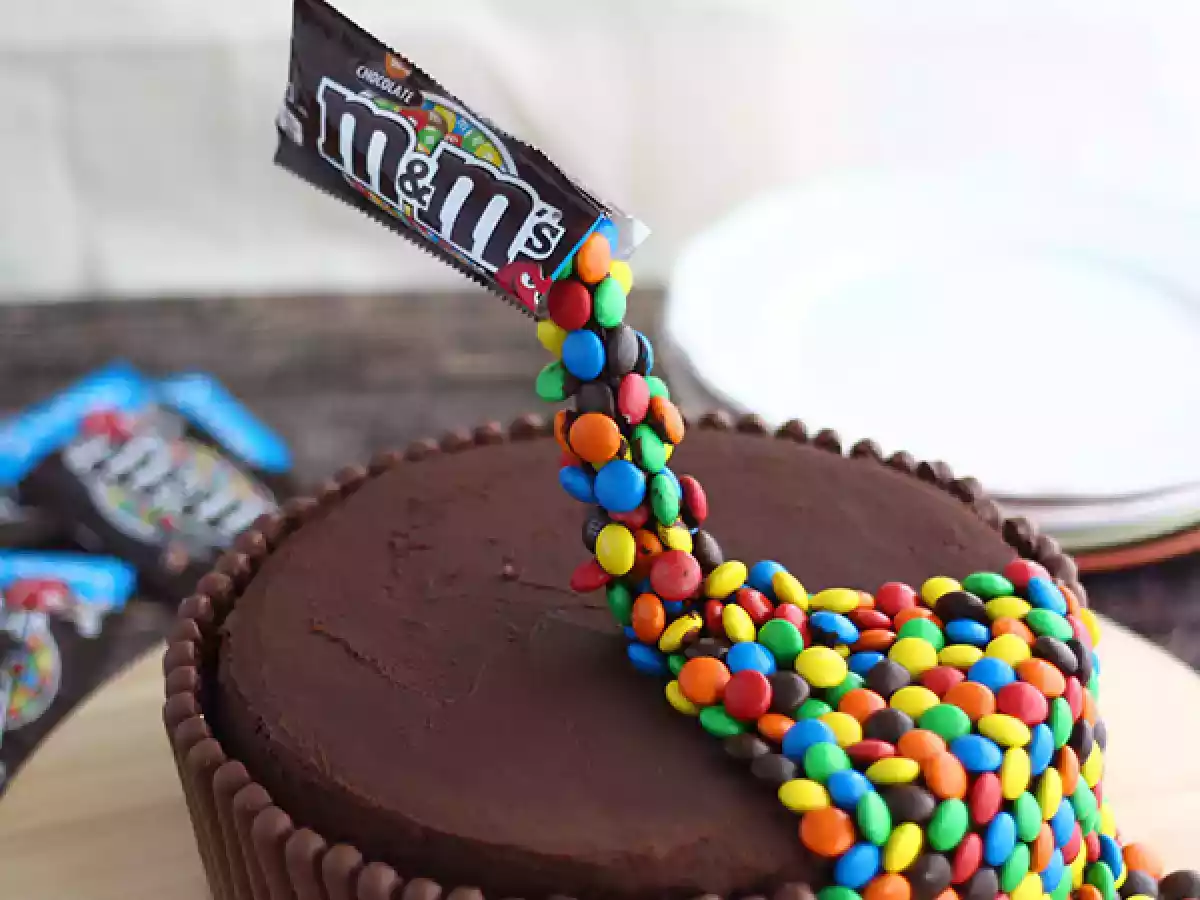
 Do the same on top of the cake, forming a slice shape towards the center. Insert the wooden skewer into the cake at an angle.
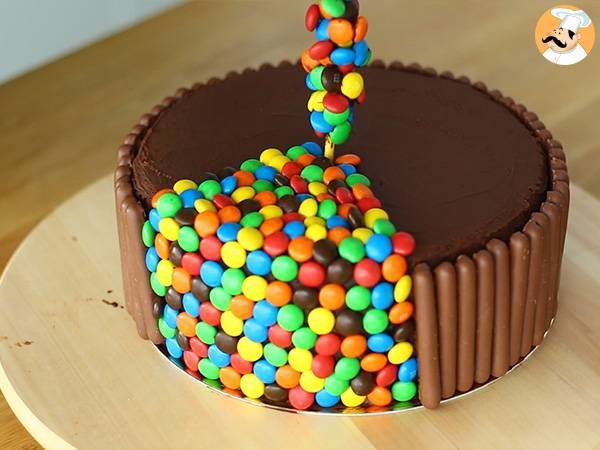 Then, slide the straw covered with M&M's onto the skewer for support.
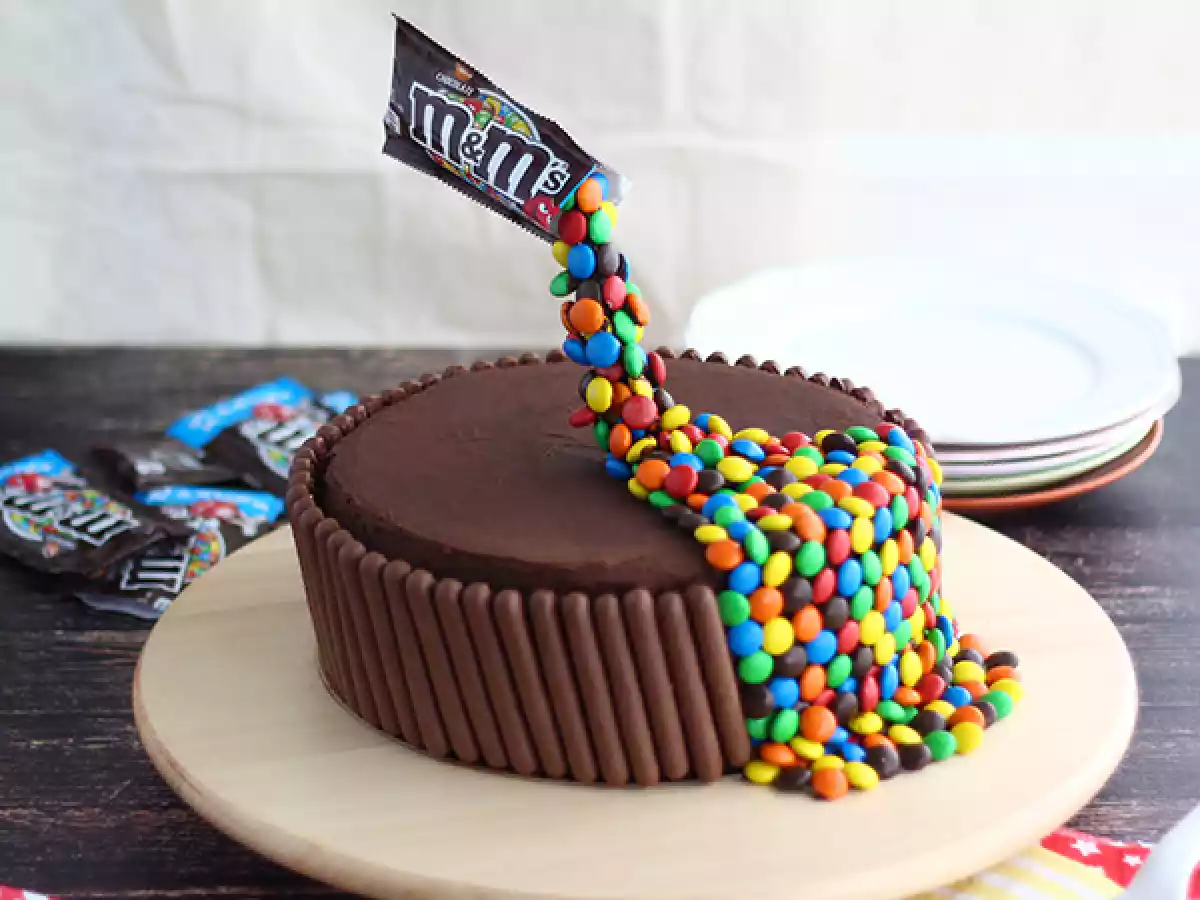
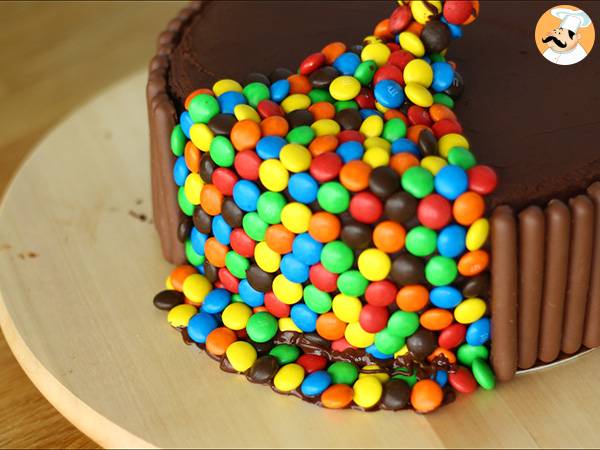 Using melted chocolate, stick some M&M's at the junction of the straw and the cake, on the serving platter, and up the side of the cake to create a realistic effect.
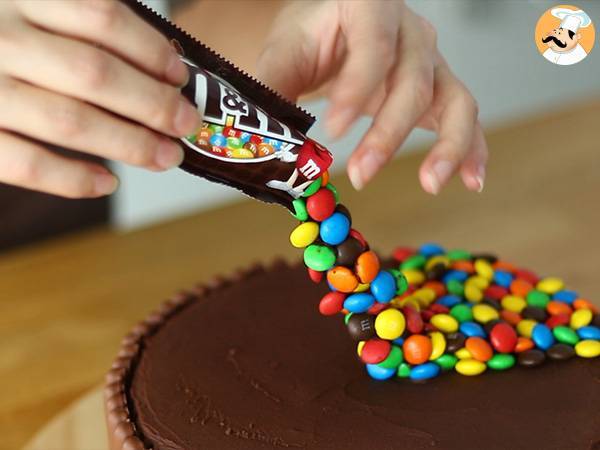 Take an empty bag of M&M's and place a paper towel inside to give it a puffed effect. Then, place it at the top of the straw to complete the illusion.
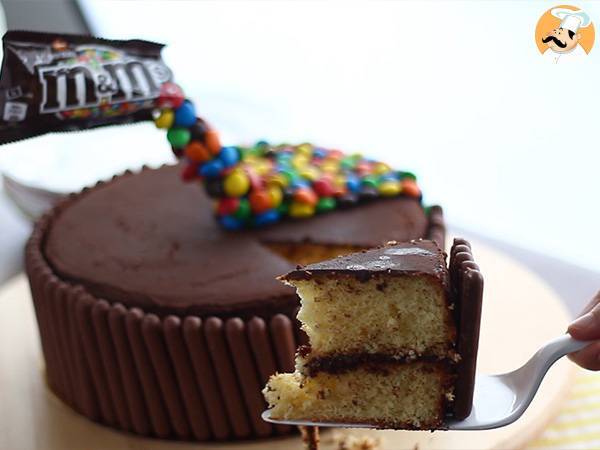 And there you have it, your gravity cake is ready!
Observations
M&M's: we preferred to use the small ones, which are lighter, but you can use the large ones.
Sticking the M&M's: in our recipe, we stick the M&M's on the straw before inserting it into the cake (steps 3 and 4), so horizontally. However, you can stick them after the straw is inserted, so vertically, but it may take longer as you will need to wait for the chocolate to set before adding more candies.
Nutrition
for 1 serving / for 100 g
Calories: 247Kcal
- Carbo: 19.7g
- Total fat: 16.3g
- Saturated fat: 7.1g
- Proteins: 3g
- Fibers: 4.7g
- Sugar: 11.5g
- ProPoints: 7
- SmartPoints: 11
Nutritional information for 1 serving (95g)
You may like

Kitkat cake- video recipe !
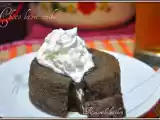
Choco lava cake

Soccer ball birthday cake
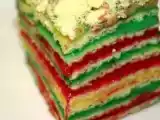
Venetian wafer cake
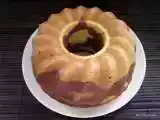
Marble Bundt Cake
Honeycomb cake

Save Room for Dessert...Cajun Cake
Chunchi patra pitha(needle-thin cake)
Caramel mud cake
Nutty caramel kulfi cake

Step-by-step instructions on how to make a number 4 birthday cake
Rum and raisin cake
Questions
Photos of members who cooked this recipe
Comments
Rate this recipe:
4.75/5, 12 votes 1 comment
anonymous
Impressive
Rate this recipe