Red velvet cake
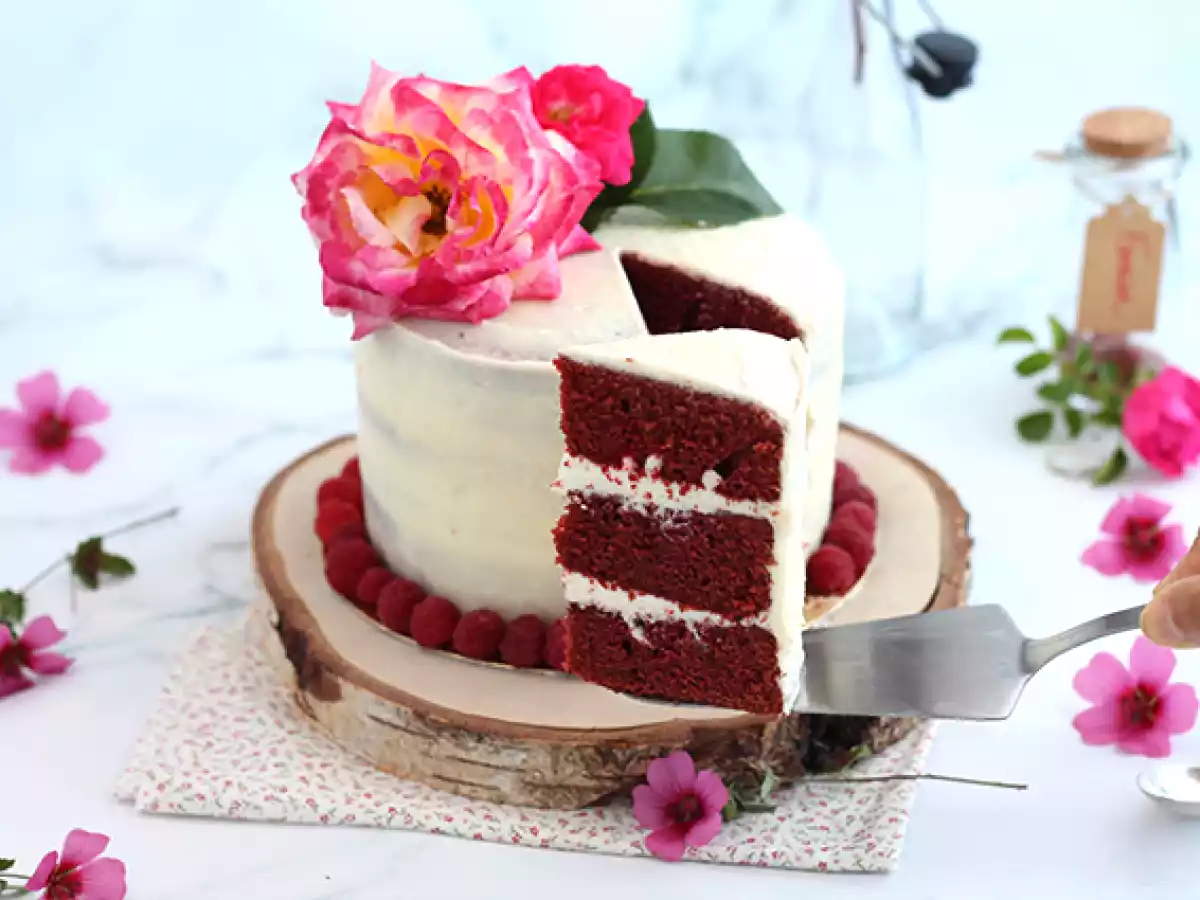

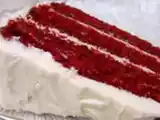
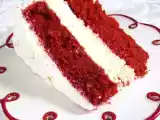
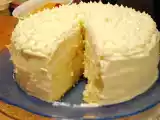
Impress your guests at dessert time with this Red Velvet Cake! Straight from the United States, this extra indulgent cake consists of 3 layers of sponge separated by buttercream. Speaking of buttercream, you will also spread it all around the cake for a true "Layer Cake" effect.
Ingredients
For the 3 sponge cakes:
Sour milk:
For the buttercream:
To decorate:
Materials
- 3 molds 6 inches/15 cm in diameter (or just 1 mold)
- 1 stand mixer with a whisk (or 1 electric mixer)
- 1 spatula
- 1 bench scraper
- 1 sieve
- 1 cake leveler
- plastic wrap
- 1 turntable
- 2 cardboard circles 6.5 inches/16 cm in diameter
Preparation
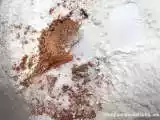
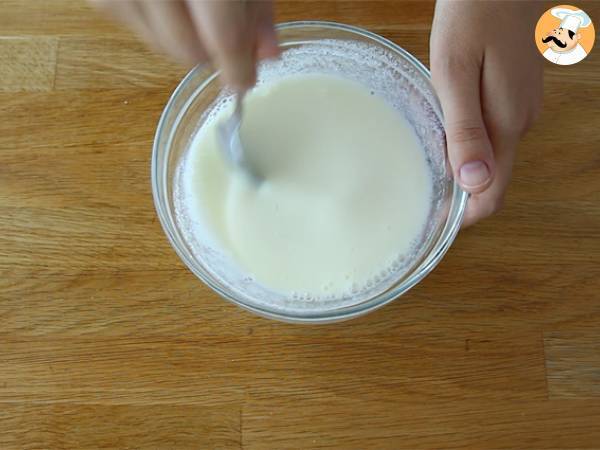 Sour milk: In a bowl, combine milk and lemon juice, stir the two together, and let sit for 10 minutes before using. Sift the flour and cocoa powder.
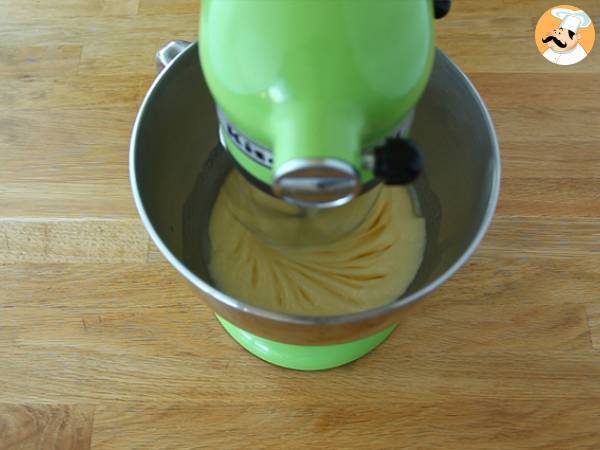 In a large bowl, whisk together the oil, sugar, and eggs until light at speed 3.
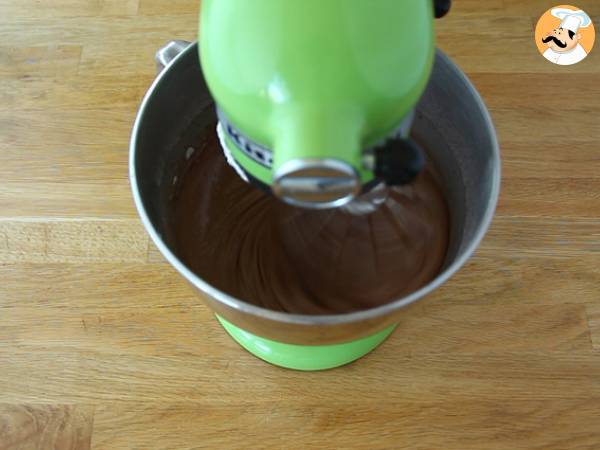 With the mixer on speed 2, add the dry ingredients (flour and cocoa powder) in 2 or 3 additions, alternating with the sour milk.
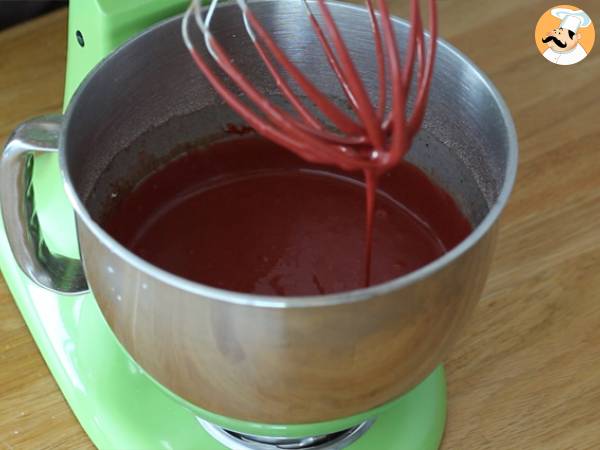 In a bowl, combine baking soda and vinegar; when it is bubbly, add it to the batter. Now, add the vanilla and gel food coloring and fold in using a whisk. Dye the batter until you are pleased with the color.
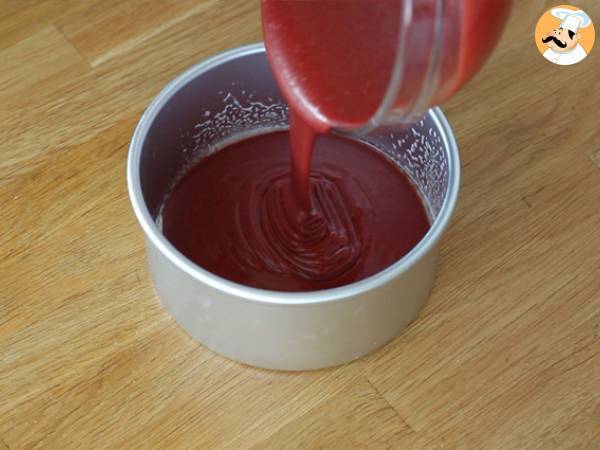 Divide the batter among the three prepared pans. Bake in a preheated oven at 180ºC (350°F) for 25-30 minutes or until a toothpick inserted into the center comes out clean.
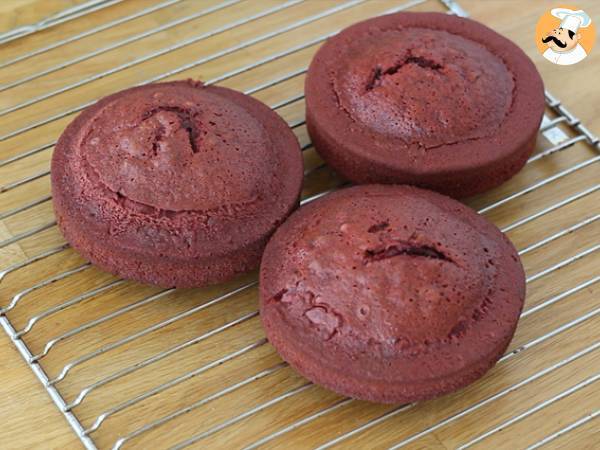 Remove the cakes from the oven and allow to cool on wire racks. Once they are at room temperature, turn out the cakes onto the racks and allow to cool completely before wrapping them with a layer of plastic wrap. Refrigerate the cakes overnight.
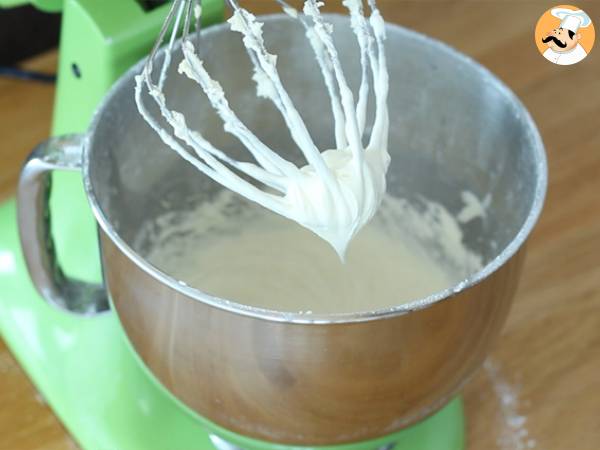 Cream cheese frosting: In the stand mixer bowl, sift powdered sugar and beat it with the softened butter until fluffy. Add in the Philadelphia cream cheese and beat for 5 more minutes or until creamy and well combined. Refrigerate.
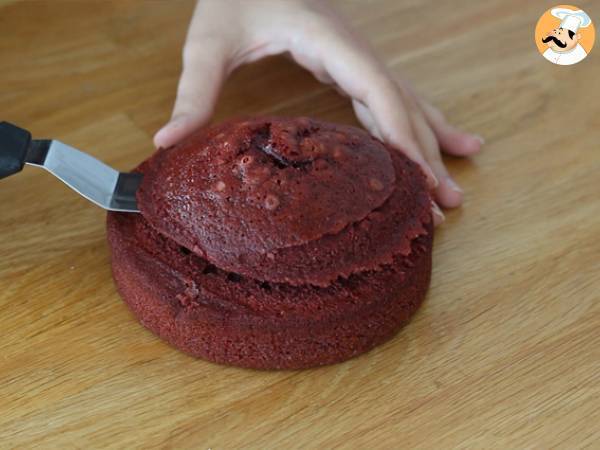 Remove the cakes from the fridge. Using a large serrated knife, slice a thin layer off the tops of the cakes to create a flat surface. Repeat with the others until all the cakes are the same size.
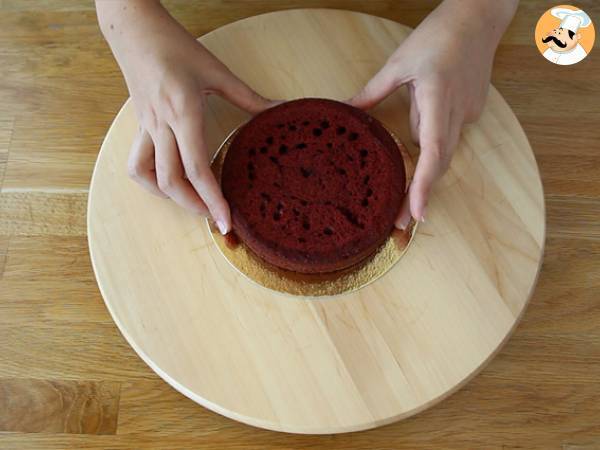 Spread just a bit of cream cheese frosting on the cake stand or serving plate, and place the first cake layer on top.
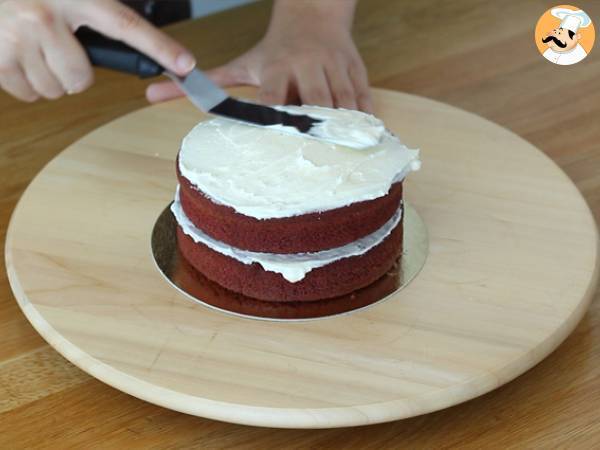 With the help of an icing spatula or a bench scraper, evenly cover the top with frosting. Top with the second layer and cover the top with frosting.
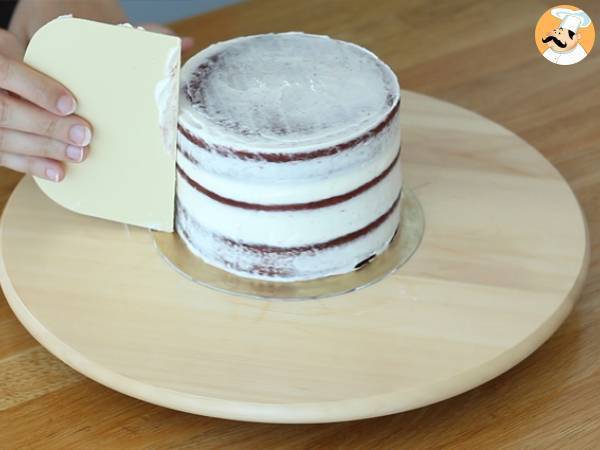 Finally, place the third cake layer on top. Spread a thin layer of frosting all over the sides. This thin layer of frosting traps cake crumbs. Refrigerate the cake for at least 30 minutes.
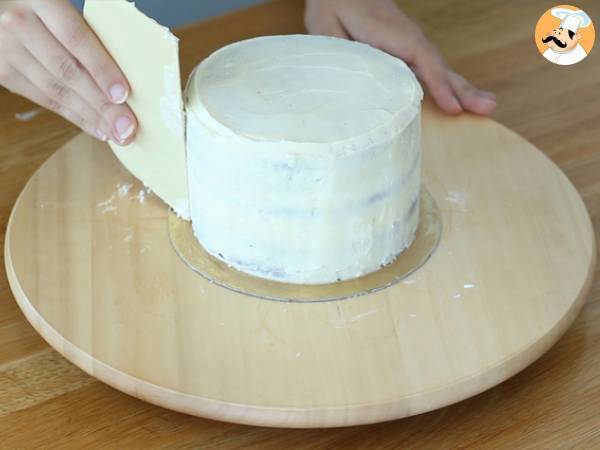 Spread the remaining frosting all over the top and sides and evenly spread it using an icing spatula or a bench scraper until luscious.
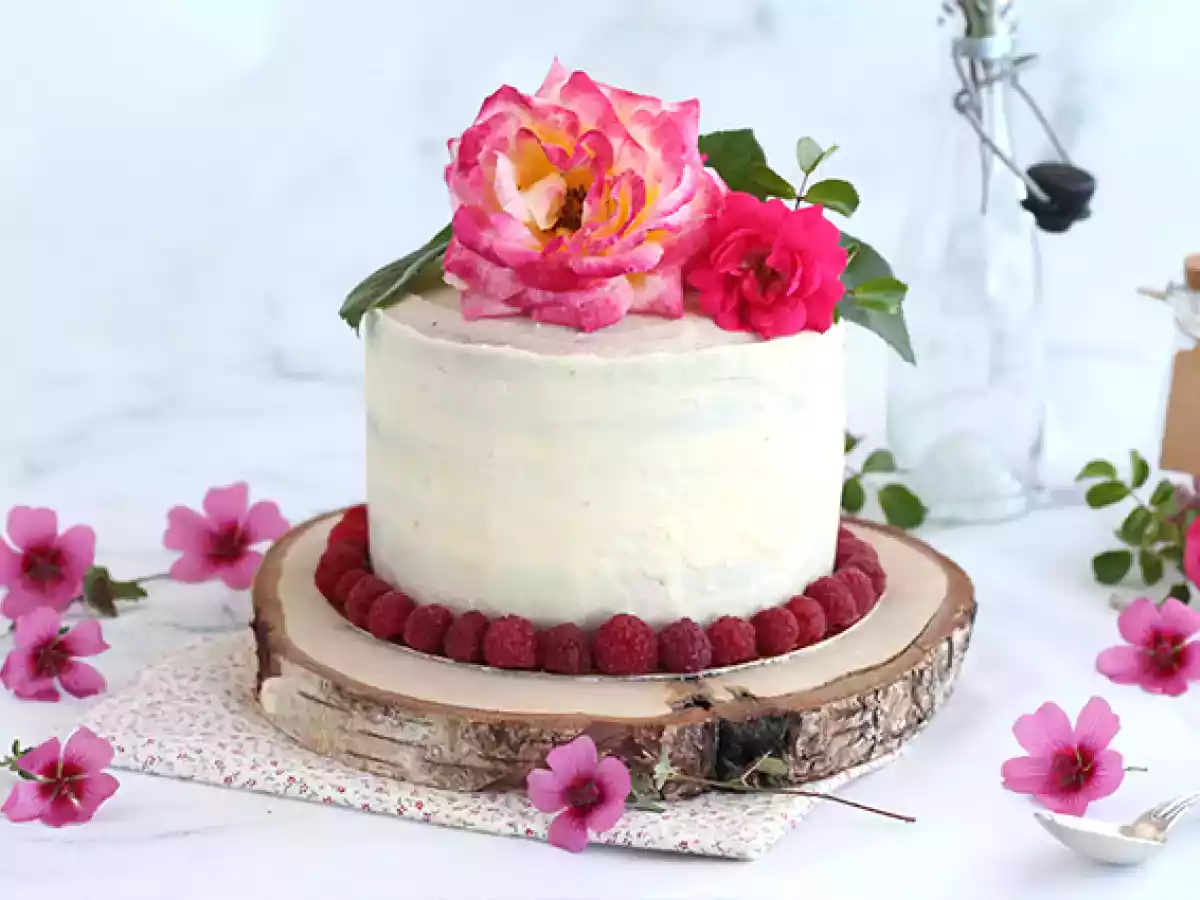
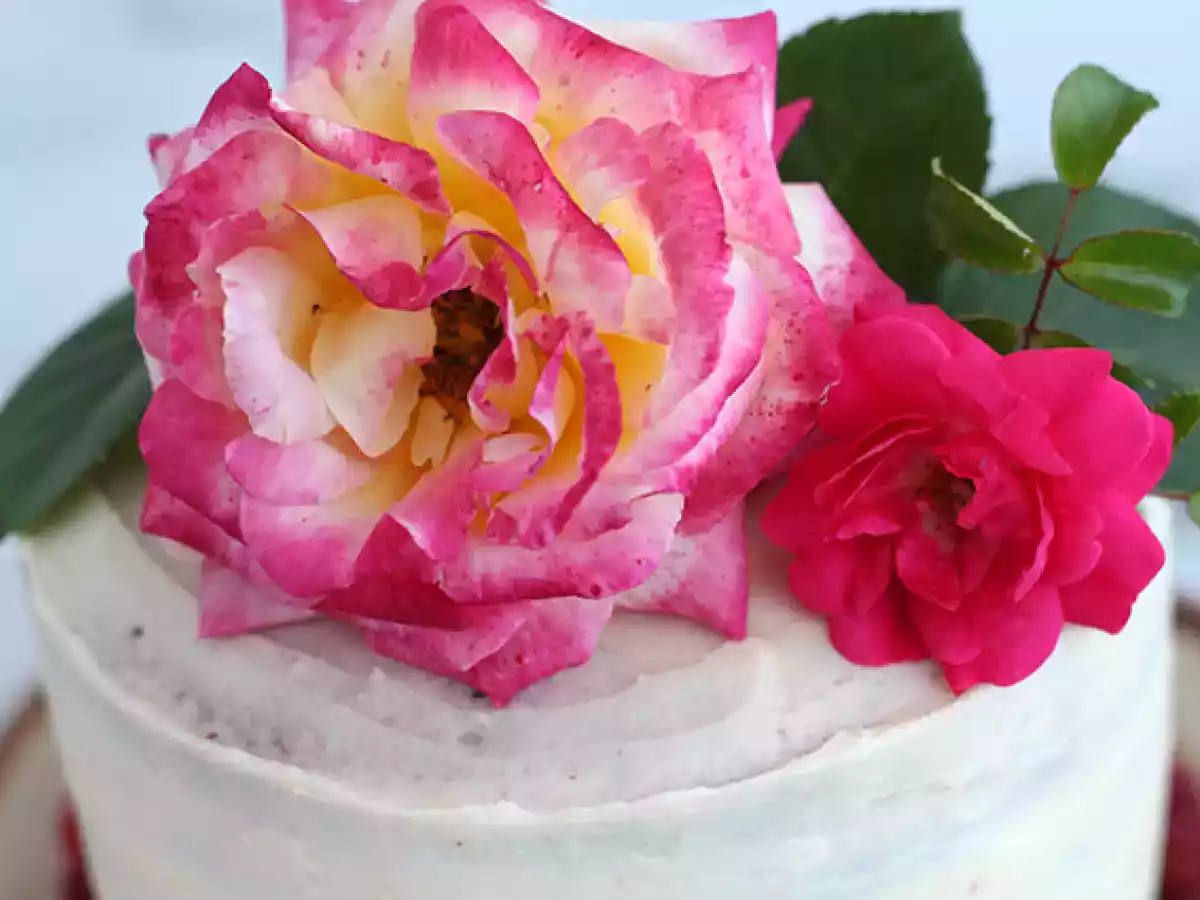
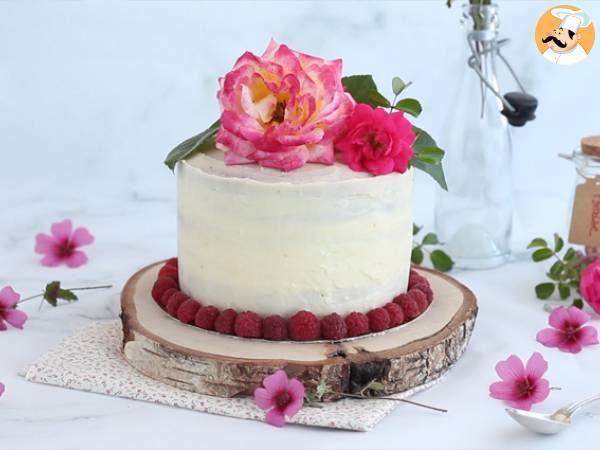 Romantic and beautiful decoration: We used fresh colorful flowers from our garden ;-)
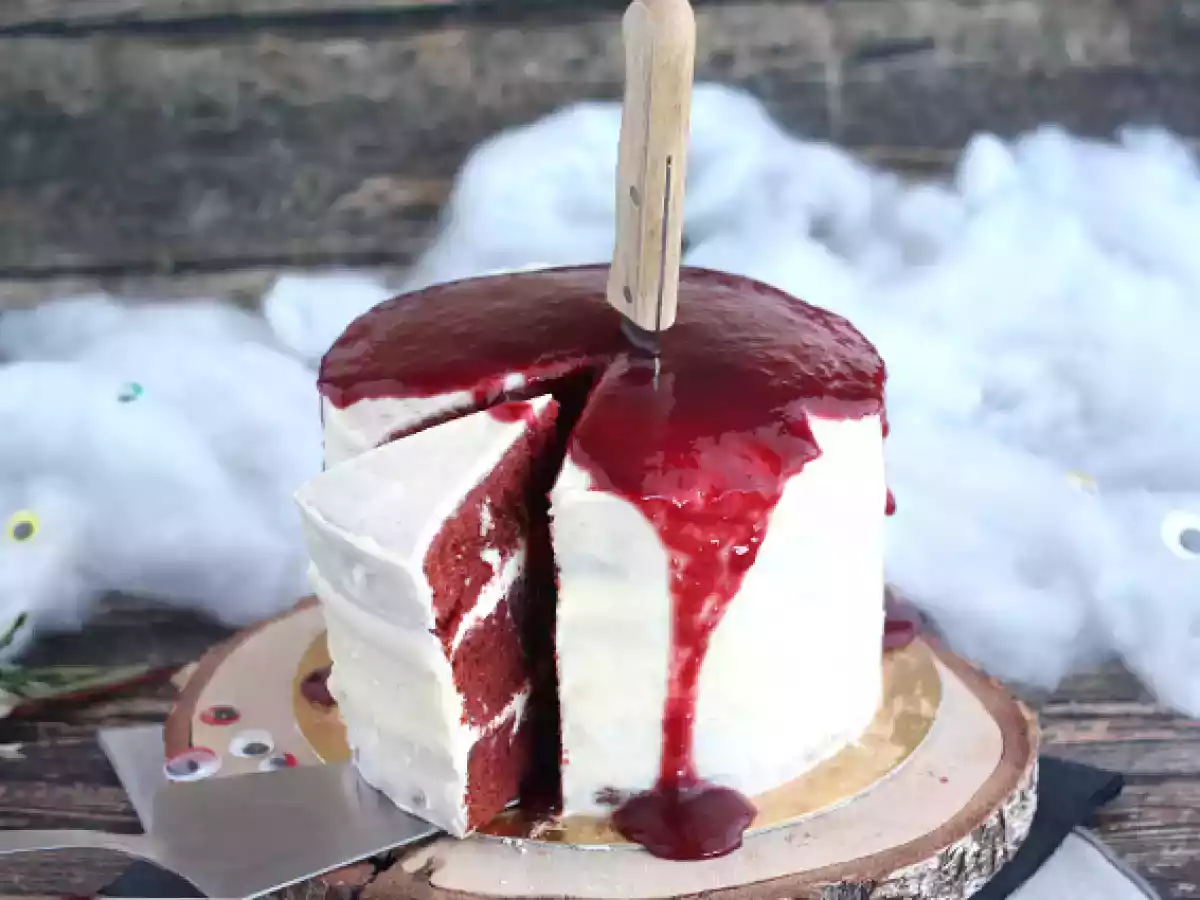
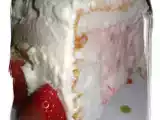
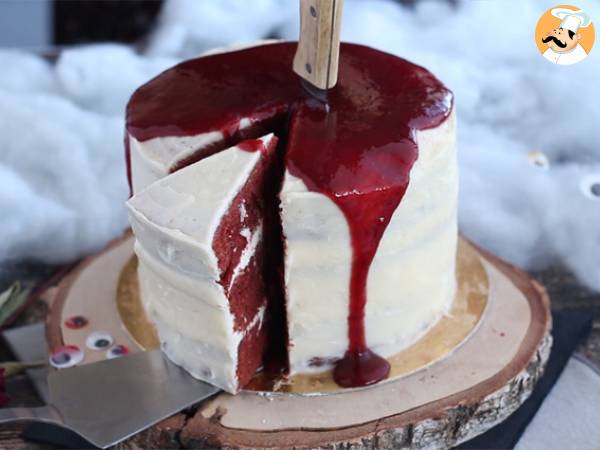 Spooky Halloween decoration: Drizzle with a tangy raspberry coulis and stab a knife on top of it.
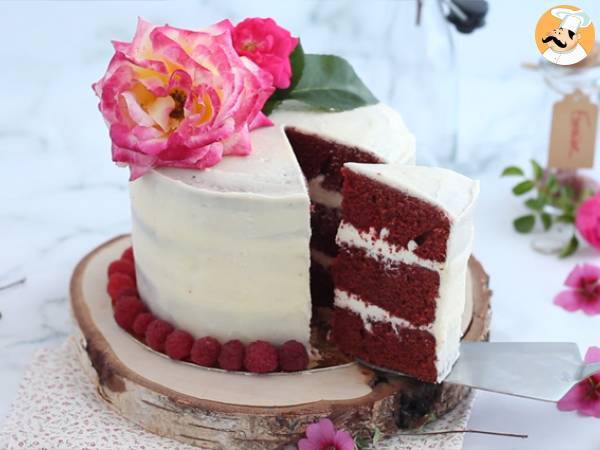 There you have it, your red velvet cake is ready!
Observations
The milk: You can use buttermilk if you have it. We used milk and lemon juice as they are easier to find.
Dividing the batter into 3: We recommend weighing the bowl (where you will make the sponge batter) before preparing the batter to make it easier to divide into 3 later.
We only used one 15 cm mold and baked the cakes one by one.
We cooled the sponges in the fridge overnight, but you can let them cool for a minimum of 3 hours.
The cardboard circles: To achieve a nice even cake, place the cake on the first circle and place the second circle on top of the third sponge. Spread buttercream on the sides and use the bench scraper on the edges of the circles to smooth the cream evenly.
The leftover sponge: You can use it to make cake pops!
But why "red"? Simply because the sponge cakes that make up the Red Velvet Cake are "red" in color. This is achieved with food coloring or... beetroot!
Attributes
You may like
Red velvet fruit cake
Red velvet cake
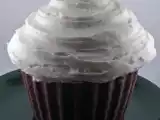
Sweet melissa sundays: red velvet cake (or red velvet giant cupcake)
Red velvet cheesecake cake

Red velvet cupcake
Red, White, and Blue Velvet Sandwich Cakes

Red velvet cupcakes with cream cheese frosting
Lemon mascarpone layer cake

Raclette potato cake - video recipe!
Strawberry cream angel food cake

Recipe: spicy korean rice cake (ddukbokki) topped with cheese
Cream cheese mixed fruits butter cake
Questions
Photos of members who cooked this recipe
 Juliette Hess
I love traveling and discovering new dishes, trying out new culinary trends, and exploring new restaurants.
I’m a pasta fan in all its forms ❤ from udon noodles to tagliatelle, I love cooking it and even making it homemade!
Right now, I’m preparing, filming, and photographing your next recipe, and I hope you’ll love it!
Rate this recipe