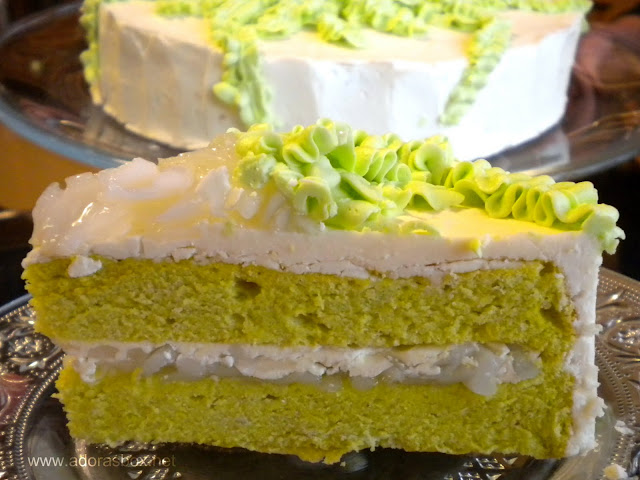
PANDAN MACAPUNO CAKE
vote now

2 pandanleaves
1 c. water
1 c. plain flour
2 tbsps. corn flour
1/2 tsp. salt
3/4 c. of sugar
1/4 c. oil
4 eggs, separated
1/4 tsp. cream of tartar
Method:
Wash the pandanleaves and snip into 1/2" widths. Place in a saucepan, add the water and simmer for 15 minutes to make pandan essence. Strain and leave to cool. Preheat the oven to 350° F/180° C. Line two 9" baking pans with baking paper. Sift the flour, corn flour, salt, 6 tbsps. of sugar and baking powder together into a mixing bowl. Make a well in the center. Add in the egg yolks, oil and 6 tbsps. of the pandanessence. You may add a few drops of green and yellow food colouring to the mixture to make the cake a pale green colour. With a wooden spoon, start mixing from the middle of the bowl and slowly incorporate the wet ingredients into the dry until all mixed. Do not overmix. Beat the egg whites and cream of tartar together with an electric mixer until soft peaks form. Continue beating while adding the rest of the sugar gradually until the mixture is stiff but not dry. With a big metal spoon, add a dollop of the beaten egg whites into the egg yolk mixture and blend to slacken the mixture. Fold this mixture into the egg whites until thoroughly blended. Divide the mixture equally between the two prepared pans. Bake in the preheated oven for 30 minutes or when a cake tester comes out clean. Invert into cooling racks until completely cooled. Take out of the pans. Prepare the frosting as the cake cools.
Frosting ingredients:
1 bottle of macapunostrings in syrup, drain and reserve syrup
3 egg whites
3/4 cup sugar
3 tbsps. water
1/4 c. reserved macapunosyrup
1/4 tsp. cream of tartar
1 c. (1 block butter), cut into cubes
Method:
Mix the sugar, water, macapunosyrup and cream of tartar in a saucepan. Bring to a boil while stirring to dissolve the sugar. Simmer on low heat without stirring, until thick and syrupy. Keep the heat on low. The syrup must stay white. While the syrup is simmering, whisk the egg whites until stiff. When, the syrup is ready, pour while hot in a slow steady stream onto the egg whites while continuously beating until the mixture is thick and glossy. Add the butter cubes, one at a time, incorporating well at each addition. Beat until light and fluffy. Colour 1/2 c. of frosting green for decoration.
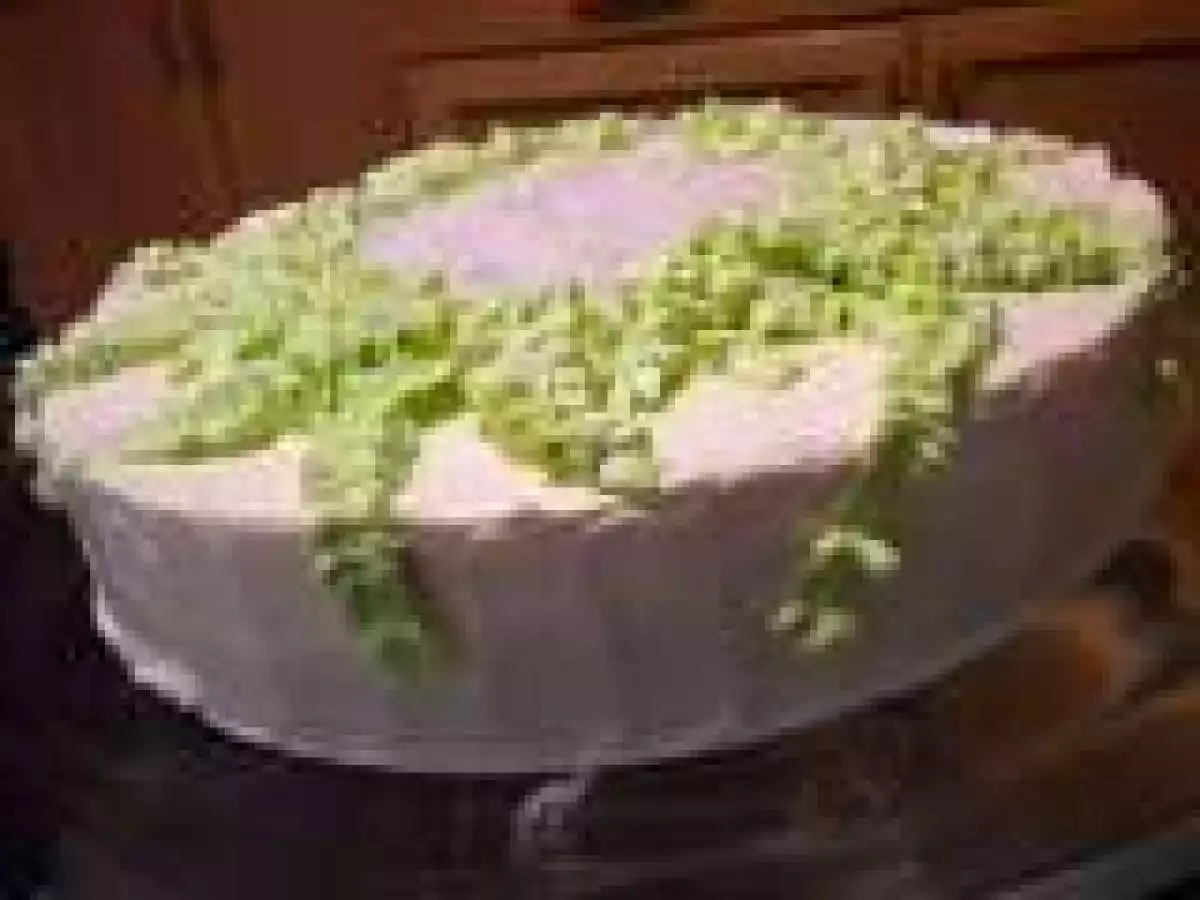
To assemble the cake :
Place 1 cake layer on a cake plate. Save 1/2 c. of themacapunostrings for the cake topping. Spread the rest on the first cake layer. Spread some icing on top of it, then cover with the second cake layer. Frost the top and sides with the rest of the white frosting. Mound the reserved macapunostrings in the middle of the cake. Pat it gently to spread it without disturbing the frosting. Pipe the green icing into your desired pattern around the macapuno.
Adora's Box has exclusive rights to all the recipes and photos in this blog.
ADORA's Box
Comments