Brazilian coconut cake - bolo toalha felpuda
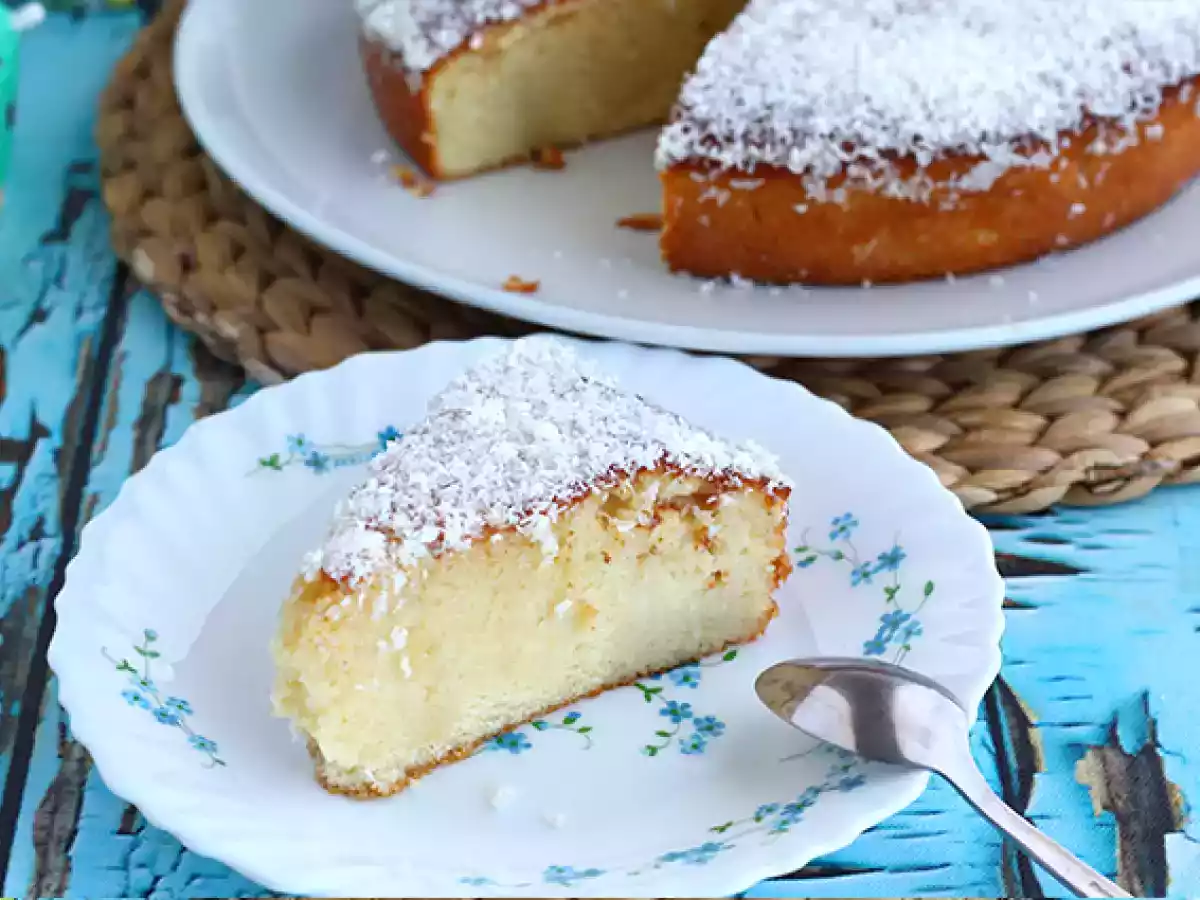
Dear coconut lovers, this extra moist and delicious Brazilian dessert is made for you! It's a cake that's easy to make for a result as light as a cloud. Step by step, follow our detailed recipe illustrated with photos and a video (presented below).
Ingredients
8
For the cake:
For the milk mix:
Materials
- Wooden sticks
- 24 cm round cake pan
Preparation
Preparation15 min
Cook time40 min
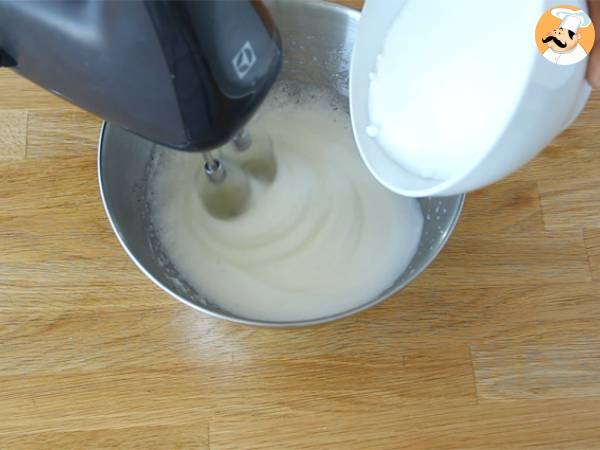 Preheat your oven to 350°F. In a bowl, whip the egg whites, then add the sugar gradually while continuing to mix.
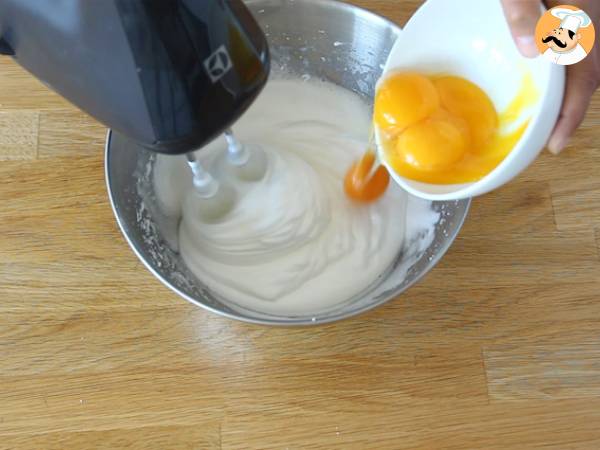 Then, add the yolks one by one and mix well.
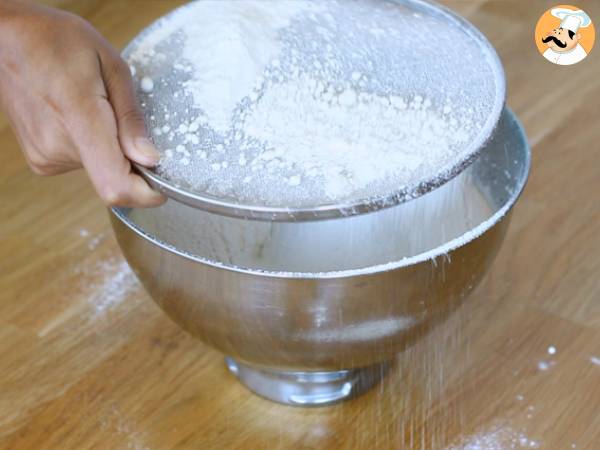 Sift the flour and baking powder into the bowl, then mix the preparation well using a whisk.
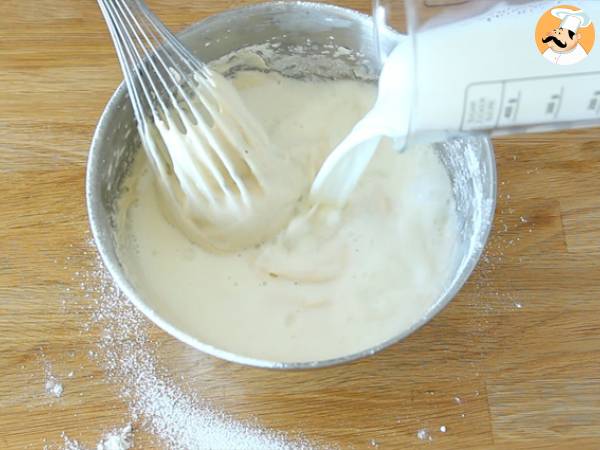 In a saucepan, heat 1 cup of milk (25 cl) then add it to the mixture. Mix everything vigorously.
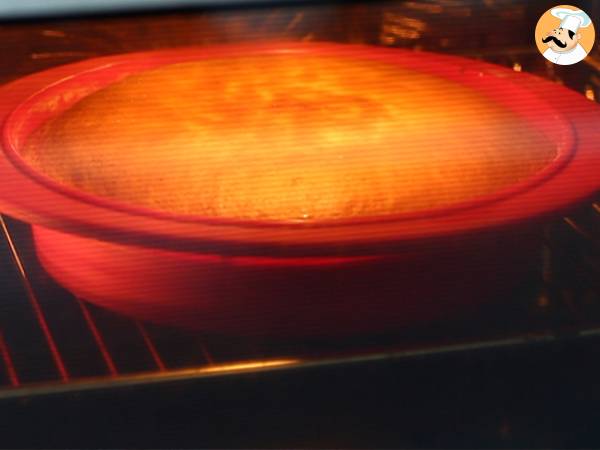 Pour the batter into a buttered and floured mold and bake the cake at 350°F for 40 minutes.
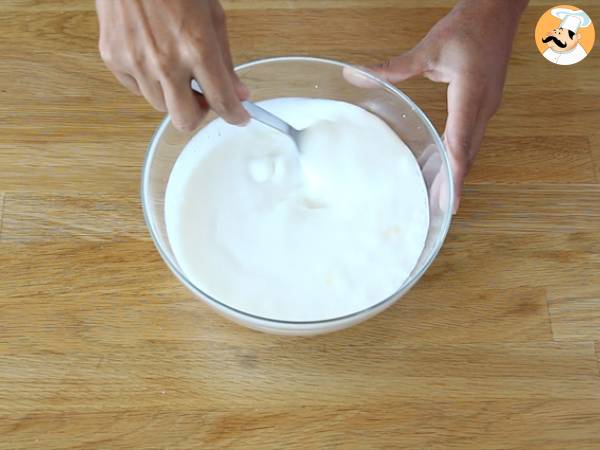 While the cake is baking, prepare the milk mixture to soak the cake: 1 cup of milk, 1 cup of coconut milk, and 2 cups of sweetened condensed milk.
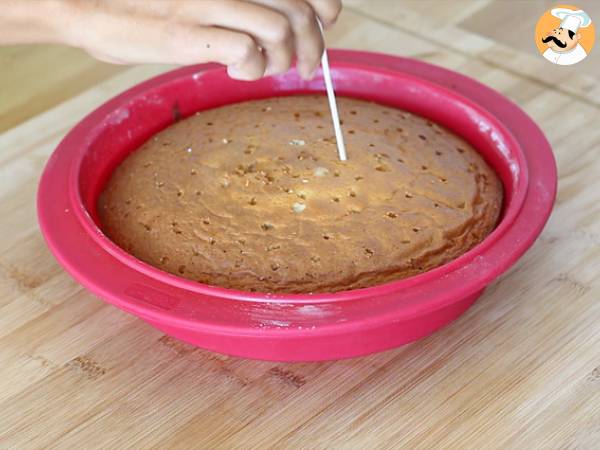 Remove the cake from the oven. Check for doneness. Poke the cake while it is still warm.
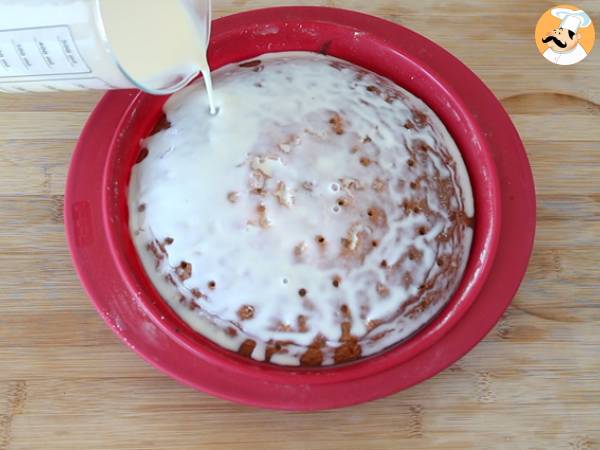 Pour the milk mixture over the poked cake and let it absorb most of the liquid.
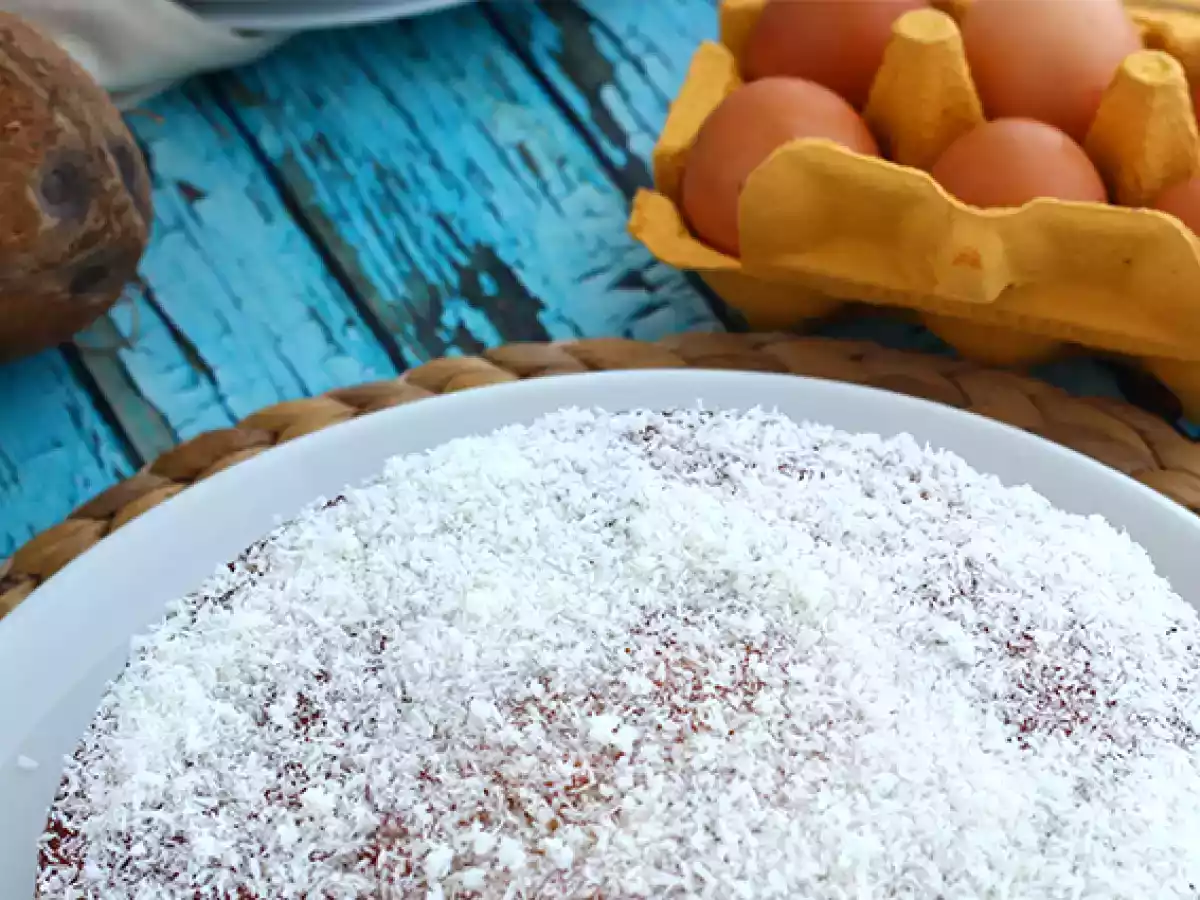
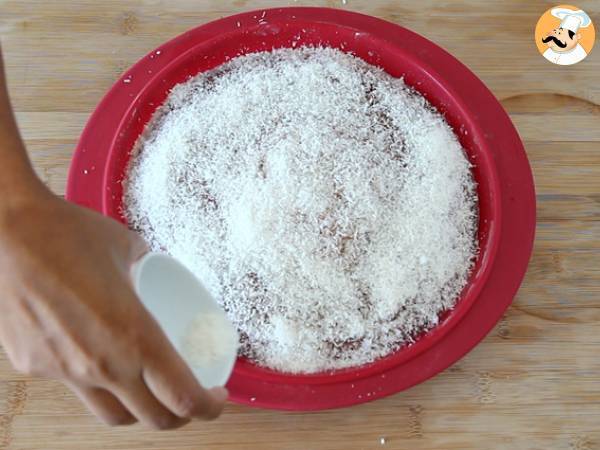 Sprinkle grated coconut on top of the cake and let it cool slightly before covering it with aluminum foil and refrigerating for at least 3 hours.
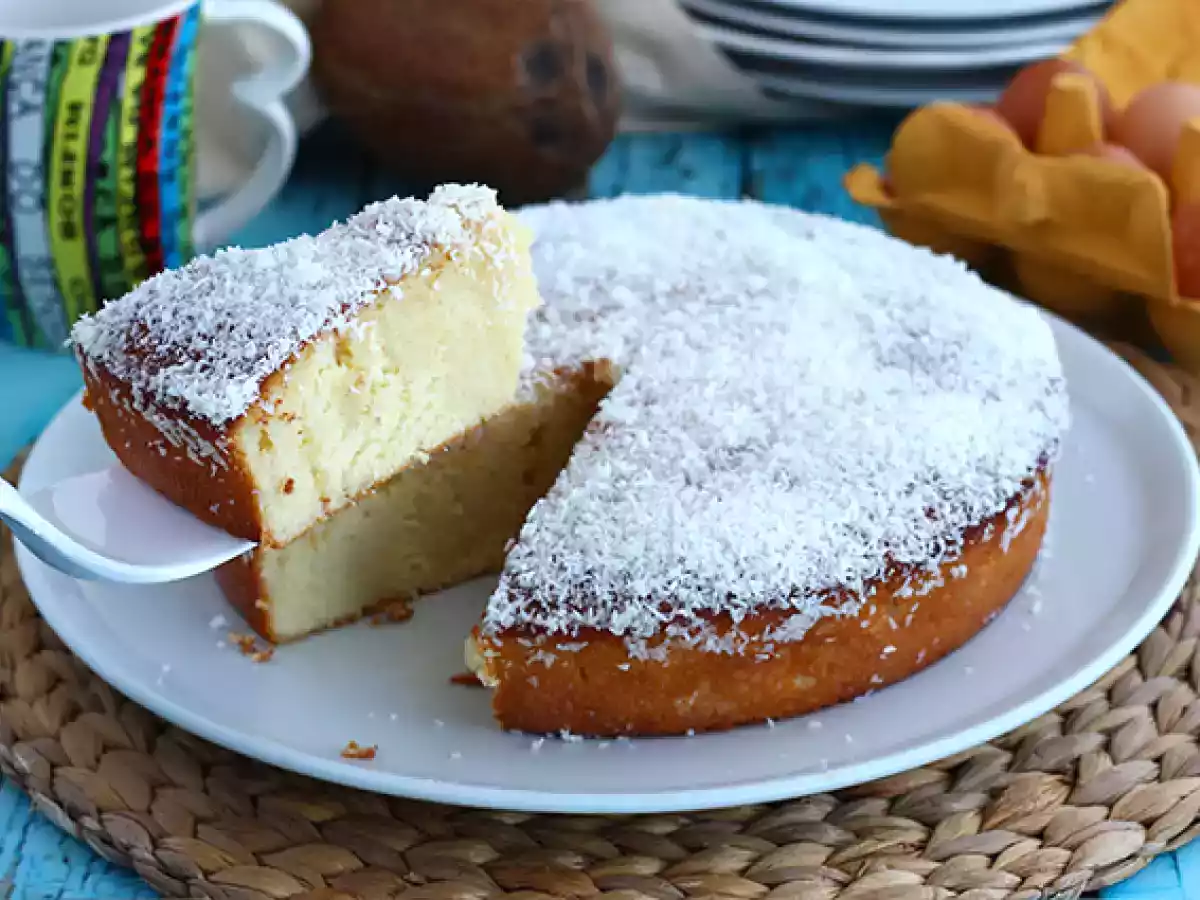
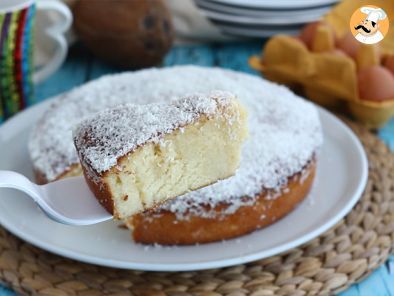 And there you have it, your Brazilian 'Bolo Toalha Felpuda' is ready, enjoy!
FAQ ❓
What makes Brazilian coconut cake so moist?
The cake is soaked in a rich milk mixture made of regular milk, coconut milk, and sweetened condensed milk, which keeps it incredibly moist and flavorful.
Can I use fresh coconut instead of grated coconut?
Yes, you can use fresh coconut, but make sure to finely grate it to achieve the right texture and flavor in the cake.
How long should I refrigerate the cake for the best flavor?
It's recommended to refrigerate the cake for at least 3 hours to allow the flavors to meld and the cake to absorb the milk mixture fully.
Is it possible to make this cake gluten-free?
Absolutely! You can substitute the all-purpose flour with a gluten-free flour blend to make a delicious gluten-free version of this cake.
What occasions is Brazilian coconut cake typically served for?
This cake is often served at celebrations, parties, and family gatherings in Brazil, making it a perfect dessert for any festive occasion.
Nutrition
for 1 serving / for 100 g
Calories: 584Kcal
- Carbo: 86.4g
- Total fat: 19g
- Saturated fat: 13.6g
- Proteins: 14.5g
- Fibers: 3.7g
- Sugar: 63.5g
- ProPoints: 16
- SmartPoints: 28
Nutritional information for 1 serving (239g)
Questions
Photos of members who cooked this recipe
Comments
Rate this recipe:
4/5, 4 votes
Rate this recipe