Extra soft heart-shaped brioches for valentine's day
vote now


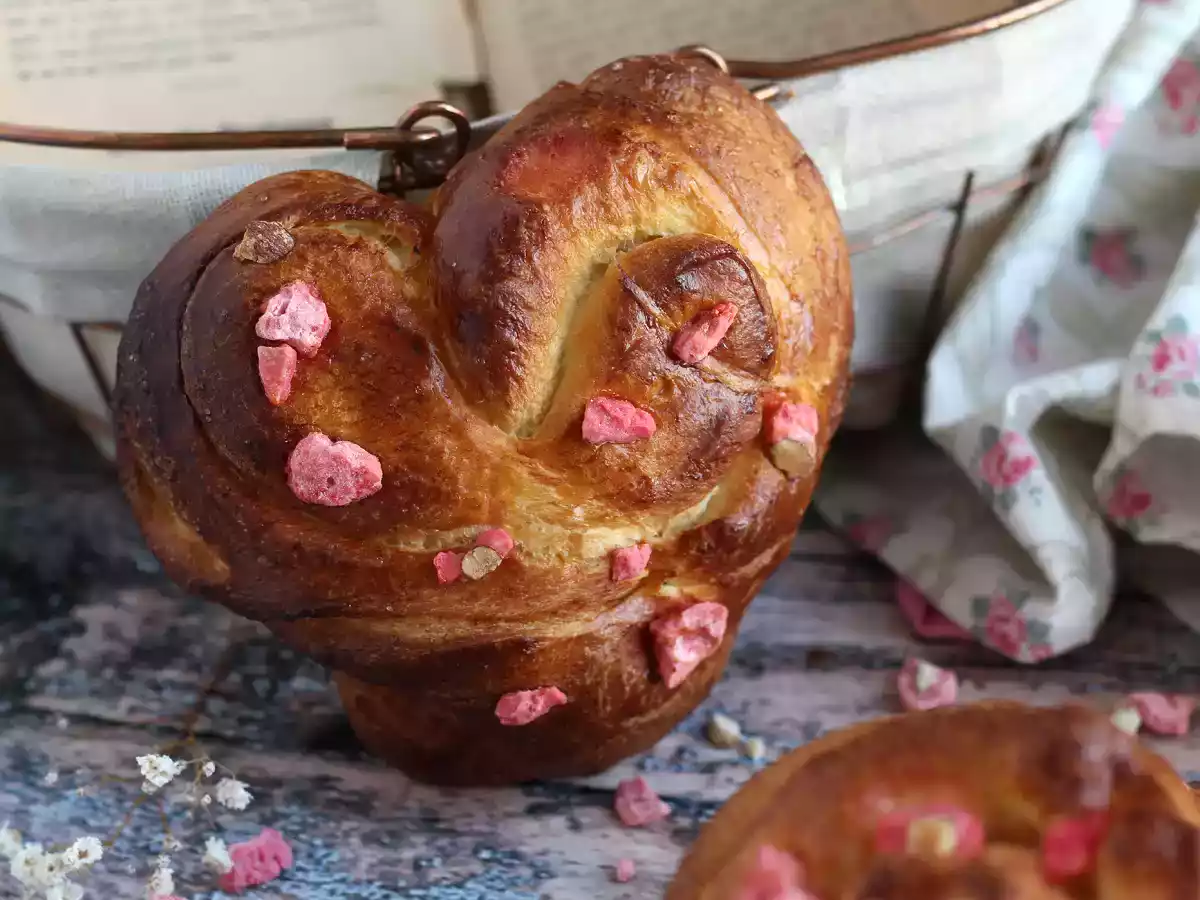

Love is in the air with these extra soft heart-shaped brioches ♥ The perfect idea to delight your loved one at breakfast or snack time :-) Don't forget to add pink pralines for a crunchy and colorful touch ;-) We'll explain everything step by step below!
Ingredients
7
Brioche dough :
Stuffing :
To golden :
Materials
- Stand mixer with dough hook / Kneader
- Parchment paper
- Dough scraper (or spatula and knife)
- Rolling pin
- Pastry brush
Preparation
Preparation30 min
Waiting time3 h 15 m
Cook time17 min
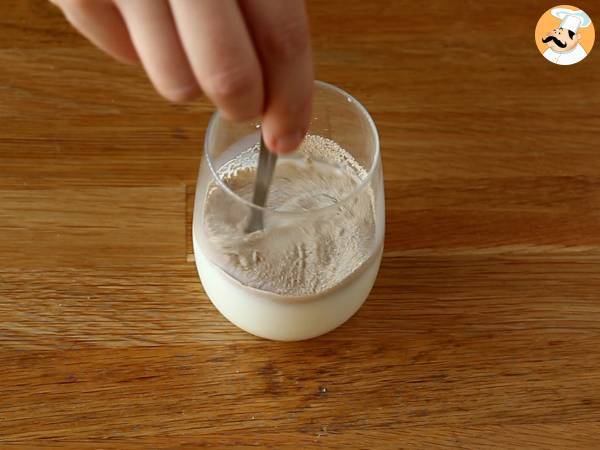 Combine dry yeast and warm milk and let rest for 10 minutes at room temperature.
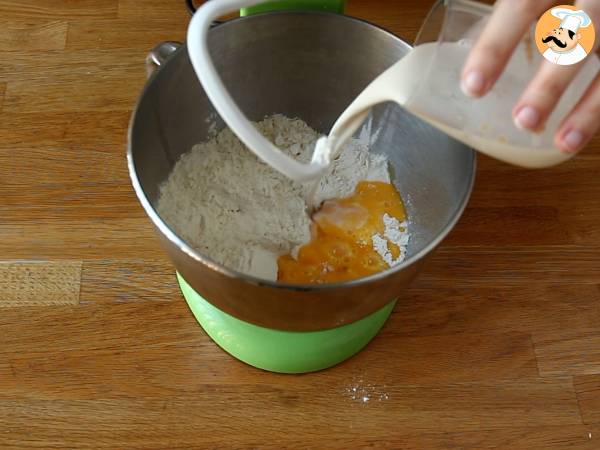 Place flour in the kneading bowl. Add sugar and salt on the side and cover with flour. Then add the eggs and the warm milk + yeast mixture.
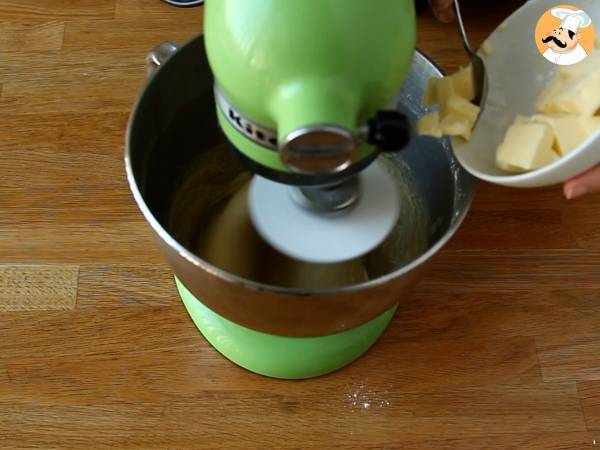 Knead until you have a non-sticky dough (for about 5 minutes at speed 3). Gradually add softened butter while kneading. Knead for another 5 minutes at speed 3 until the dough is non-sticky.
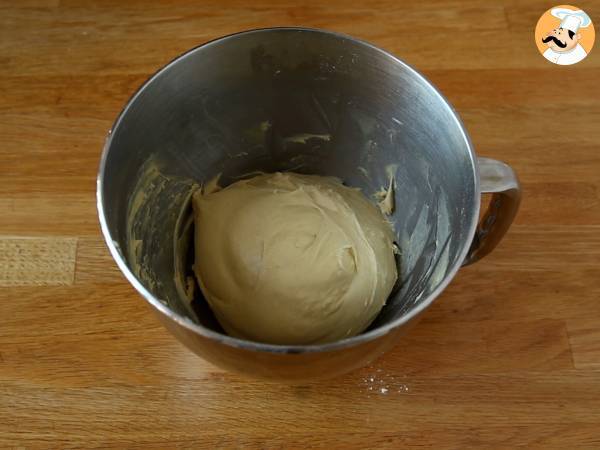 Form a ball of dough in the bowl and cover with a cloth. Let it rest at room temperature (near a heat source if possible) for 2 hours.
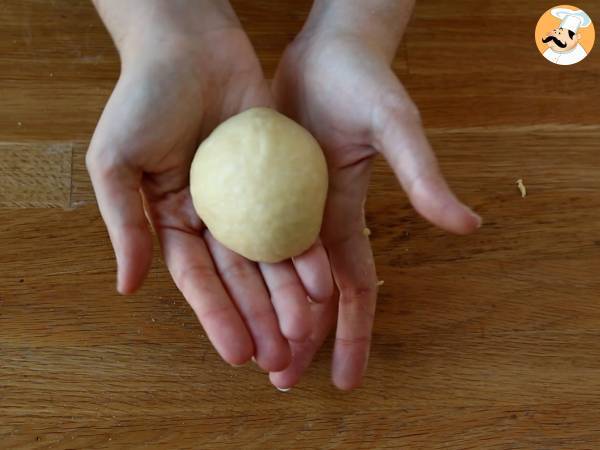 Degas the dough and divide it into 7 pieces of about 140 g each. Form small balls and cover with a cloth for 15 minutes at room temperature.
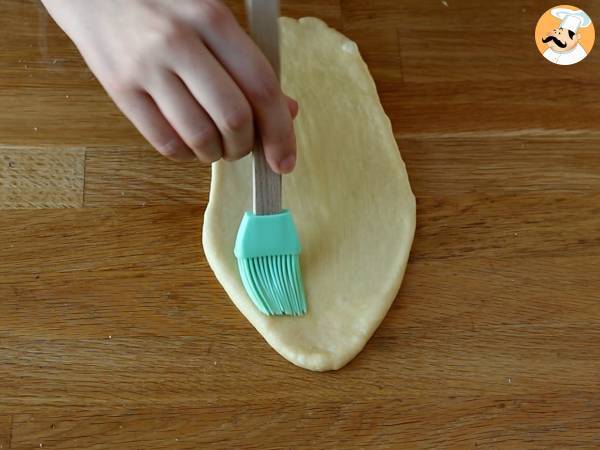 Melt the butter. Roll out the pieces of dough. Brush the dough with melted butter and sprinkle with brown sugar (about 1 tsp per piece).
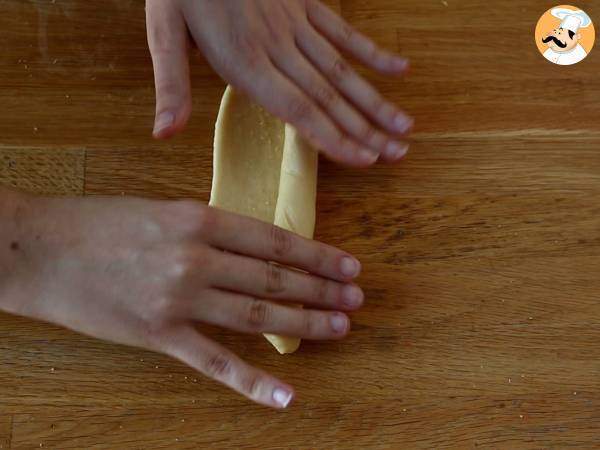 Roll the dough into a log.
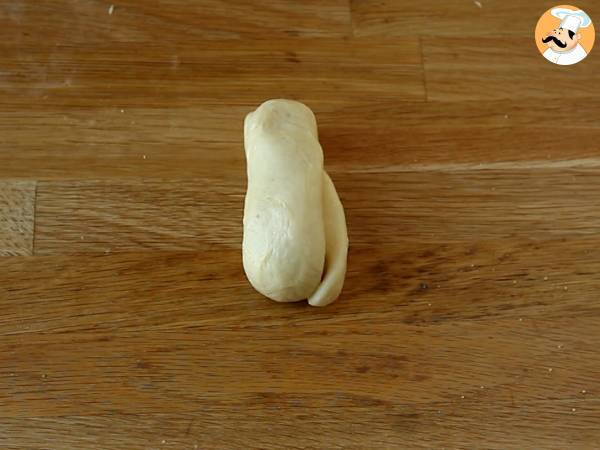 Fold the log in half: top to bottom.
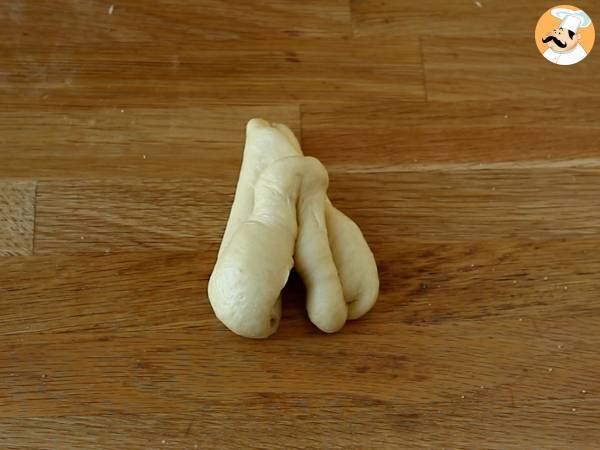 Cut the log with a dough scraper from top to bottom, leaving the bottom intact.
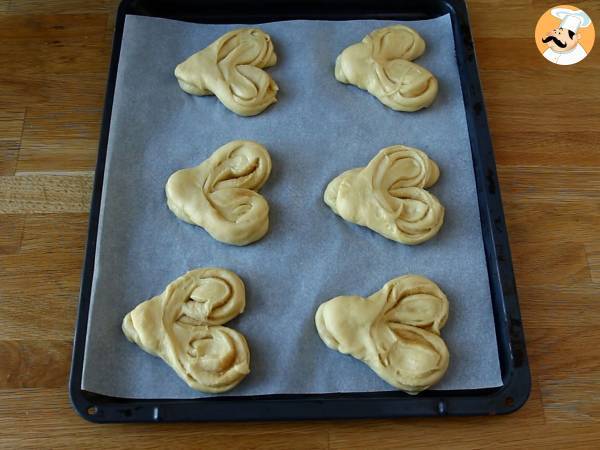 Fold the left side to the left and the right side to the right. Place all the heart-shaped doughs on a baking tray lined with parchment paper. Cover with a cloth and let rise for 1 hour at room temperature.
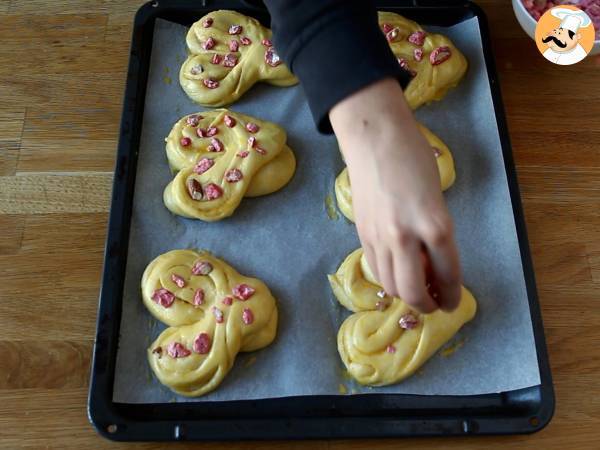 Preheat the oven to 350°F (180°C), mix the egg yolk and milk, and brush the brioches with this mixture. Sprinkle with pink pralines.
 Bake the brioches for 17 minutes at 350°F (180°C).
 And there you have it, your brioches have risen beautifully and are ready to be devoured.
FAQ ❓
What makes these heart-shaped brioches extra soft?
The combination of warm milk, softened butter, and proper kneading techniques contributes to the extra soft texture of these brioches.
Can I use fresh yeast instead of dry yeast for this recipe?
Yes, you can substitute 2 tablespoons of fresh yeast for the 1 tablespoon of dry yeast mentioned in the recipe.
How can I ensure my brioches rise properly?
Make sure to let the dough rest in a warm environment and cover it with a cloth to retain moisture, which helps in proper rising.
What can I substitute for pink pralines?
If you don't have pink pralines, you can use pearl sugar or even chopped nuts for a different texture and flavor.
How long do these brioches stay fresh?
These brioches are best enjoyed fresh but can be stored in an airtight container for up to 2 days at room temperature.
Nutrition
for 1 serving / for 100 g
Calories: 597Kcal
- Carbo: 73g
- Total fat: 27.5g
- Saturated fat: 15.5g
- Proteins: 13.3g
- Fibers: 3g
- Sugar: 26.6g
- ProPoints: 16
- SmartPoints: 24
Nutritional information for 1 serving (170g)
Cookware
oven
Attributes
Suitable for freezing
You may like

Valentine's day flower bouquet fruit jelly dessert

{Easy Entertaining} Valentine's Day Dessert Table

Valentine's day recipe: aztec/mayan hot and spicy cocoa

Valentine?s Day Heart-Healthy Chocolate Desserts

Valentine's day strawberry roses bouquet

The perfect cocktail for valentine's day, the cranberry spritz!

Love letter cookies for valentine's day

Easy chili and valentine's day surf and turf

Valentine?s day cookies

Valentine's day brunch

"stained glass" valentine cookies

Quick valentine's vacherins
Questions
Photos of members who cooked this recipe
 Juliette Hess
I’ve been creating culinary content at Petitchef for over 7 years.
I love traveling and discovering new dishes, trying out new culinary trends, and exploring new restaurants.
I’m a pasta fan in all its forms ❤ from udon noodles to tagliatelle, I love cooking it and even making it homemade!
Right now, I’m preparing, filming, and photographing your next recipe, and I hope you’ll love it!
Comments
Rate this recipe:
Rate this recipe