Quick mango lassi
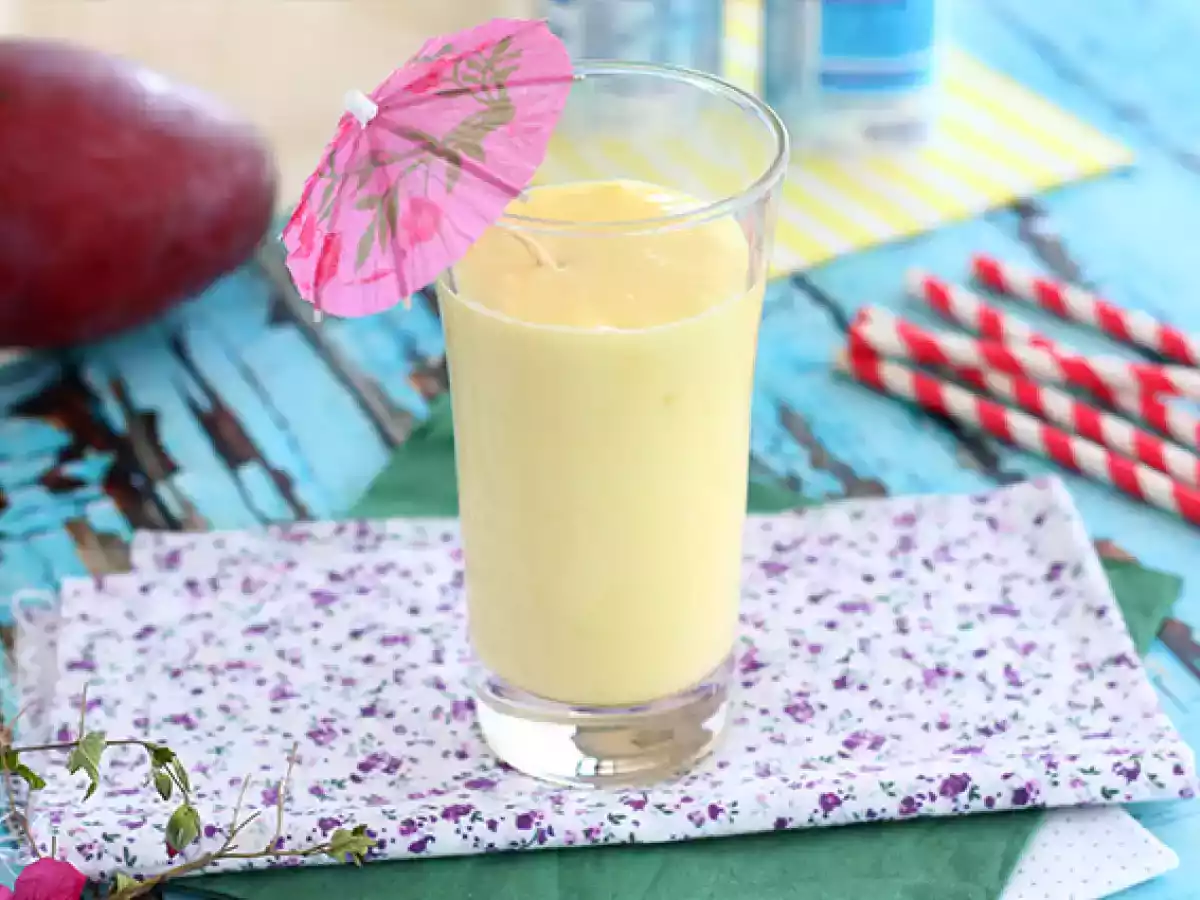
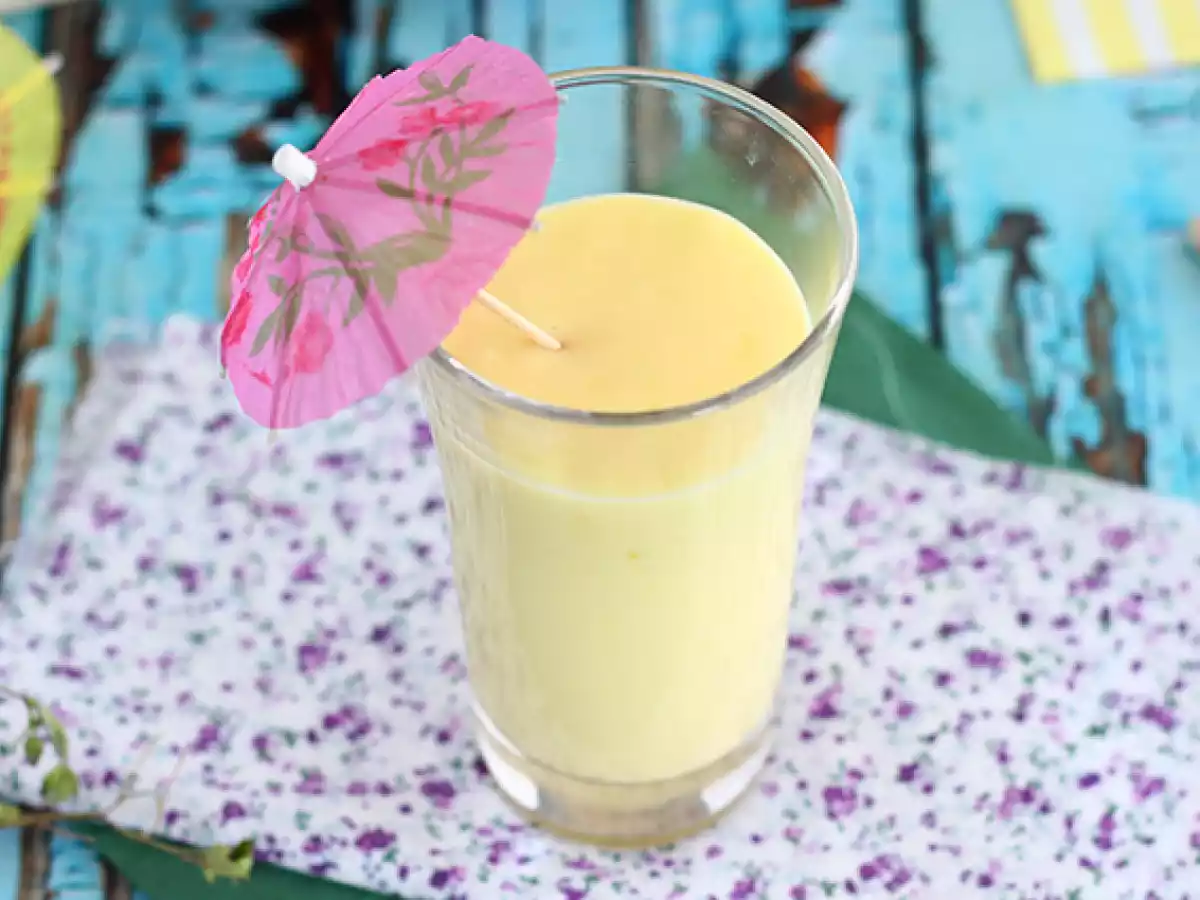
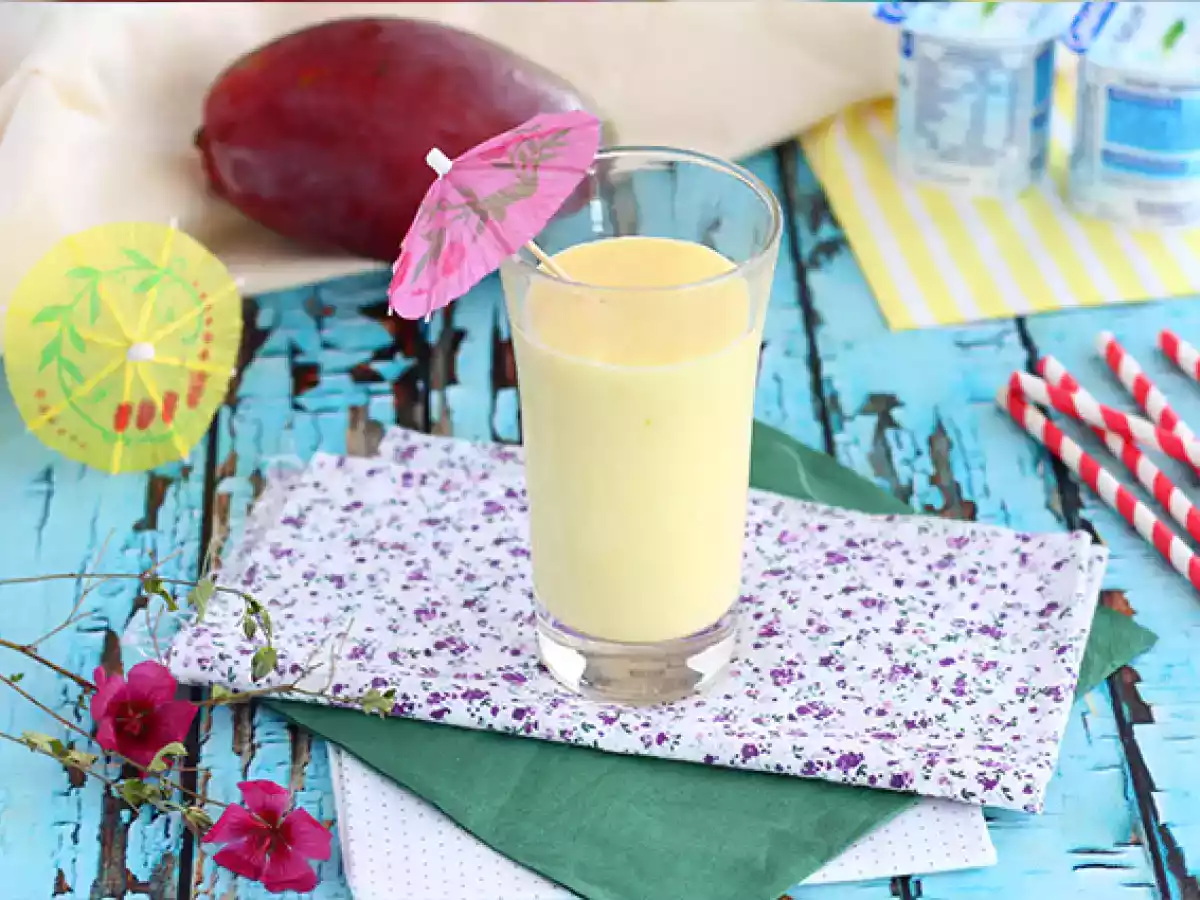
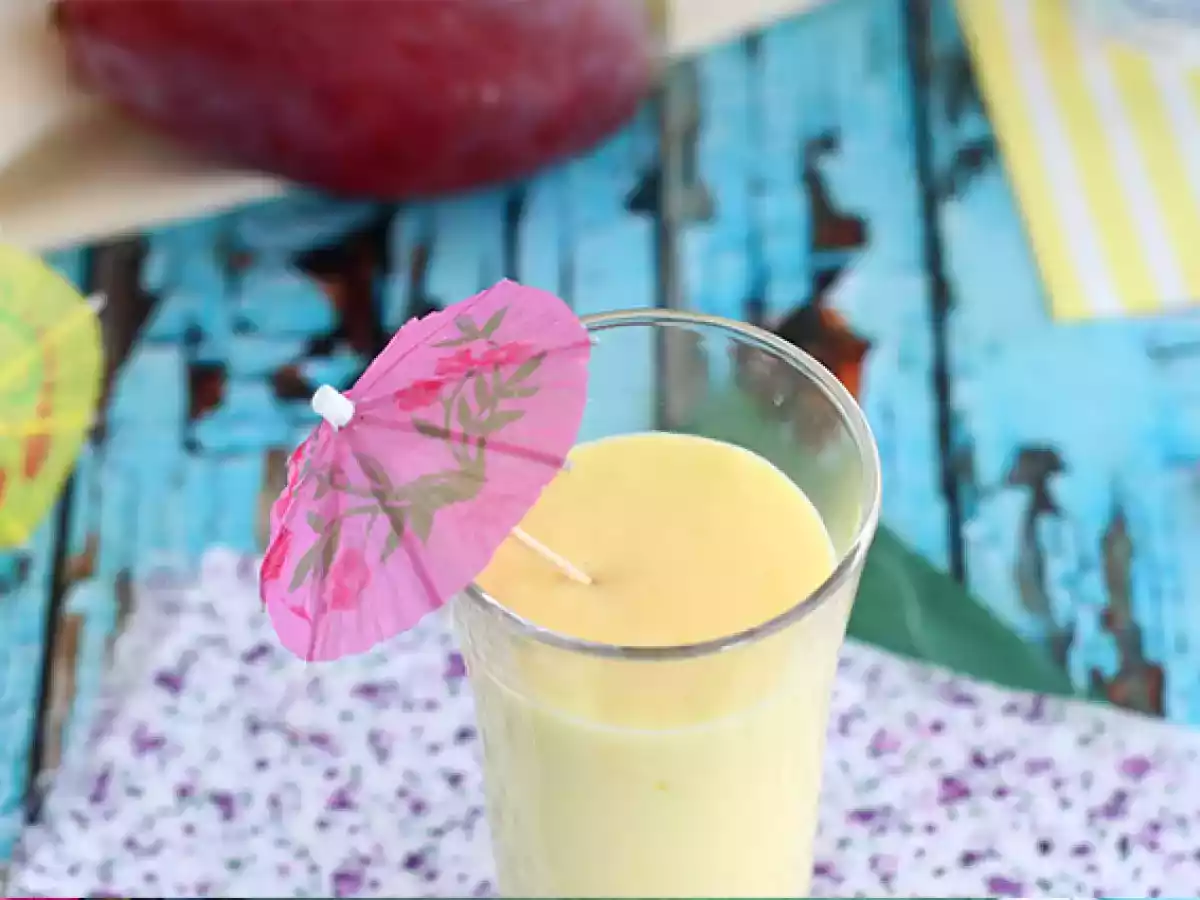
Travel to India with this mango lassi! This ultra-creamy drink is traditionally enjoyed throughout the meal. Easily recreate our quick recipe to add a little sunshine to your dessert or afternoon snack ;-)
Ingredients
1
Materials
- Blender
Preparation
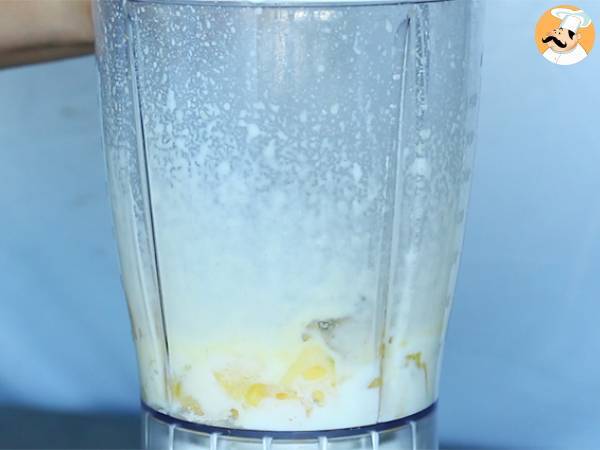 In a blender, blend the mango, plain yogurt, and sugar.
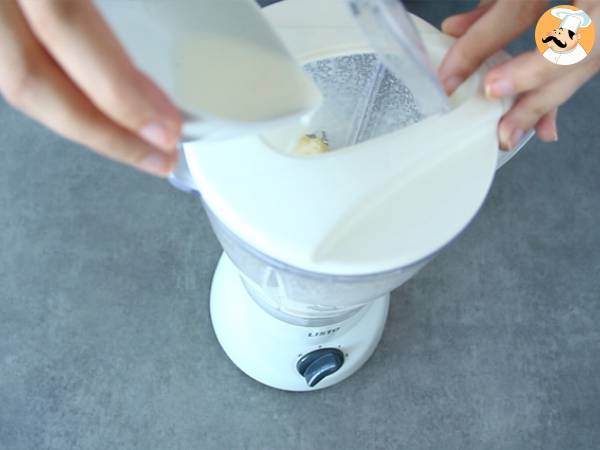 Gradually add the milk while continuing to blend. Your lassi should be smooth and creamy.
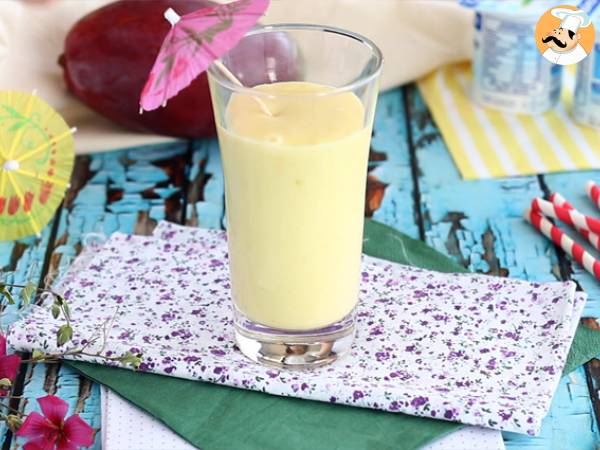 And there you have it, your mango lassi is ready!
FAQ ❓
What is the origin of mango lassi?
Mango lassi is a traditional Indian drink, often served with meals for its creamy texture and refreshing taste.
Can you use other fruits to make lassi?
Yes, you can experiment with other fruits, such as strawberries, bananas, or papayas, to create delicious variations of lassi.
How can I make my lassi even creamier?
For an even creamier lassi, you can add a little cream or coconut milk to the mixture.
Is mango lassi healthy?
Yes, mango lassi is relatively healthy because it contains fruit and probiotics from yogurt, and you can adjust the amount of sugar to suit your preferences.
How long can lassi be kept in the refrigerator?
Lassi is best enjoyed fresh, but you can keep it in the refrigerator for 1 to 2 days in an airtight container.
Nutrition
for 1 serving / for 100 g
Calories: 245Kcal
- Carbo: 45.7g
- Total fat: 2.3g
- Saturated fat: 1.4g
- Proteins: 7.6g
- Fibers: 2.9g
- Sugar: 44.5g
- ProPoints: 6
- SmartPoints: 12
Nutritional information for 1 serving (350g)
Attributes
Keep refrigerated
 PetitChef_Official
You may like

Mango lassi

How to Make Cool Khus Lassi

Avocado toast with mango and lime: a fresh, quick and flavorful recipe

Mamidikaaya menthi baddalu (quick raw mango pickle)
Strawberry Lassi

Spicy watermelon and mango gazpacho shots
Cucumber-mint lassi

Quick-to-make, high-protein whey custard tart!

Quick apple turnovers

Homemade oat milk (easy, quick, and economical!)

Express new york rolls with speculoos – quick and budget-friendly recipe

Quick beef brisket (relatively)
Questions
Photos of members who cooked this recipe
 Juliette Hess
I have been creating culinary content for Petitchef since 2017.
I love travelling and discovering new dishes, trying out new food trends and exploring new restaurants.
I’m a huge fan of pasta and noodles in all their forms ❤ from udon noodles to tagliatelle, I love cooking them and even making them from scratch!
I’m currently preparing, filming and photographing your next recipe, and I hope you’ll enjoy it!
Comments
Rate this recipe:
5/5, 1 vote(s)
Rate this recipe