Why settle for packaged chocolate chips? Make your own and try these 7 irresistible recipes
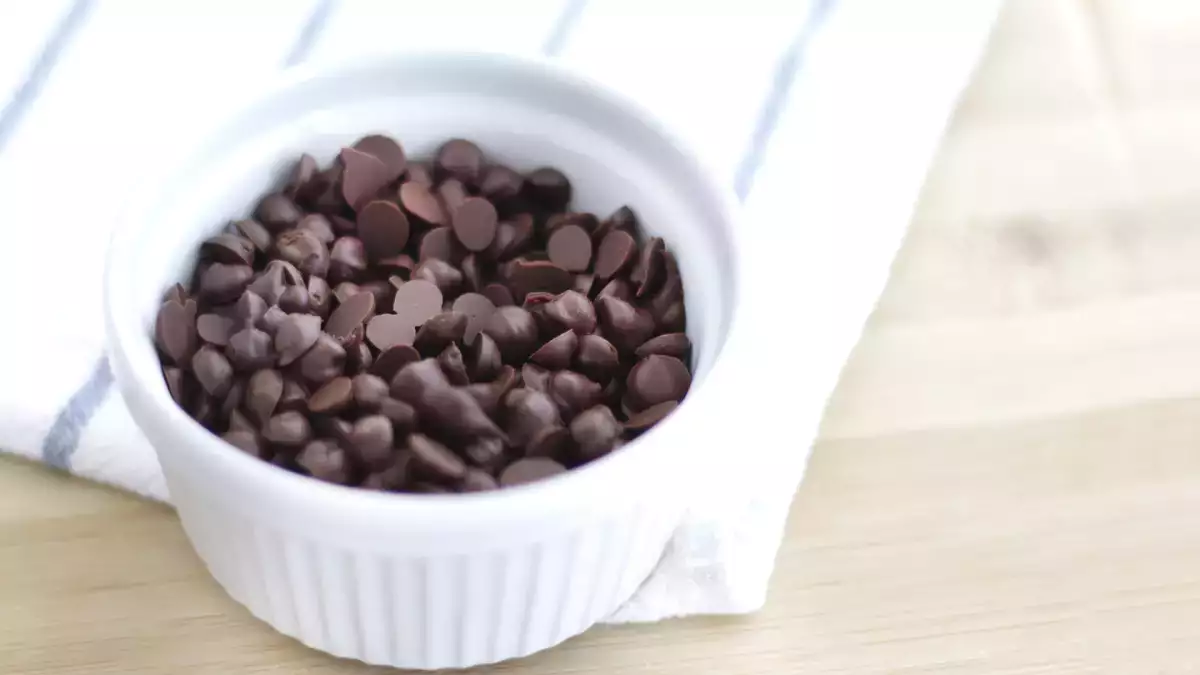
Sometimes, for all the talk about “home baking,” the real game-changer is a tiny gesture. A detail, like making your own chocolate chips. It’s not complicated at all (just a few simple steps) but it gives you something store-bought can’t: control over which chocolate goes into your dough and how it shows up in every bite.
Commercial chips do their job and they’re undeniably convenient. But compared to homemade, they come with a few downsides: they’re not exactly cheap, and they’re always the same (same size, same shape, same behavior) no matter what dessert you’re making.
Homemade chocolate chips are a different story. It may sound like a pastry-nerd obsession, but in practice it gives you real freedom: you choose the chocolate (dark, milk, white…), you adjust the size to match what you’re baking, and you decide the final effect, whether you want a subtle sprinkle throughout a cake crumb or big, molten pockets in the center of a cookie.
Below, you’ll find how to make them step by step, plus 7 recipes to put them to good use; which, let’s be honest, is the important part.
Why making your own chocolate chips is worth it
For control. For flavor. And for that very specific joy of opening the fridge and finding a tray full of chocolate drops, ready to dive into your next dessert.
When you make them yourself:
- you choose the chocolate (and you taste it from the very first bite);
- you choose the size and shape;
- and you finally have a great excuse to use that “special” chocolate bar that’s been sitting in the pantry for weeks waiting for its moment.
How to make homemade chocolate chips
INGREDIENTS:
3.5 oz of chocolate (dark, milk or white) to your liking.
MATERIALS:
- bowl
- piping bag
- baking tray
- greaseproof paper
Step 1: Chop the chocolate and melt it.
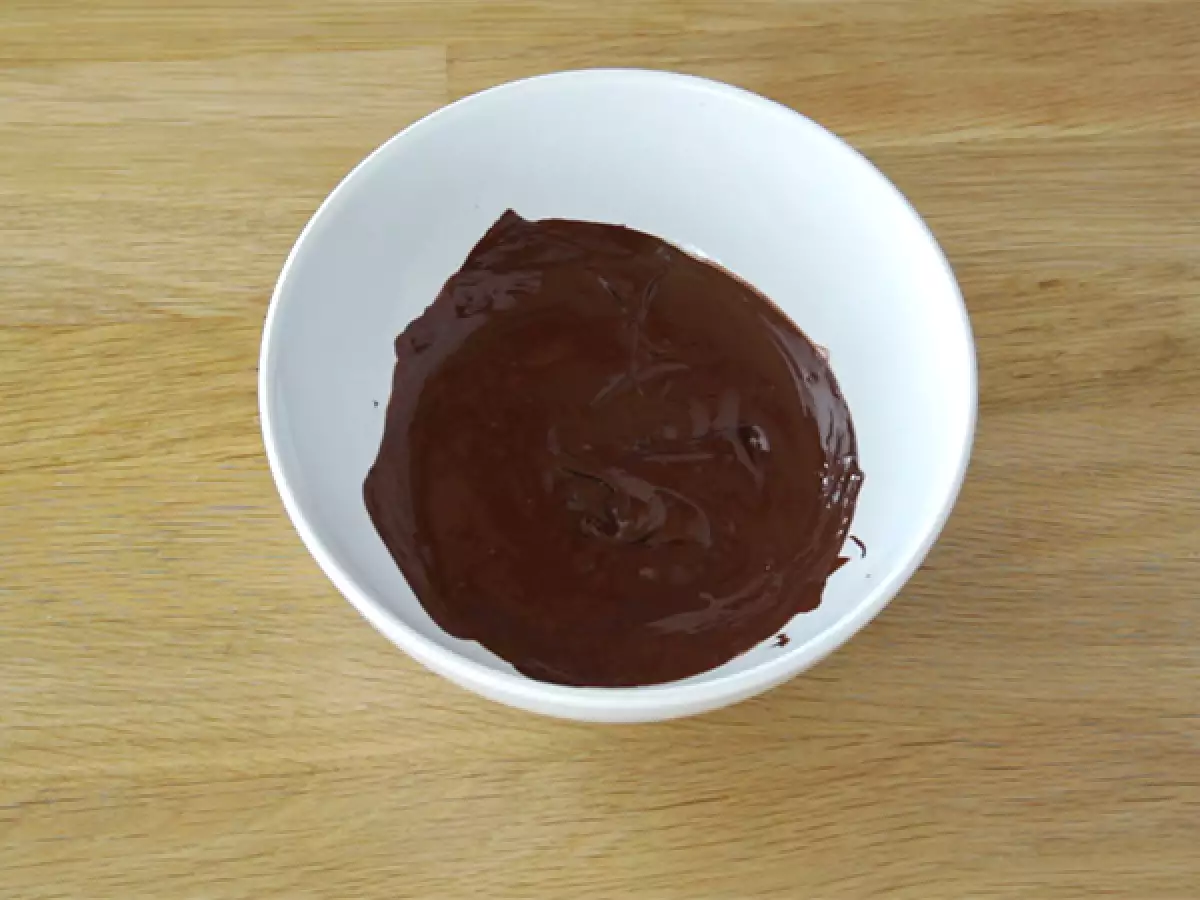
Chop the chocolate, the smaller it is, the more evenly it will melt. Melt it carefully
- Microwave: short strokes of 15-20 seconds, always stirring.
- Bain-marie: gentle heat and patience, without the bowl touching the water.
Step 2: Transfer to a piping bag or freezer bag.
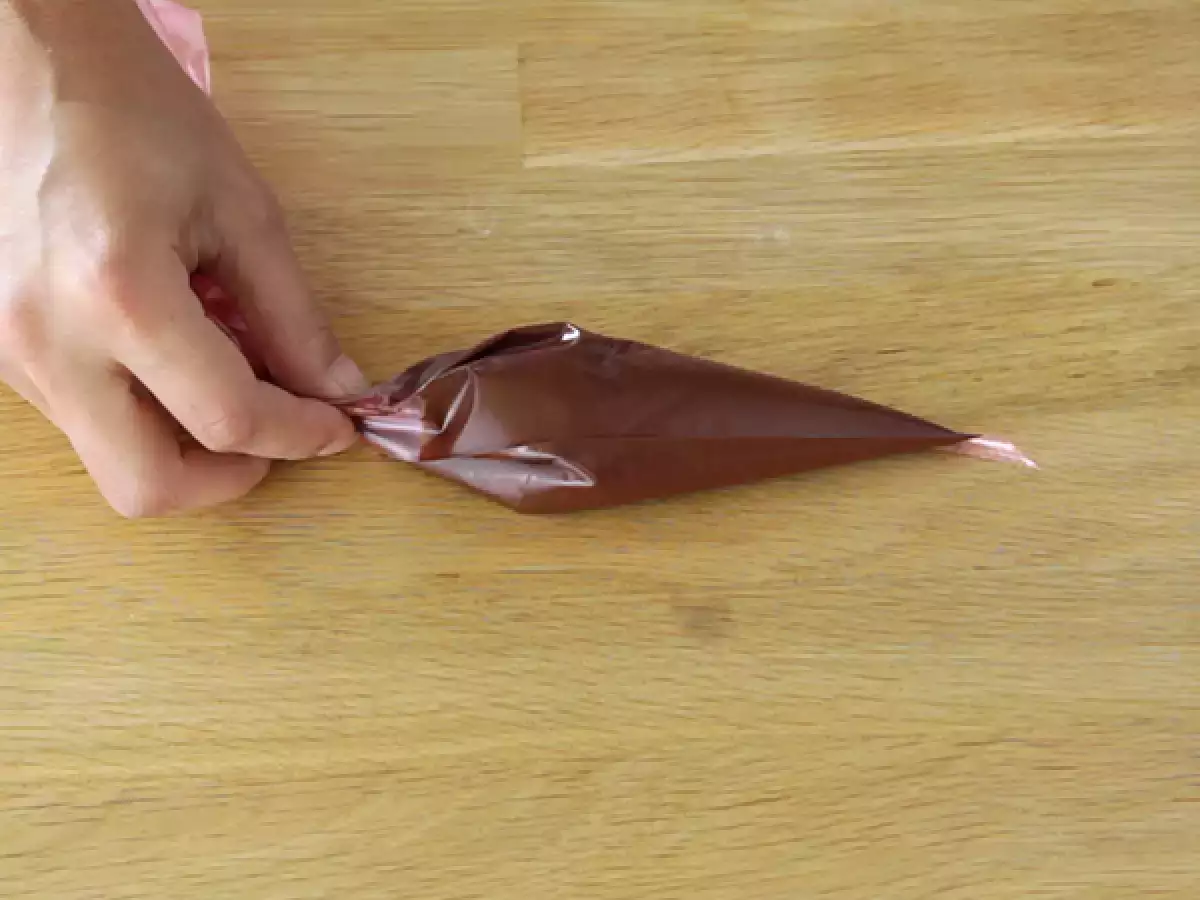
Put the chocolate in a piping bag without a nozzle by cutting the tip of the plastic, or with a very very small nozzle.
If you use a zip bag, fill, close tightly and cut a corner: a small hole will give you finer nuggets; a slightly larger one, more generous drops.
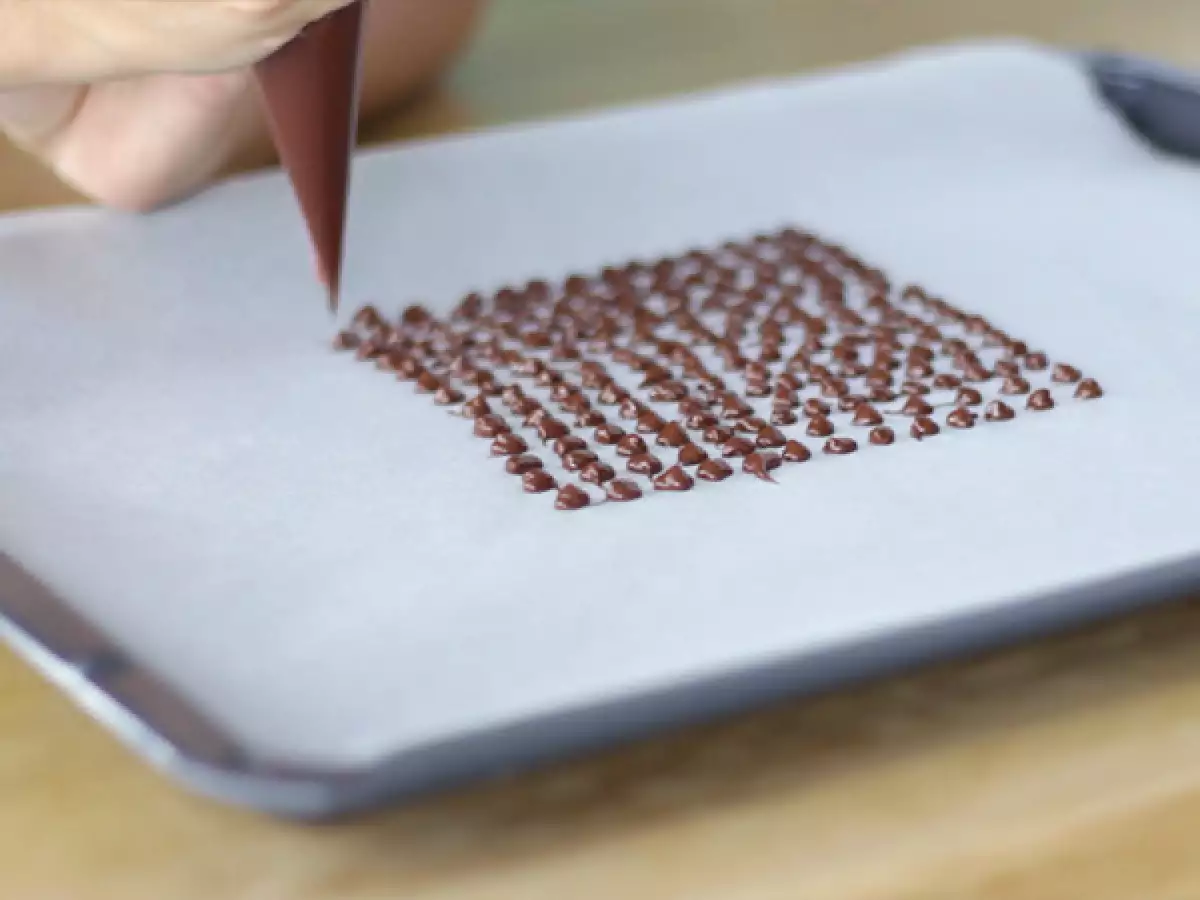
Step 3: Form the nuggets
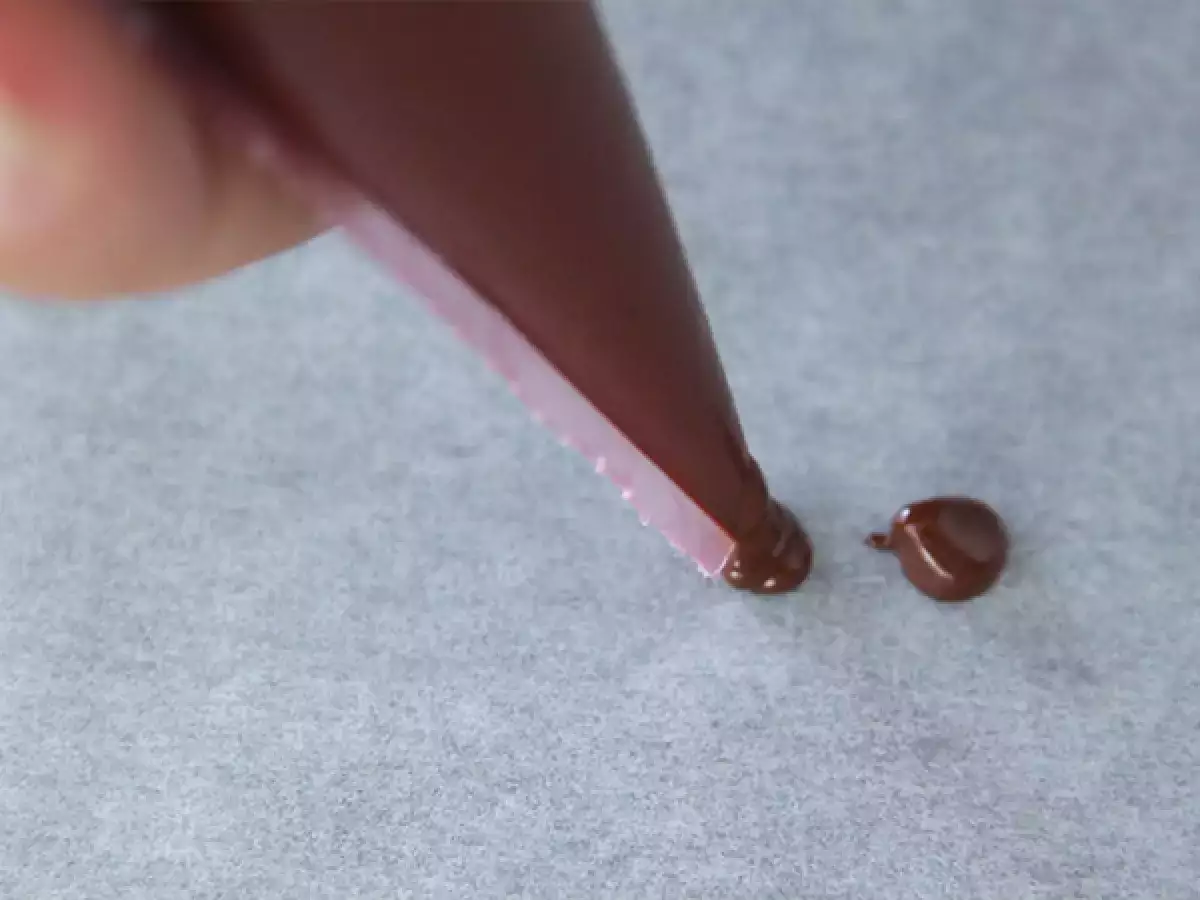
On the baking paper, press and drop small drops. If you want them to come out beautifully, bring the nozzle close to the paper and release decisively; hesitation makes crooked and irregular nuggets.
Step 4: Cool
Let them stand until they harden at room temperature. You can also do it in the refrigerator 20-30 minutes or in the freezer 10-15. When firm, they will peel off without a problem.
Step 5: Save and enjoy
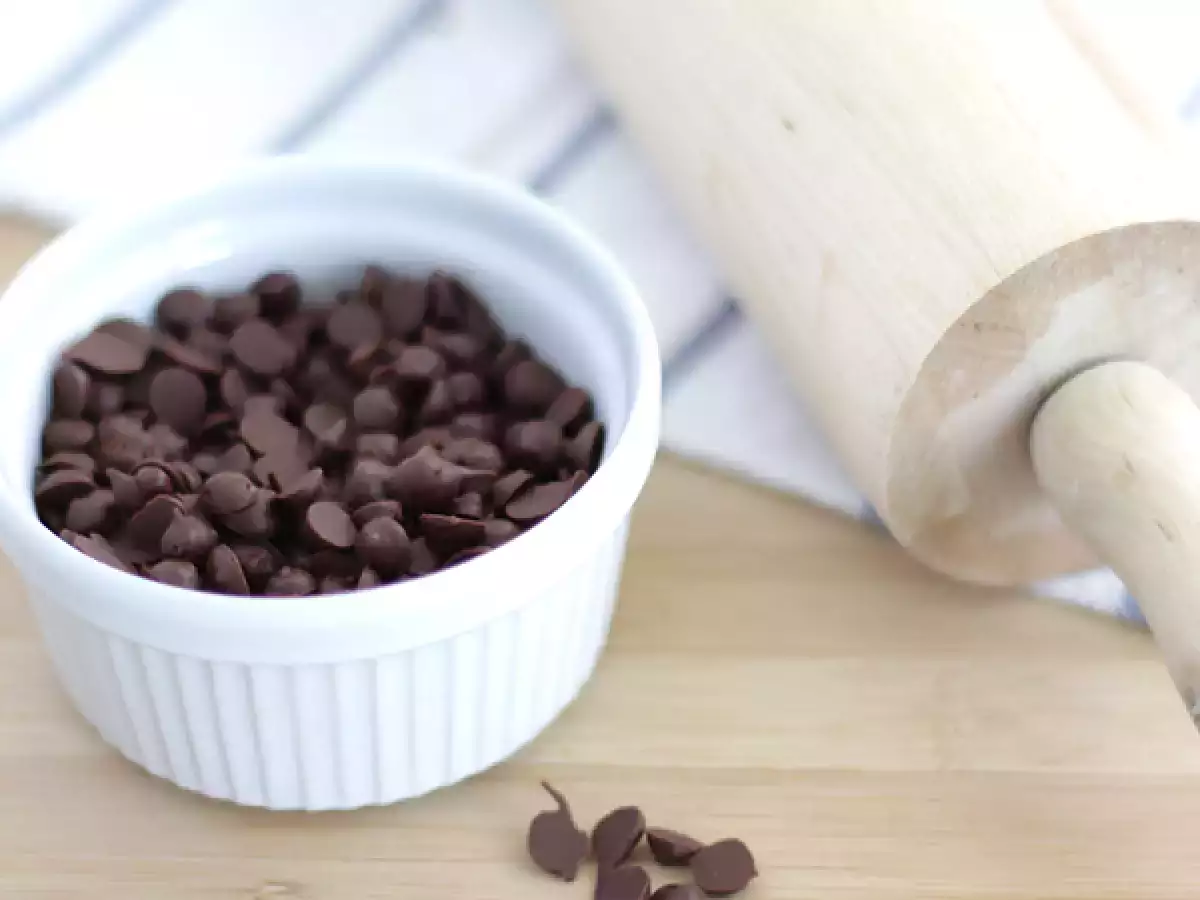
In airtight jar or tightly closed bag. If the kitchen is very warm, better refrigerator. And now you have your homemade chocolate chips ready to use in your favorite desserts.
Recipes in which we can use our chocolate chips
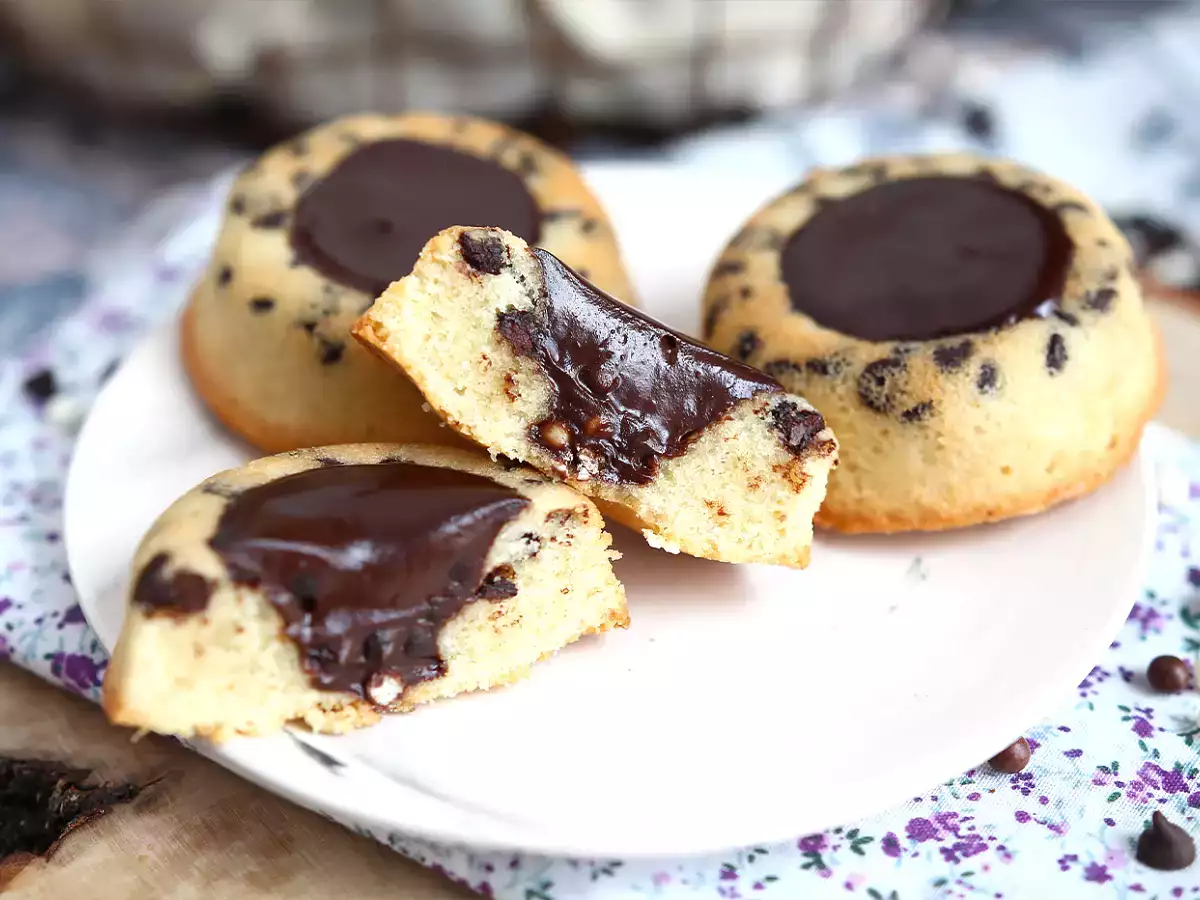
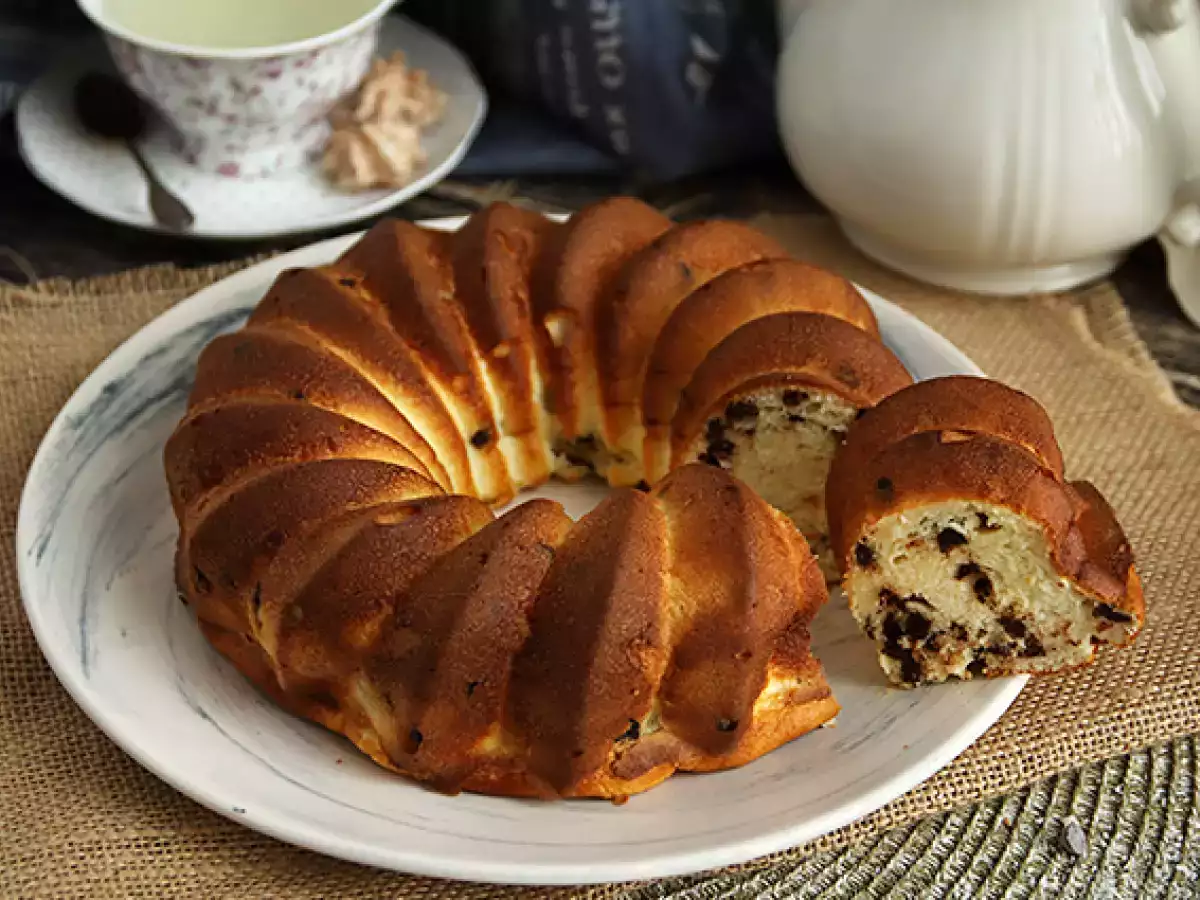
If you love financiers, you'll adore this version! The perfect combination of financiers with chocolate chips and a chocolate ganache with crunchy pearls.
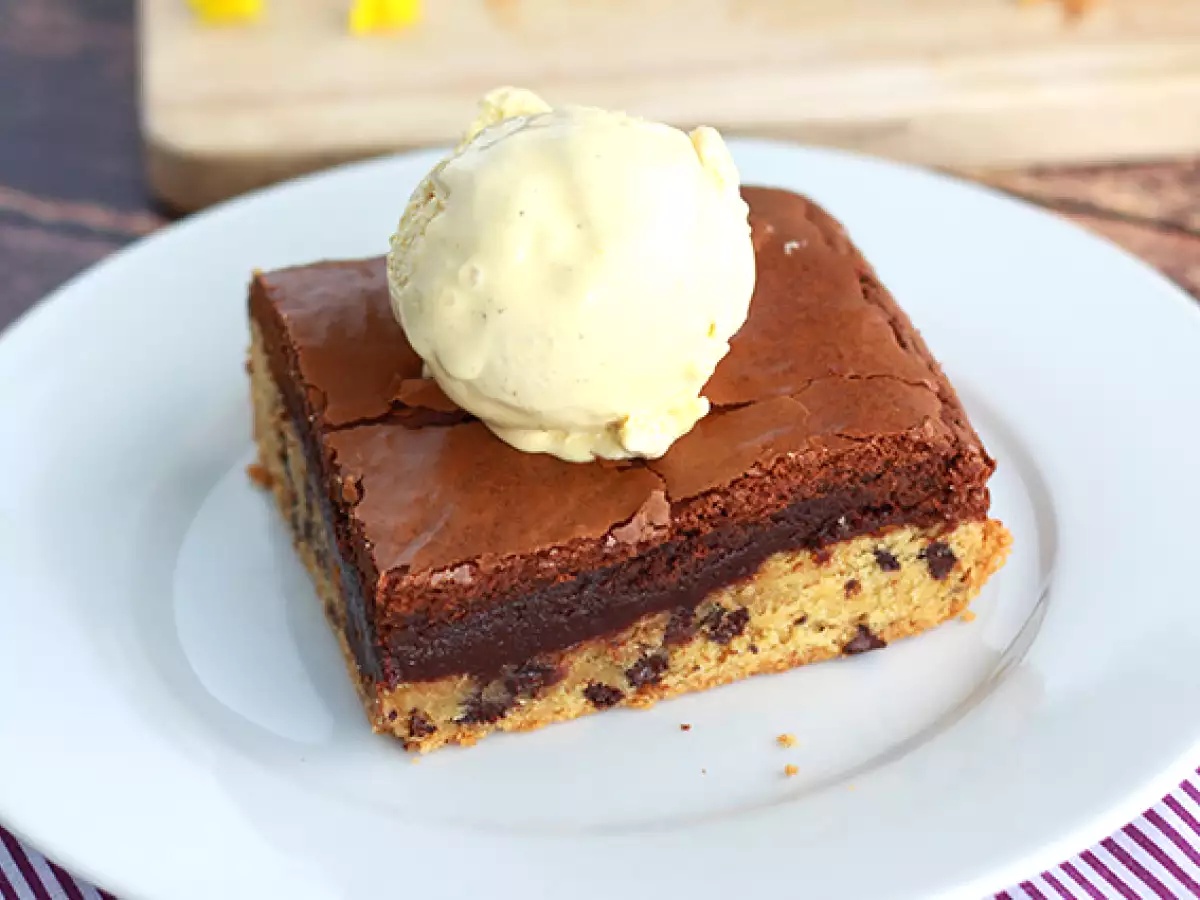
Can't decide between brownies and cookies for dessert? Opt for homemade brookies! An easy recipe explained step by step, perfect for making with kids. Straight from the United States, you won't resist its blend of softness and crunch. Serve with a...

We love classic scones straight from the UK, and we melt with delight for this chocolate chip version! Easy and fluffy, we can assure you that you won't be able to resist it either ;-) We reveal all the steps to achieve this foolproof result ↓

If you've tried making homemade almond milk, you probably have leftover almond pulp, also known as 'okara'. What to do with it? It would be a shame to throw it away, and at Ptitchef, we hate waste! So, prepare some cookies :-) This recipe is a family...
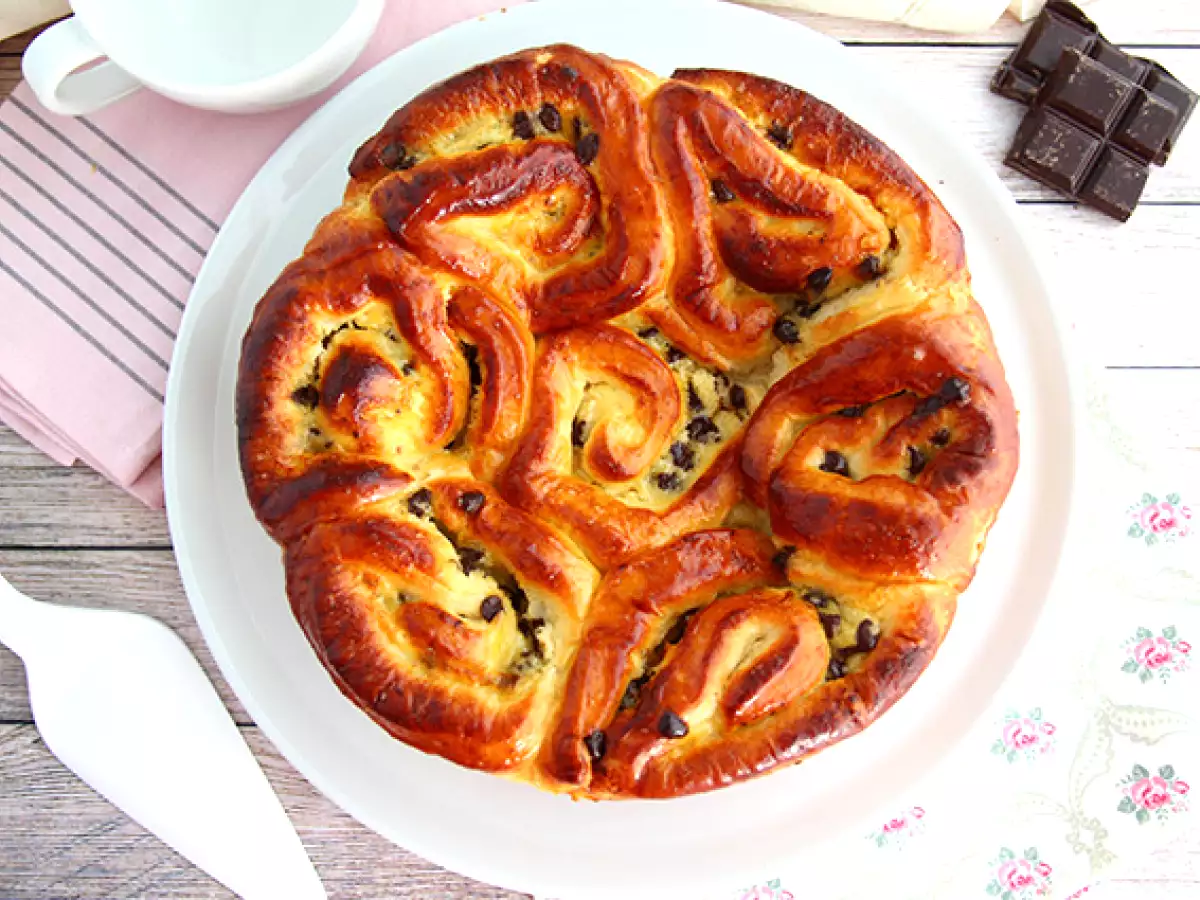
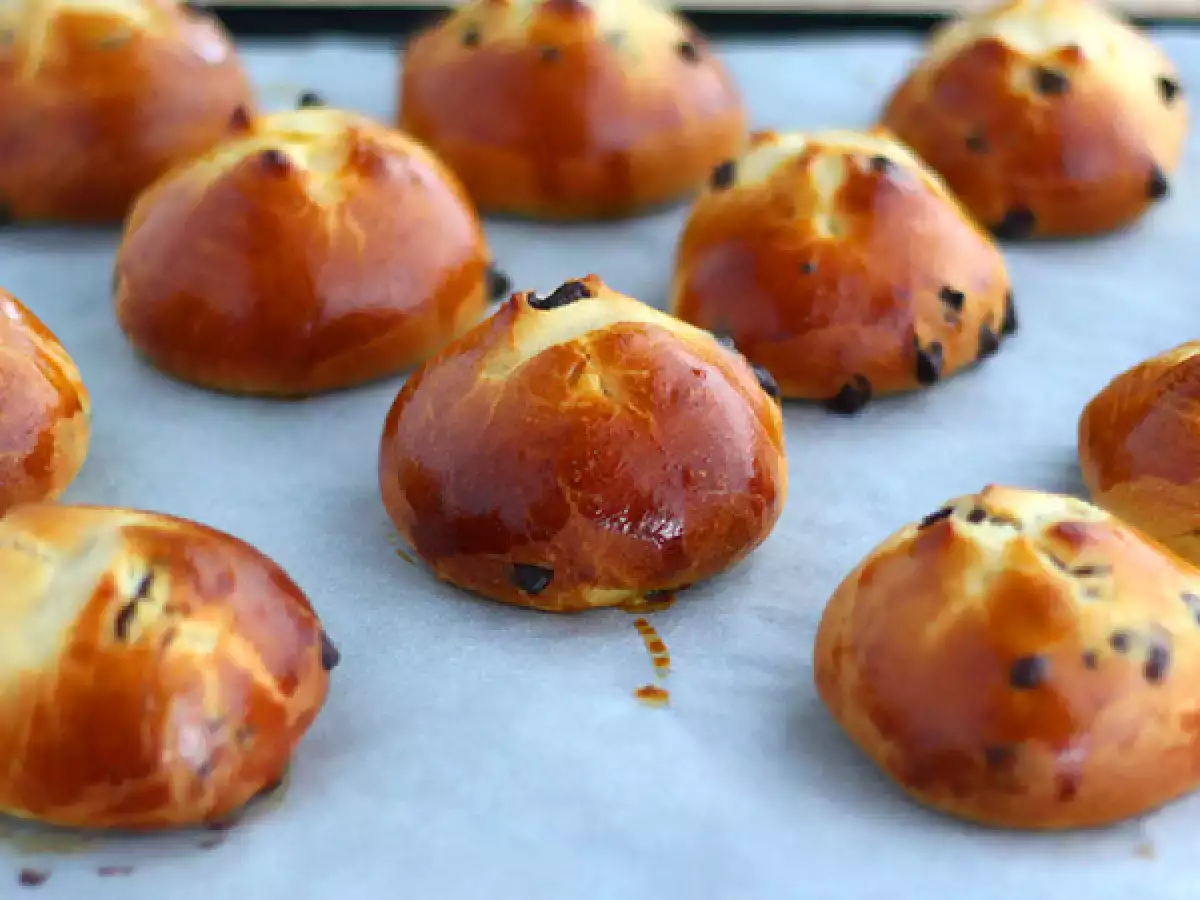
For a soft and sweet snack break, choose brioche chinois! Easier to make than you think, its filling of vanilla custard and chocolate chips will make it irresistible. As usual, we guide you step by step through this recipe :-) Also known as...
Skyr is an Icelandic specialty that lies between yogurt and cream cheese. It is lower in fat than Greek yogurt and is rich in protein (2.5 times more than regular yogurt). A perfect ally for health and weight loss, it can be added to desserts for...
 Patricia González
Comments