Snowflake brioche with chocolate-hazelnut spread
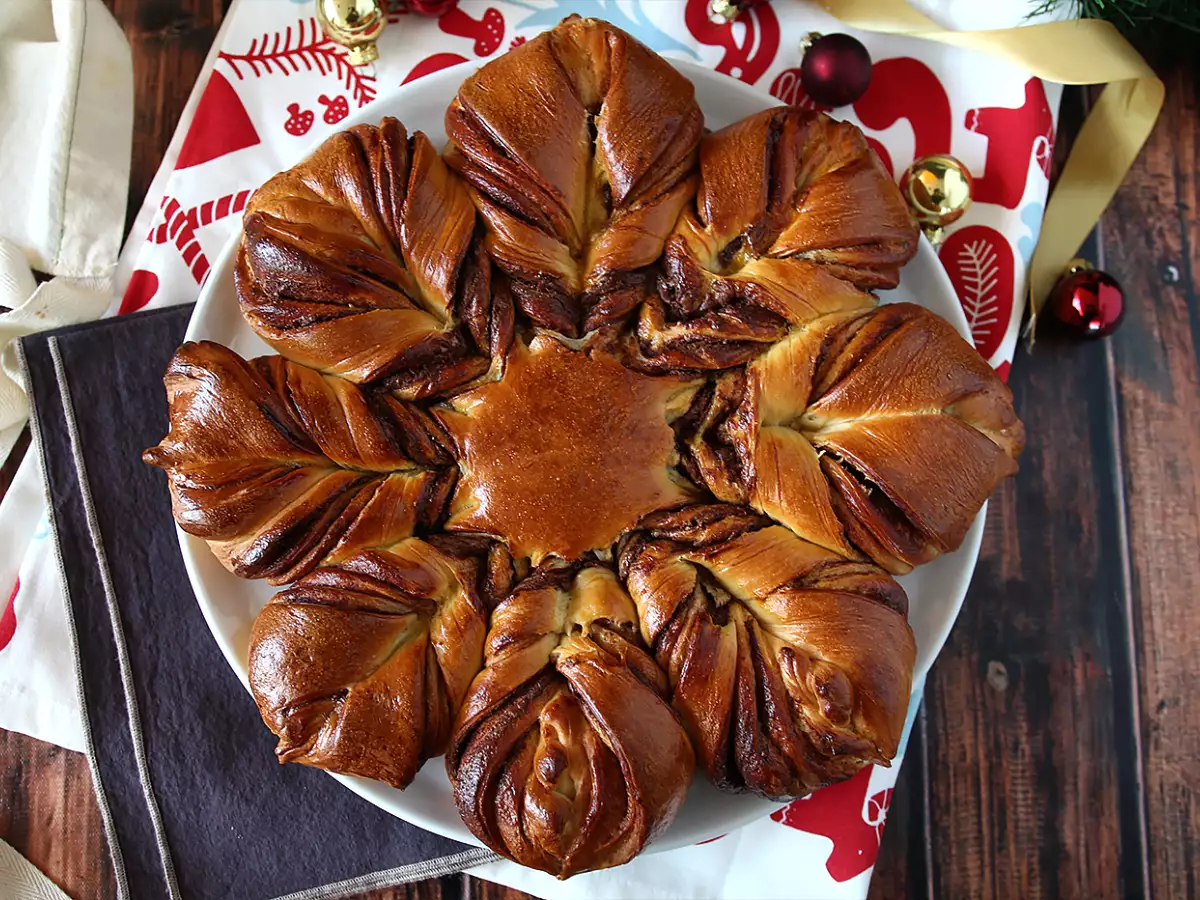
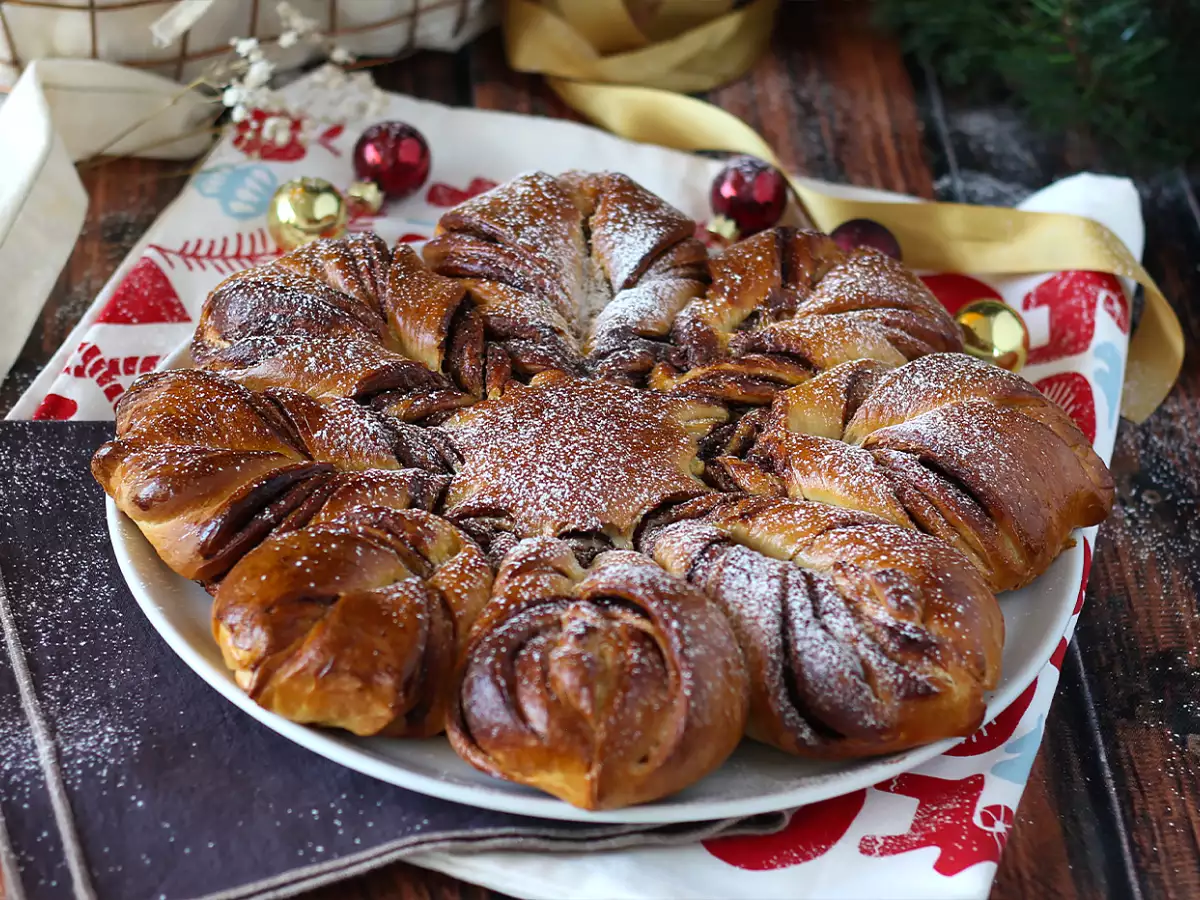
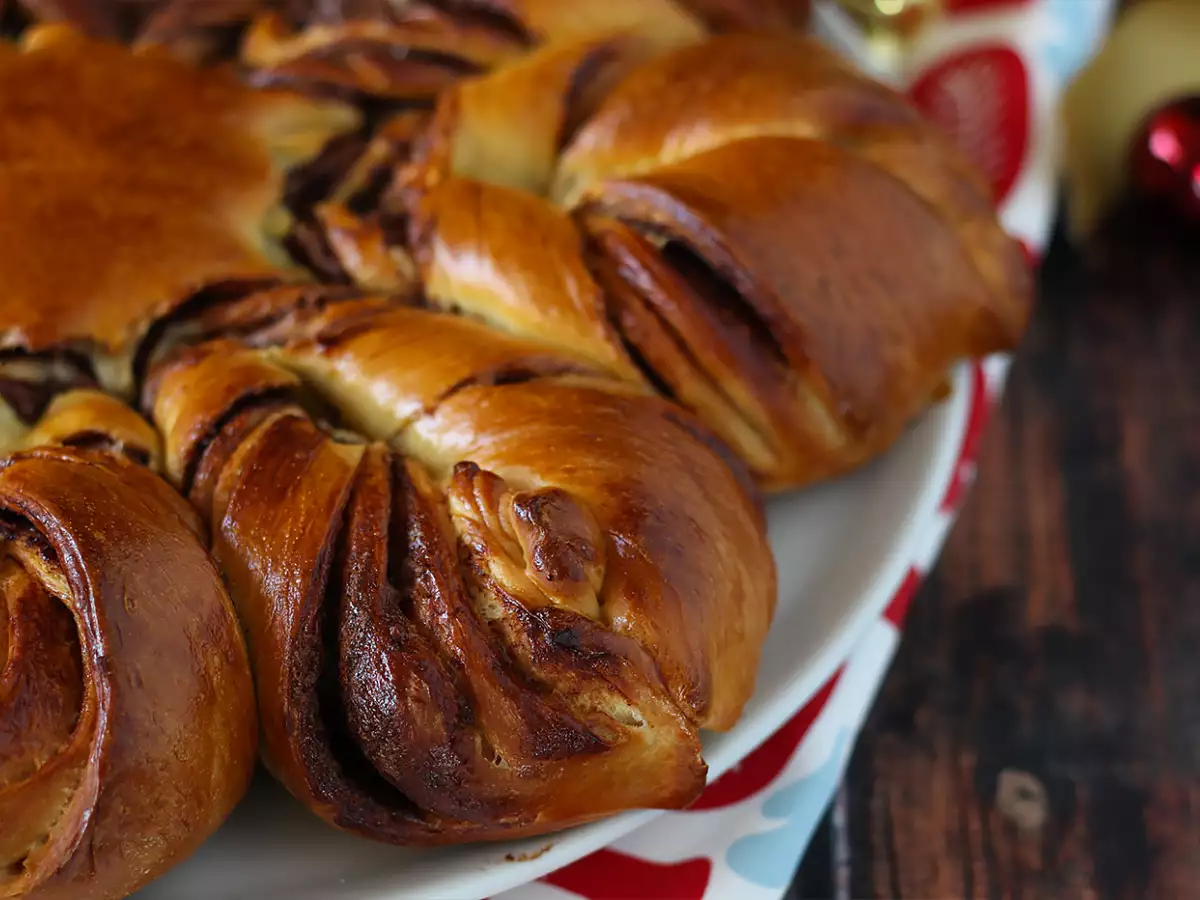
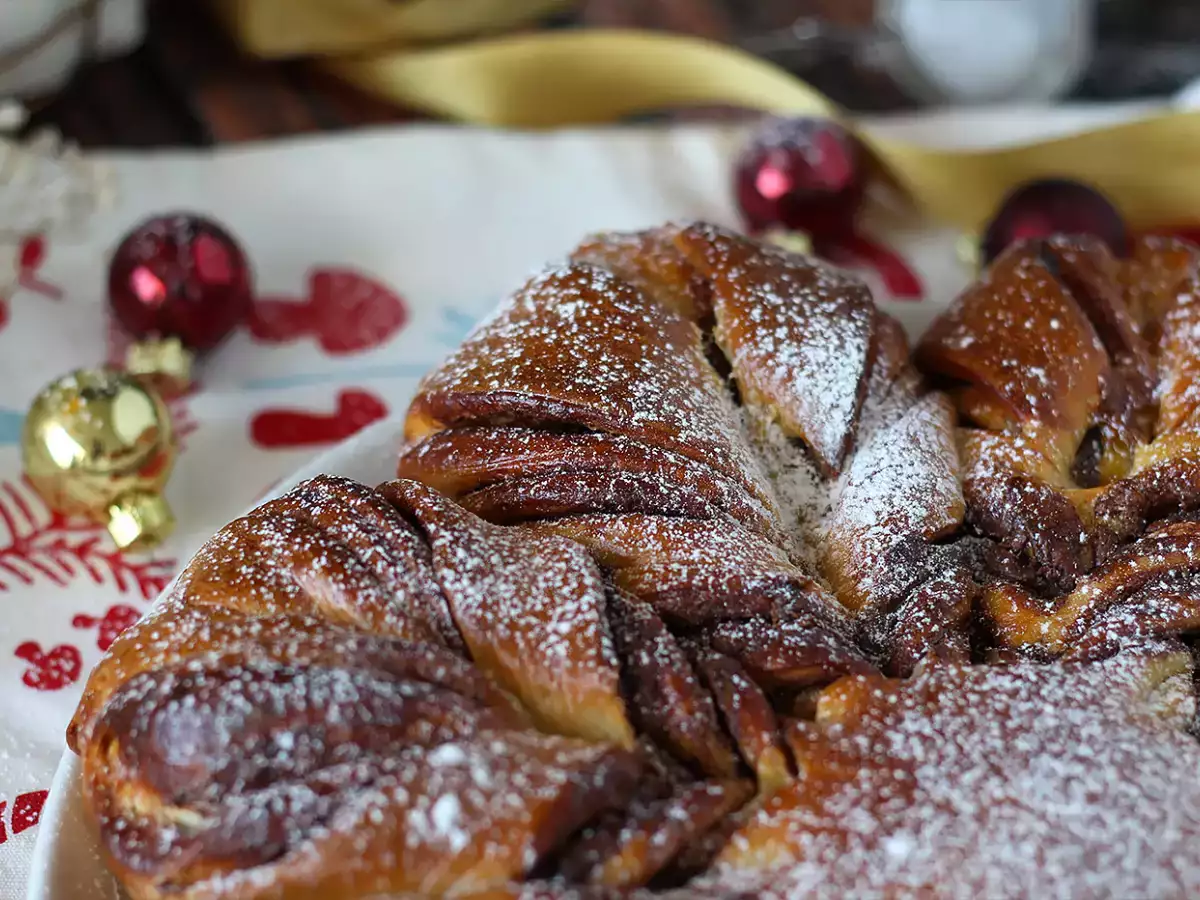
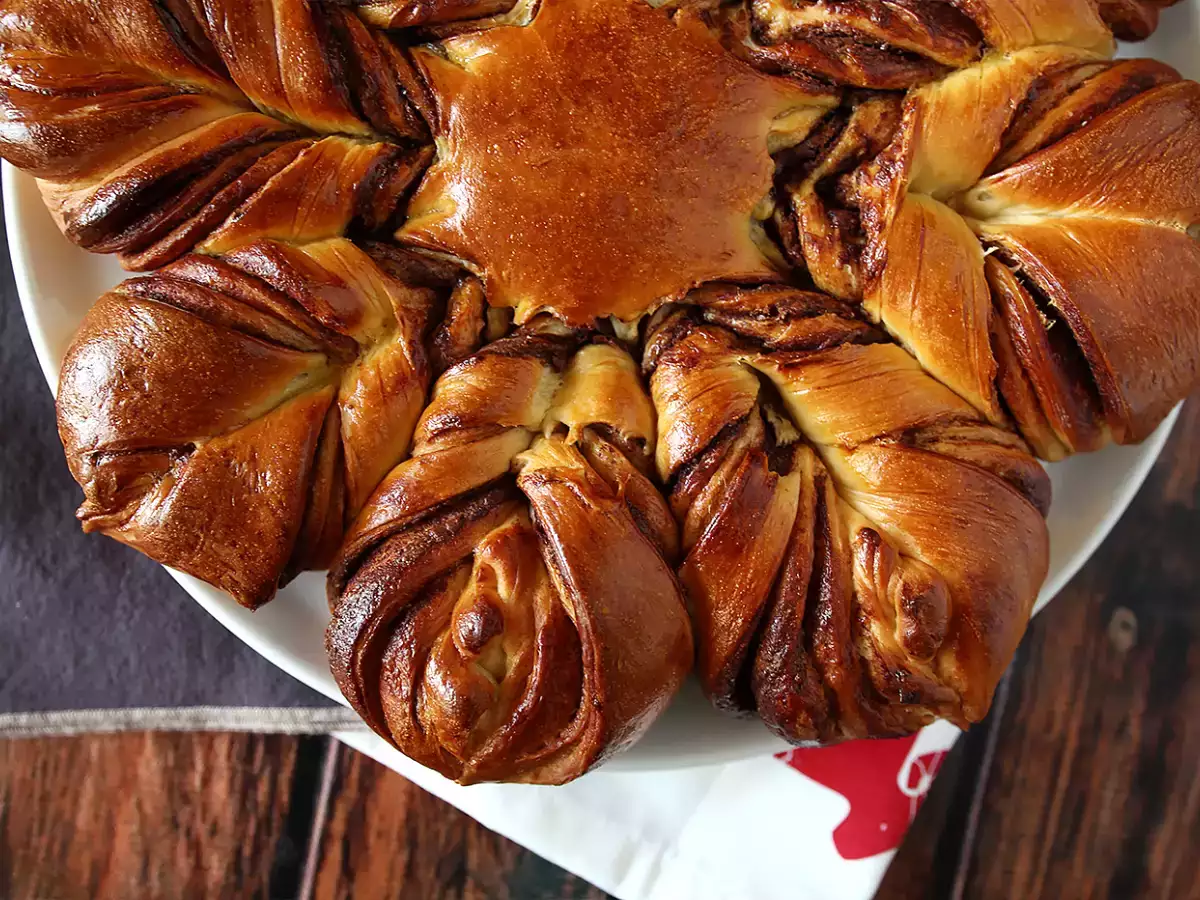
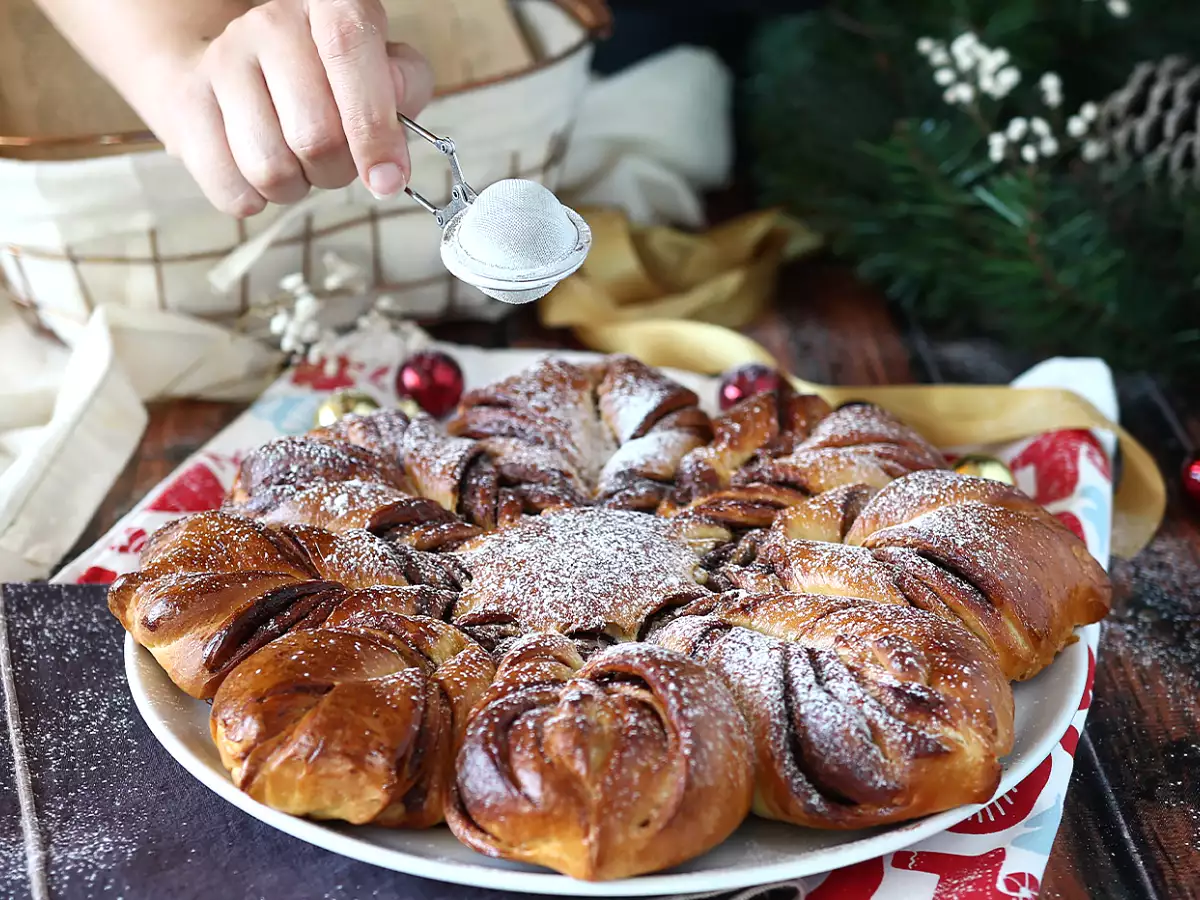
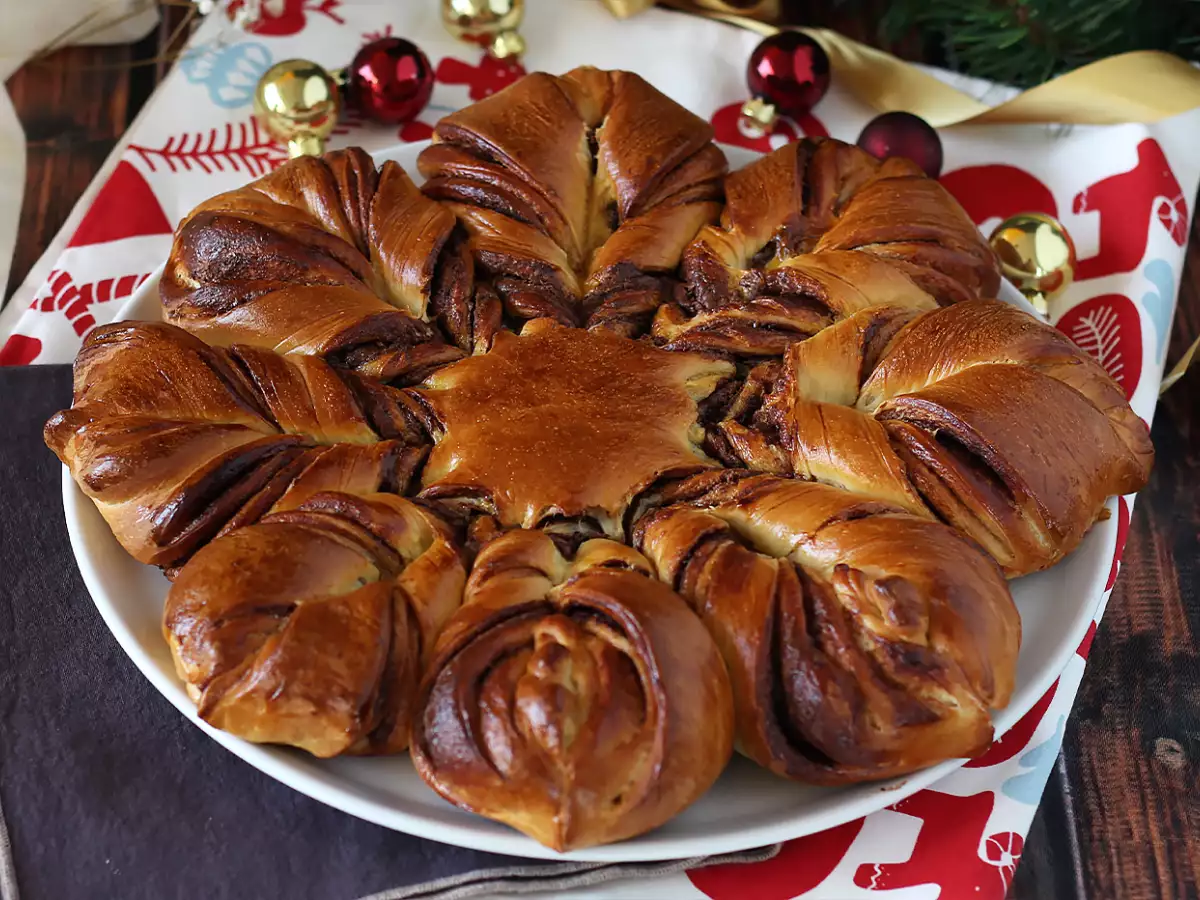
At Ptitchef, we no longer need to tell you about our unconditional love for brioche ;-) As Christmas approaches, we decided to shape it like a snowflake. And since good news never comes alone, we also paired it with the flavors of chocolate-hazelnut spread..! We can see you drooling, so follow our steps ↓
Ingredients
20
Filling:
Egg wash:
Materials
- 1 stand mixer
- 1 kitchen towel
- parchment paper
- 1 rolling pin
- 1 pastry scraper
- 1 glass
- plastic wrap
Preparation
Preparation1 hour
Cook time25 min
 Combine warm milk and dry yeast.
Let rest for 10 minutes at room temperature. Pour flour, egg, sugar, and salt into the bowl of the mixer. Add the milk and yeast mixture.
Knead with the hook for 3 minutes. The dough should pull away from the sides.
 Add softened butter and knead again for about 7 minutes. The dough should pull away from the sides.
 Form a ball and cover the dough with a kitchen towel. Let it rest at room temperature for 1 hour and 30 minutes.
 After this time, punch down the dough and divide it into 4 pieces of about 230g each. Fold each piece, then shape it into a ball. Cover with a kitchen towel and let rest for 30 minutes at room temperature.
 Roll out the pieces on parchment paper into 26 cm-diameter circles.
Spread chocolate-hazelnut spread on the first dough circle, leaving a border of about 1 cm.
 Place the second dough circle on top and spread with chocolate-hazelnut spread again. Then place the third circle on top and spread with chocolate-hazelnut spread. Finally, place the fourth circle on top.
 Place a 26 cm diameter circle or plate on top and cut off the excess dough. Place an inverted glass in the center of the dough.
 Cut the dough into 4, then into 8, and finally into 16 equal parts.
 You will need to create 8 branches in total. Each branch will have 2 parts. Twist the right part from left to right and the left part from right to left.
 Press the ends of the branches together to seal them into points. Remove the glass and cover with a kitchen towel for 1 hour and 30 minutes at room temperature.
 Preheat the oven to 350°F (180°C). Mix the egg yolk and milk and brush the brioche with it.
 Bake for 18 minutes at 350°F (180°C).
 And there you have it, your snowflake brioche is ready!
Observations
Can I make this brioche lactose-free?
You can replace the butter with margarine and the milk with a plant-based drink of your choice.
What is the equivalent of dry yeast to fresh yeast?
For this recipe, you can replace the 11g of dry yeast with 22g of fresh yeast.
Nutrition
for 1 serving / for 100 g
Calories: 171Kcal
- Carbo: 24.8g
- Total fat: 5.7g
- Saturated fat: 2.8g
- Proteins: 4.3g
- Fibers: 1.2g
- Sugar: 7.6g
- ProPoints: 5
- SmartPoints: 6
Nutritional information for 1 serving (56g)
Cookware
oven
Attributes
Suitable for freezing
 PetitChef_Official
You may like

Pandoro brioche filled with nutella cream and vanilla cream in the shape of a christmas tree

Nutella Marshmallow Turnovers for World Nutella Day

Nutella marshmallow puff pastry

Nutella dobos torte

Brioche king's cake

Extra-soft butchy brioche

Alsatian kougelhopf - kouglof

Sweet brioche swirls

Brioche - video recipe!

Brioche french toast, soft and crispy

Ultra-soft, pull-apart brioche

Nutella whipped cream, perfect for filling cakes and layer cakes
Questions
Photos of members who cooked this recipe
 Juliette Hess
I have been creating culinary content for Petitchef since 2017.
I love travelling and discovering new dishes, trying out new food trends and exploring new restaurants.
I’m a huge fan of pasta and noodles in all their forms ❤ from udon noodles to tagliatelle, I love cooking them and even making them from scratch!
I’m currently preparing, filming and photographing your next recipe, and I hope you’ll enjoy it!
Comments
Rate this recipe:
5/5, 1 vote(s)
Rate this recipe