Pastéis de nata in the air fryer: an easy, quick recipe for the traditional portuguese pastry
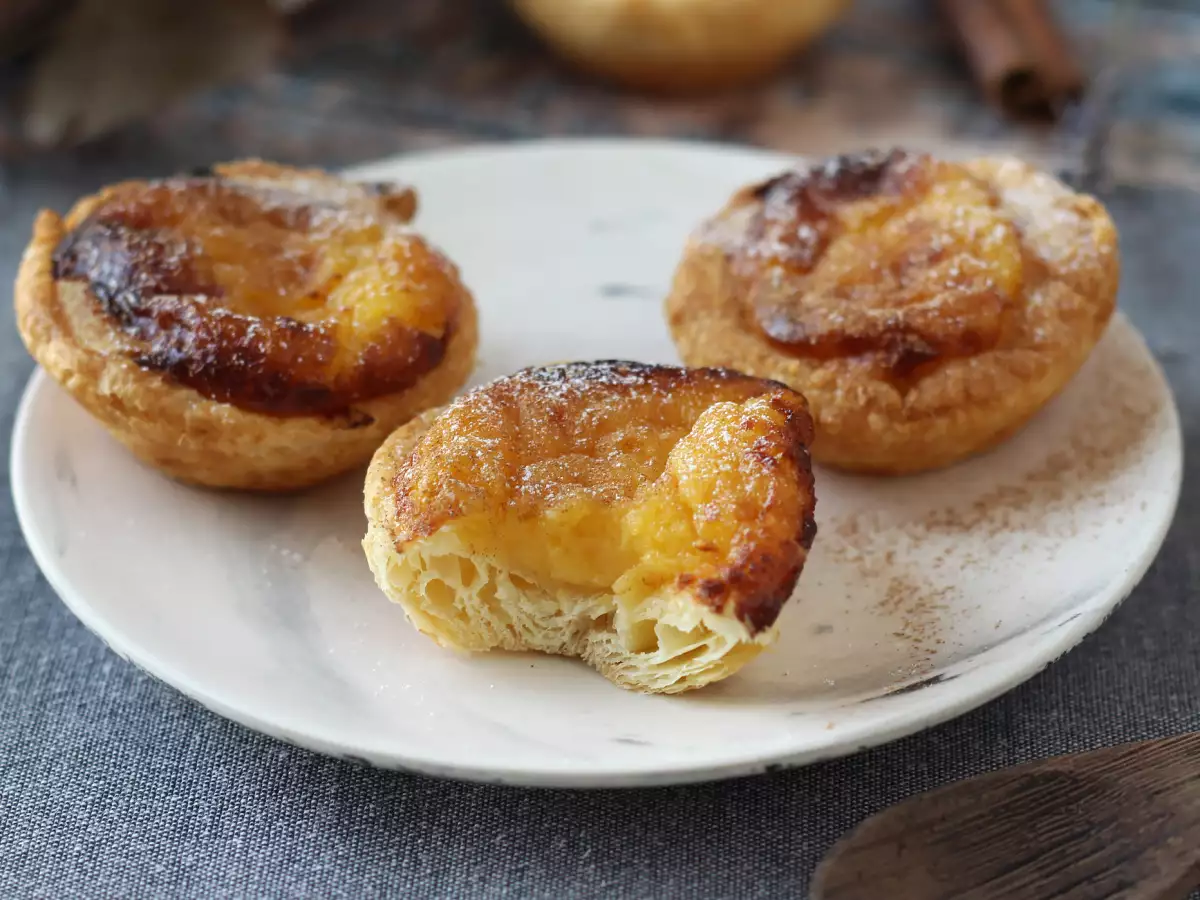
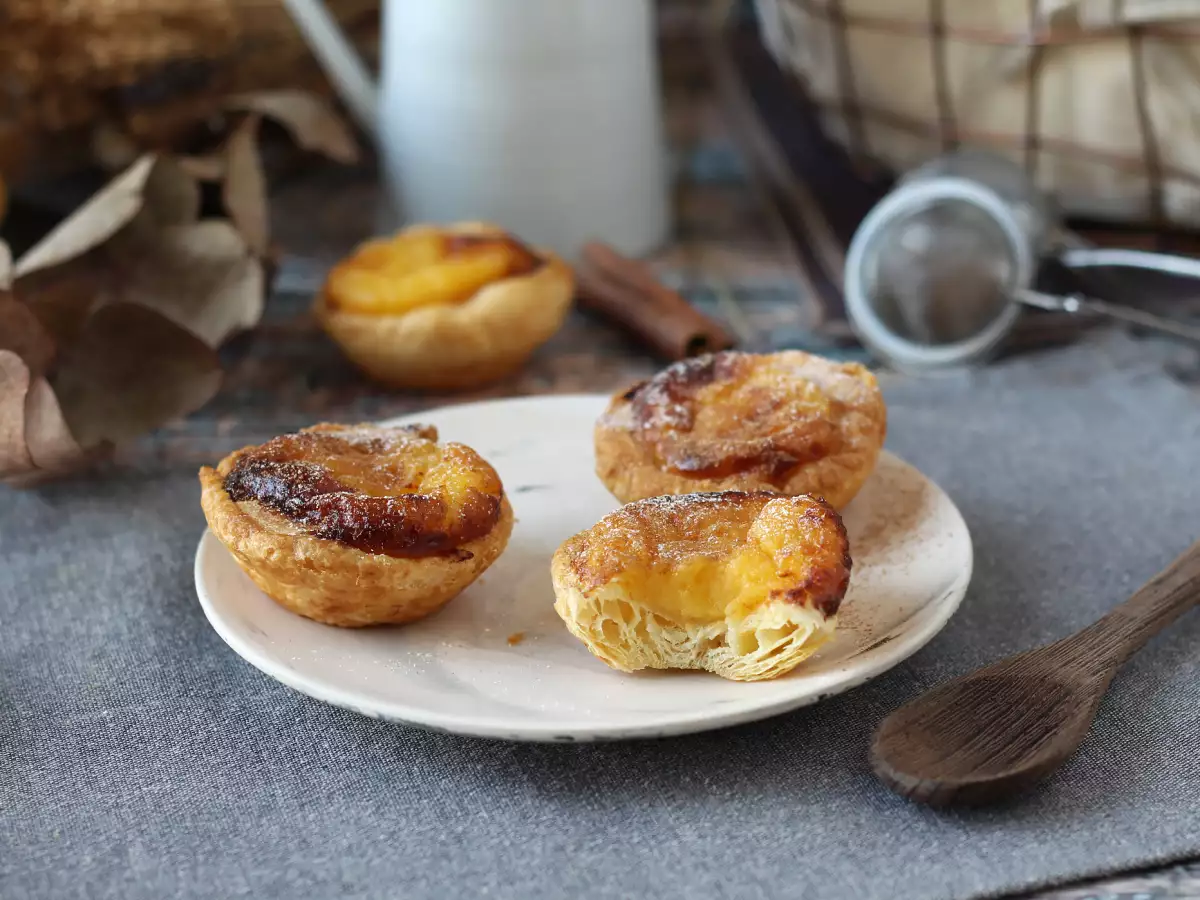
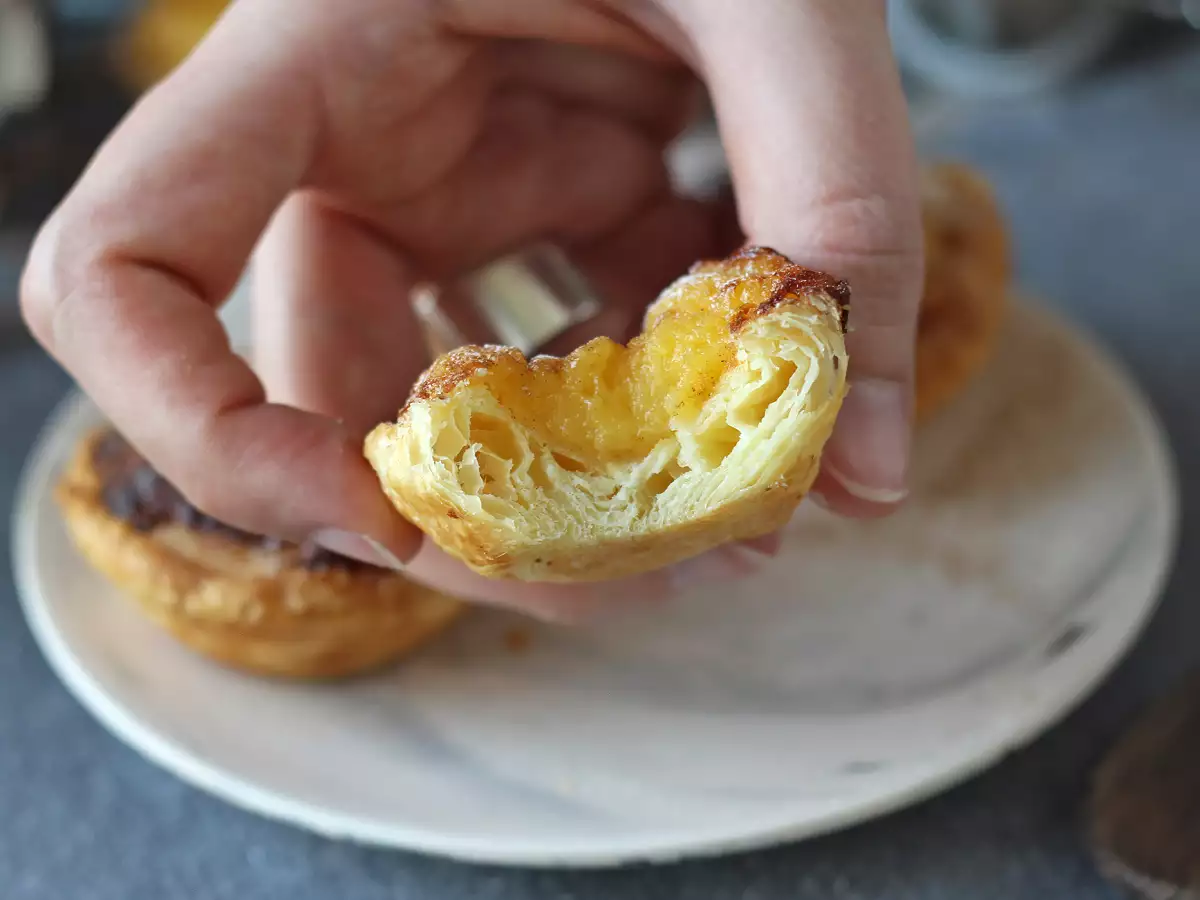
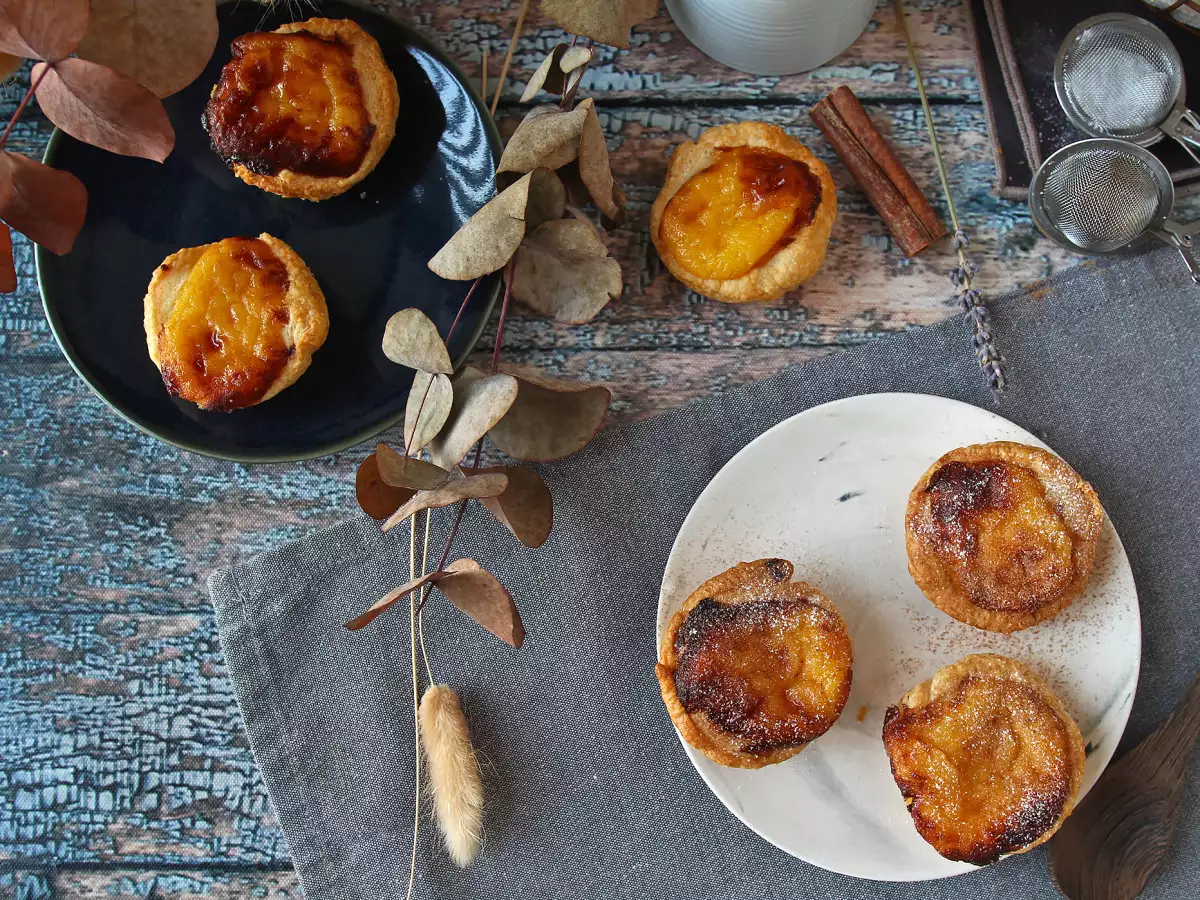
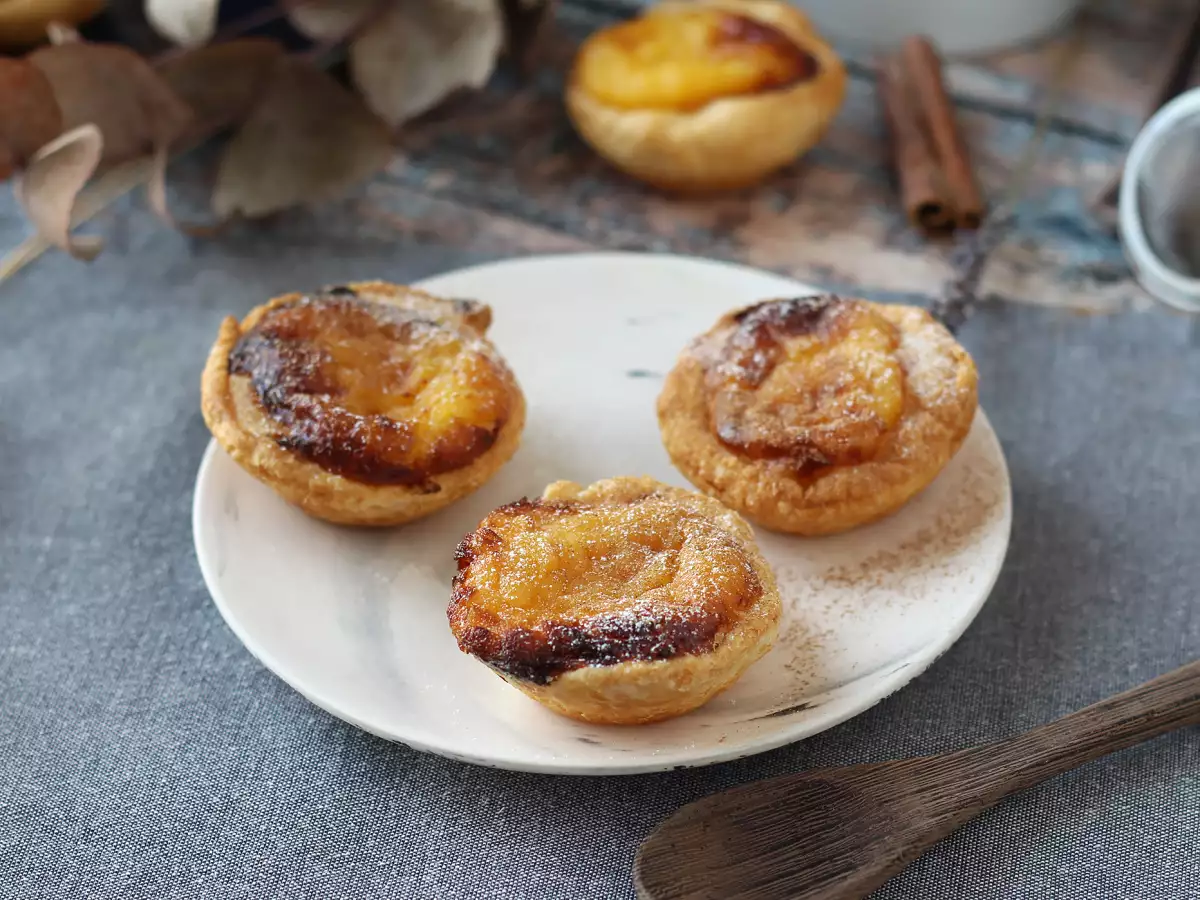
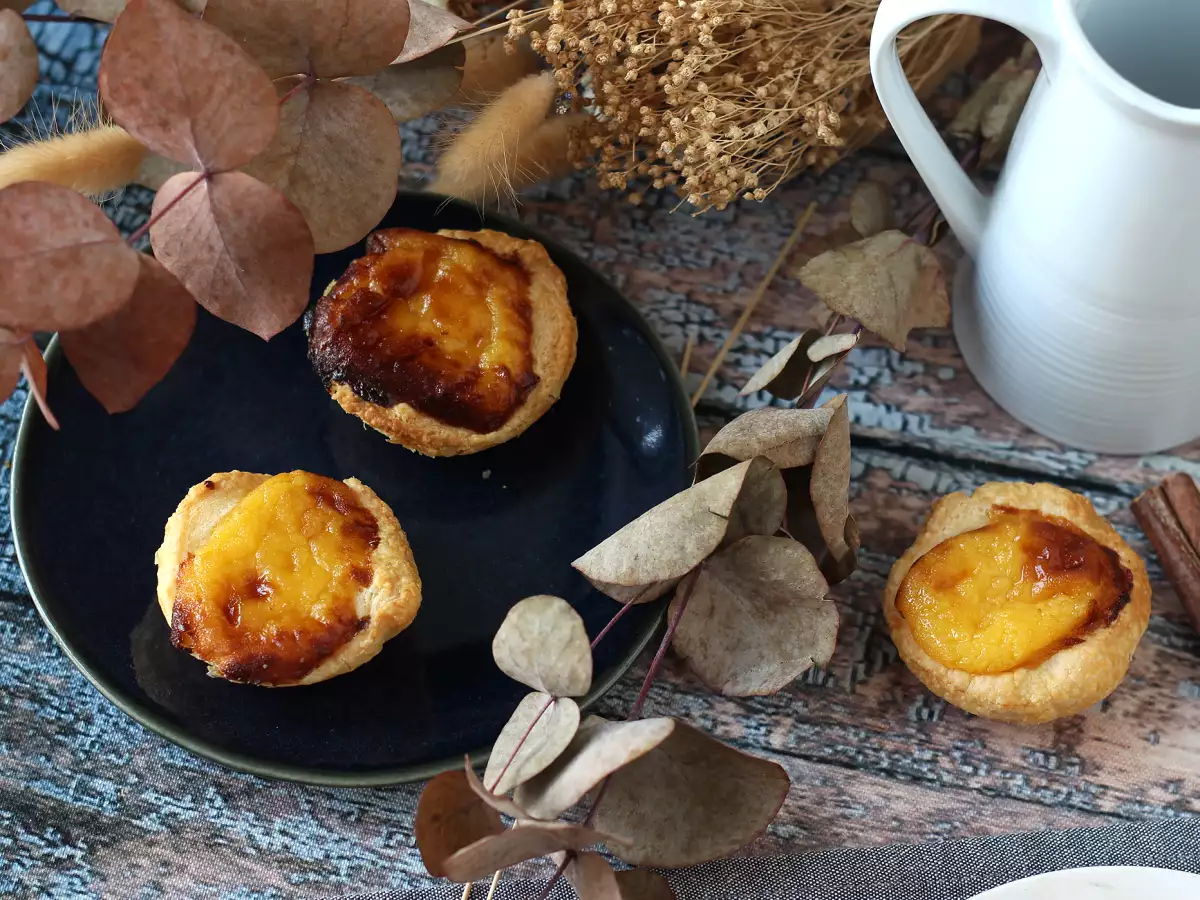
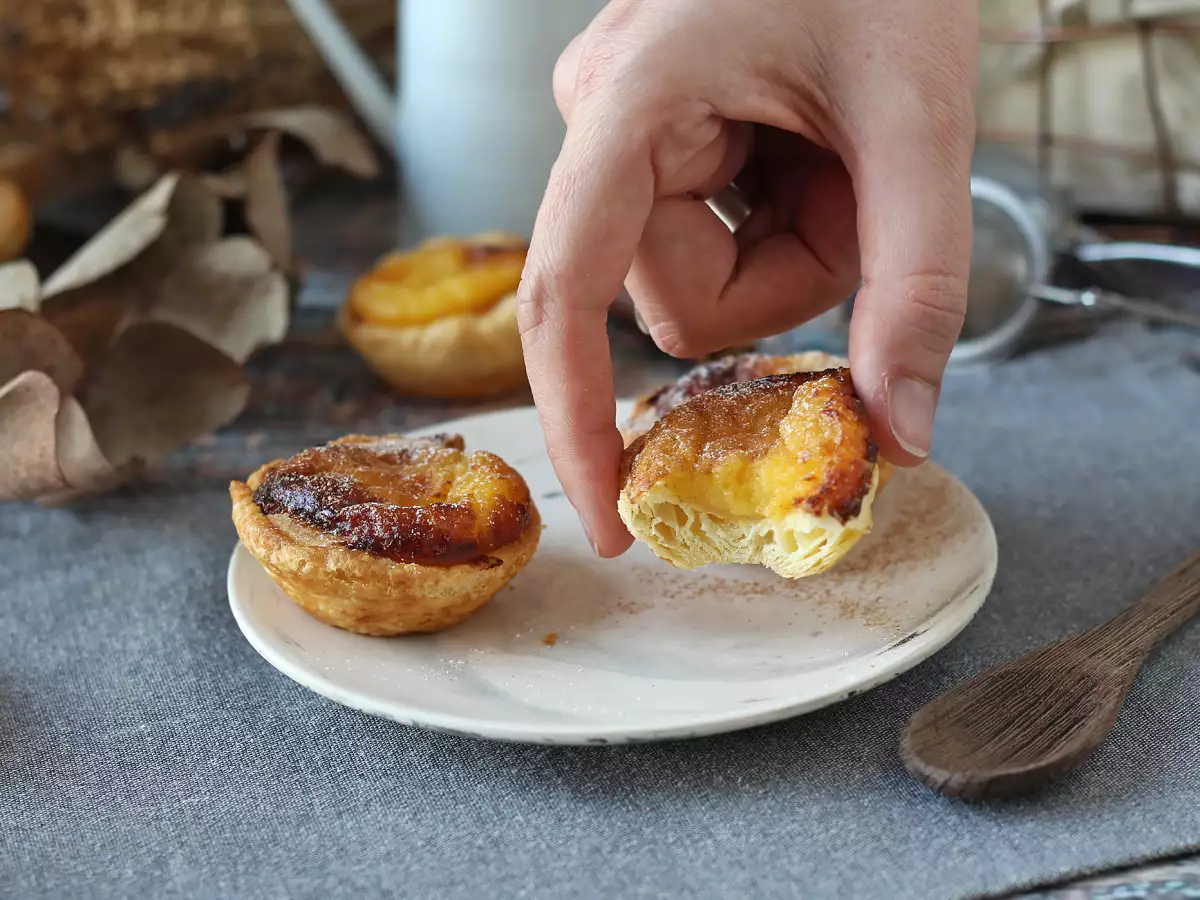
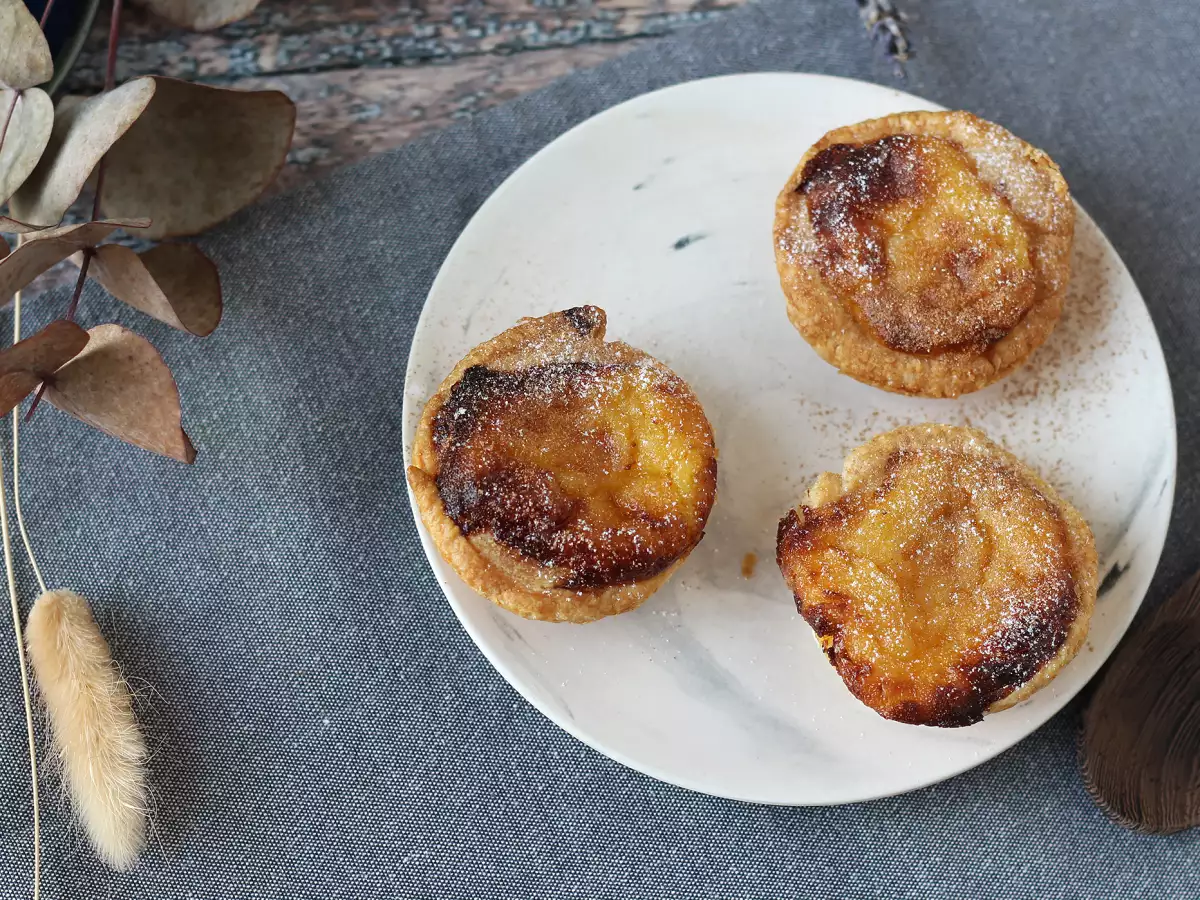
Fancy a quick and easy homemade sweet treat? Today we show you how to make delicious pasteis de nata in your air fryer. Imagine being able to enjoy these famous Portuguese pastries in just a few minutes, with a perfectly crisp finish! This dessert is ideal for any time, whether as a snack, a special breakfast, or an unexpected treat for your guests. The air fryer cooks them quickly and evenly, preserving the crisp texture of the puff pastry and the smoothness of the custard. With just a few basic ingredients such as puff pastry, milk, egg yolks, sugar, and a touch of cinnamon, you can recreate the traditional recipe at home. Follow this recipe step by step and surprise everyone with a homemade pastry full of flavor and texture. It’s easier than you think!
Ingredients
For the syrup:
For the topping:
Materials
- Saucepan
- Air fryer
- 12 tart tins (or a mini muffin or muffin tin)
Preparation
 Roll out the puff pastry and roll it up into a log. Cut it into 12 pieces (approximately 2.3–2.6 inches (6–7 cm) each). Leave at room temperature for about 20 minutes to make it easier to shape later.
 Grease the tins with a little softened butter. Place one piece in each tin, cut side up. Moisten your thumbs and press from the center of each piece down to the base of the tin. Then spread the pastry radially from the base up the sides. Place the tins on a tray and put them in the freezer while you continue with the recipe.
 In a saucepan, heat 2/3 cup of milk together with the lemon peel and the cinnamon stick. Meanwhile, in a separate bowl, dilute the flour in the rest of the milk (1/3 cup), beating well with a whisk until completely integrated. When the infused milk begins to boil, add the milk and flour mixture, stirring constantly until it thickens. Remove from the heat.
 Pass the mixture through a chinois or sieve to remove the lemon peel and any lumps that may remain. Set aside.
 Prepare the syrup to the thread stage: In a saucepan, combine the water and sugar over medium heat and bring to a boil. Once the mixture starts boiling, cook for 4 minutes (it will reach 112–115°C (233–239°F)). Pour the syrup in a thin stream over the reserved cream, stirring constantly. Leave to cool for a few minutes.
 In another bowl, beat the egg yolks and add them to the previous mixture. Fill the molds with the mixture.
 Cook in the air fryer at 370°F/190ºC for 15 minutes, in "air fry" mode. Five minutes before the end, increase the temperature to 410°F/210ºC. Cooking time may vary depending on the capacity and power of your air fryer.
 Remove the tarts from the air fryer and let them rest in the tins for 15 minutes. Once they are lukewarm, remove them from the tins and serve. If desired, sprinkle with powdered sugar and ground cinnamon to taste.
 And that's it! Now we can enjoy our pastéis de nata made in the air fryer.
Observations
How should I store my pastéis de nata?
Place them in an airtight container in the refrigerator. This will keep them fresh for up to 3 days.
Can pastéis de nata be frozen?
Yes, they can be frozen. Wrap each pastry individually in cling film, then place them in an airtight container or a freezer bag. They can be kept in the freezer for up to one month. To enjoy them, thaw them in the refrigerator overnight and reheat them briefly in the oven or air fryer to restore their crisp texture.
Are pastéis de nata eaten hot or cold?
Ideally, they are eaten warm, when the pastry is still very crisp and the custard is warm. However, this popular Portuguese pastry can be enjoyed either cold or hot.
I don't have an air fryer. Can I make pastéis de nata in the oven?
Of course. Follow the same preparation method and bake them for 15 minutes at 230°C (450°F) in a preheated oven.
What should I serve with pastéis de nata?
A rich espresso is the perfect accompaniment to pastéis de nata. They also go wonderfully with a small glass of port or a glass of sweet white wine, such as a Muscat or Riesling.
What can I do with the egg whites?
Nothing goes to waste here. You can use the egg whites to make meringues, financiers, a chocolate mousse, and more. For more ideas, click here.
Syrup: If you find the syrup too sweet, simply reduce the amount of sugar relative to the water when preparing it.
When infusing the milk, you can choose not to flavor it with lemon or cinnamon. These ingredients are optional in the recipe.
Puff pastry: You can simply cut discs from the pastry and place them in the tins as they are.
Nutrition
- Carbo: 23.6g
- Total fat: 9.5g
- Saturated fat: 5.5g
- Proteins: 3.1g
- Fibers: 0.9g
- Sugar: 14.7g
- ProPoints: 5
- SmartPoints: 9
Cookware
Attributes
 PetitChef_Official
You may like

Delicious and super-quick to make pinsa

Simple and quick puff pastry palmiers

Singoda ni kheer – Water chestnut flour payasam – fasting food, Shravan maas special recipe

Cheese omelette: a quick recipe ready in 5 minutes!

Make your own homemade burrata! it’s easy and economical!

Quick and easy red bean mochi

Vegetable patties (easy and quick)

Gin and tonic, the essential aperitif cocktail!

Quick non-alcoholic piña colada

Quick plantain chips

Air fryer eggplant: a light side dish ready in no time

Rate this recipe