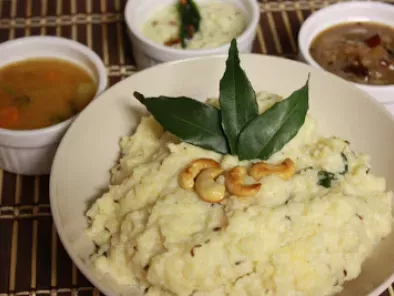
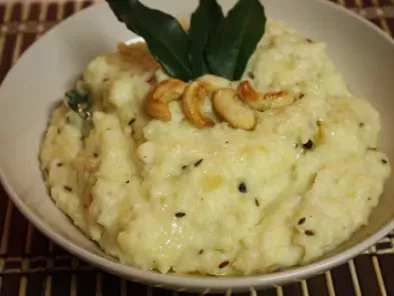
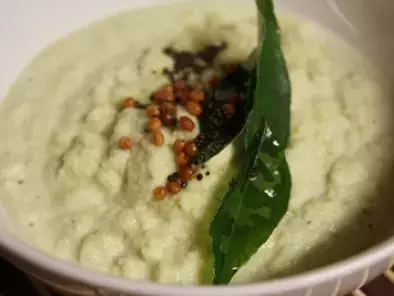
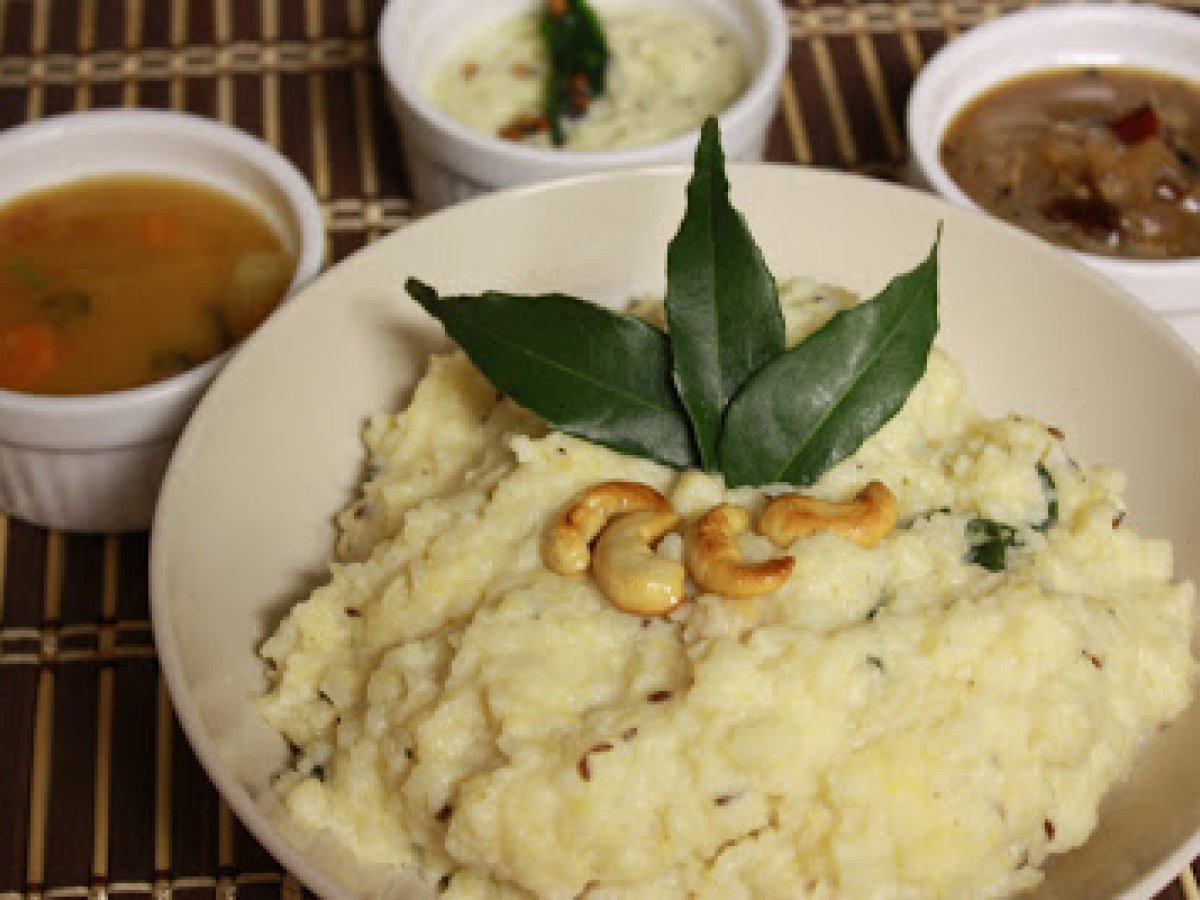
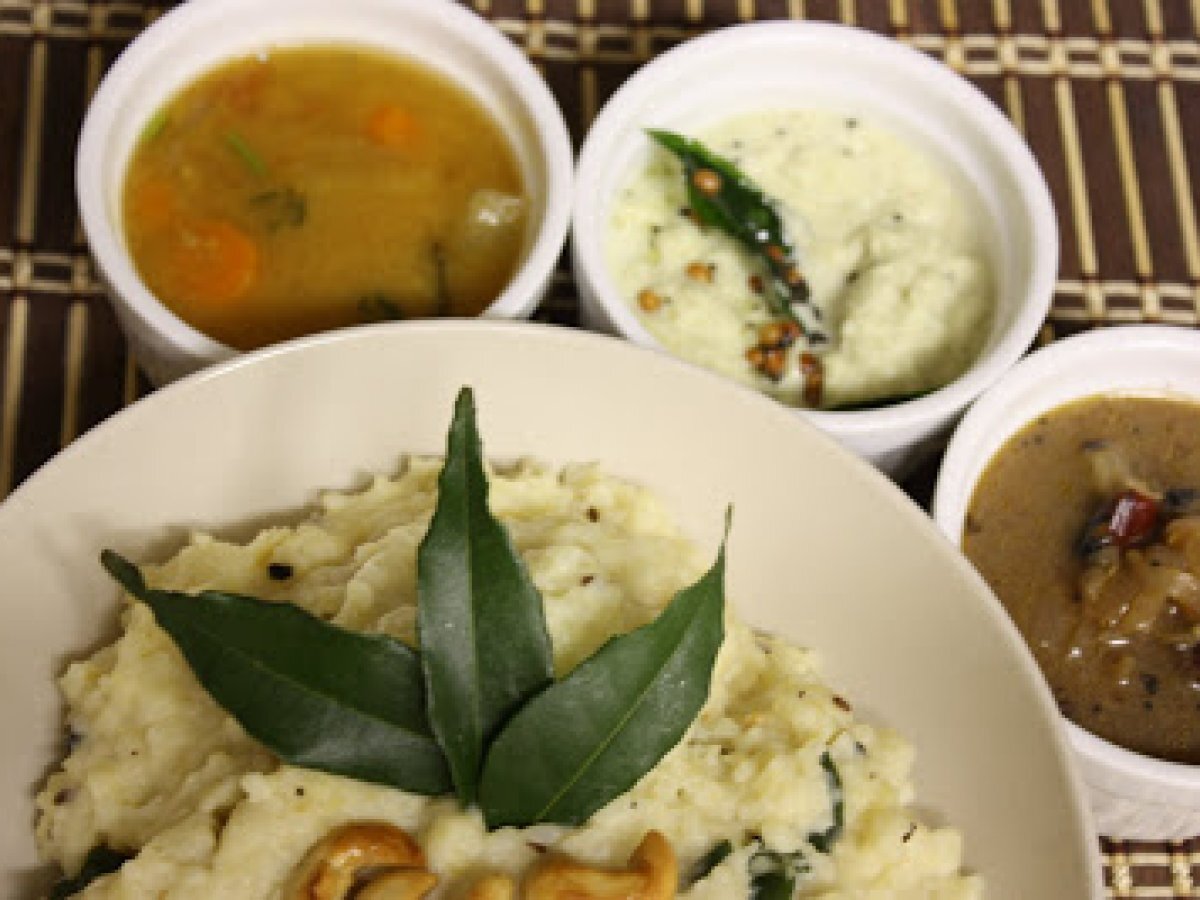
Ven pongal with sambar, chutney and tamarind gojju


Ingredients
5
For Pongal :
For sambar :
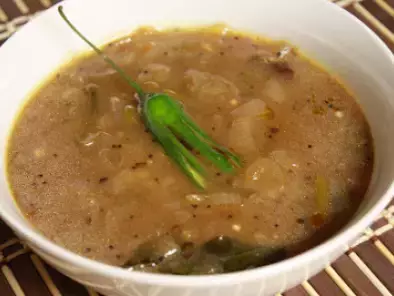
For Tangy Tamarind Gojju :
You may like
Foie gras and onion chutney choux
Preparation
Preparation25 min
Cook time1 h 14 m
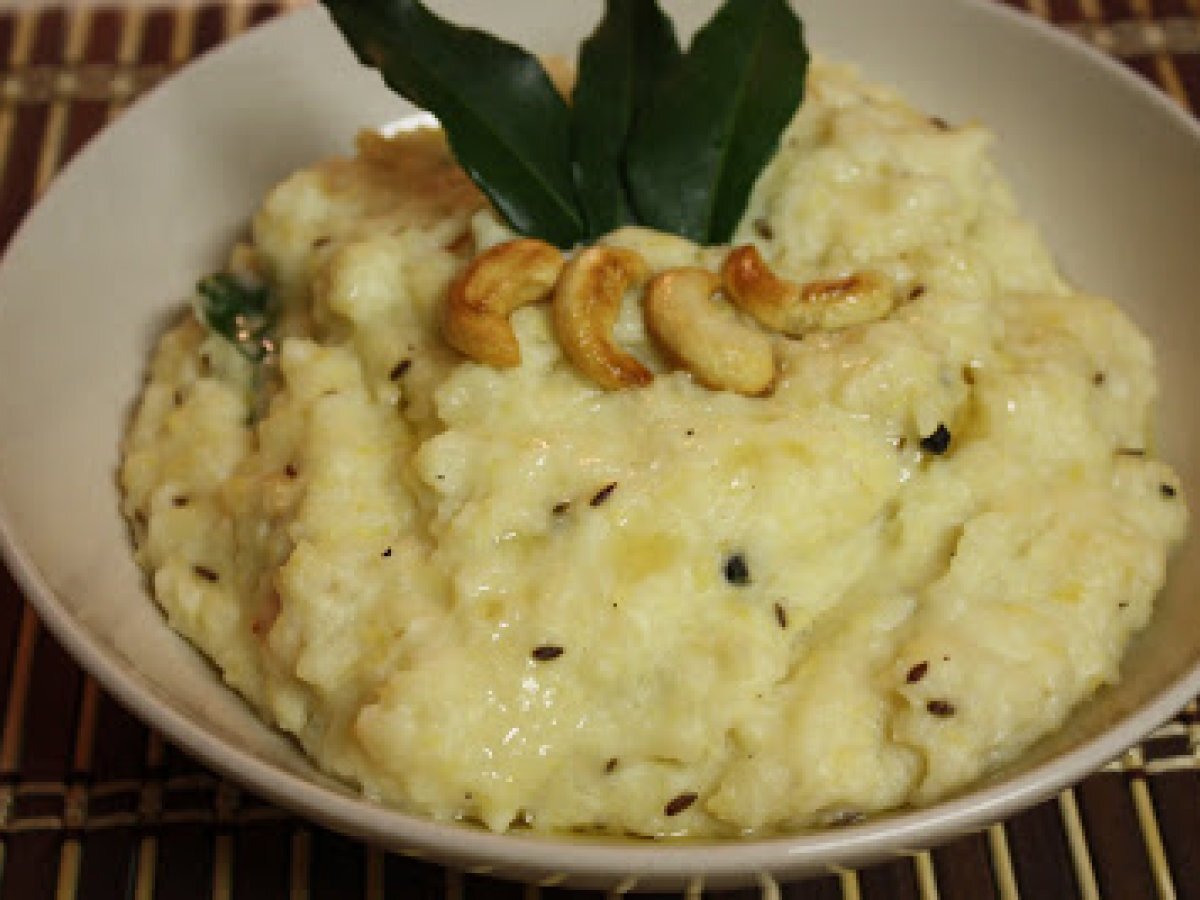
- For Pongal :
Dry roast the moong dhal slightly. Combine the rice and dhal adding 3 cups of water and 1 cup of milk in vessel keep inside the pressure cooker. Pressure cook for 4 whistles. Once the pressure is released. In a separate pan heat the ghee or oil season with Pepper, cummin followed by ginger, curry leaves, Asafoetida, cashew nuts, Coconut switch of the flame. Add this tempering to the cooked rice and dhal. Keeping the vessel in the flame add some more milk mix well so that it gets mushy. Once everything is blended well. Switch off the flame. Add a tablespoon of ghee serve hot with sambar and chutney. - For sambar :
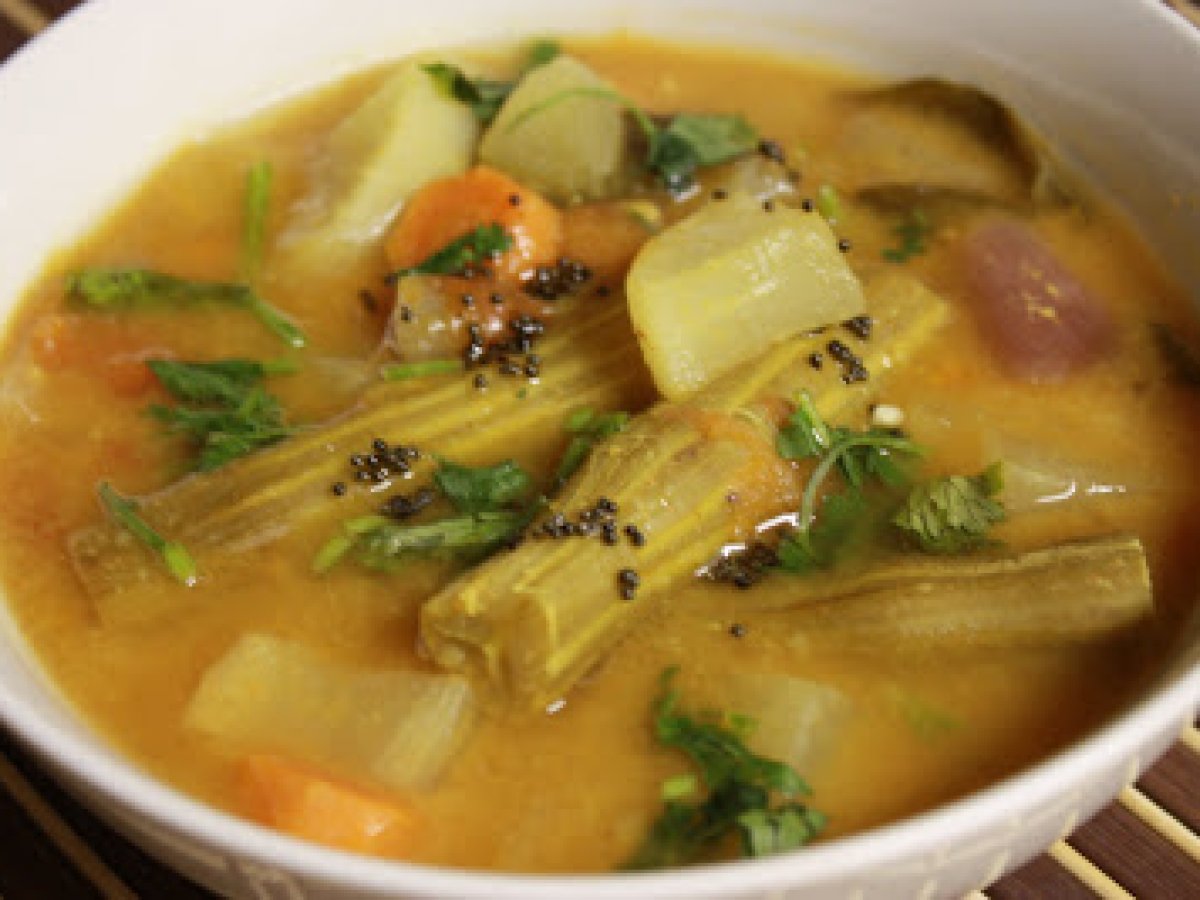
Pressure cook the Toor dhal with little turmeric and teaspoon of oil. Boil the vegetables , onion and tomato in water. To this add the dhal, tamarind, sambar powder,curry leaves add some water if necessary let them boil for some time. Now season with asafoetida and mustard. Garnish with coriander leaves. - For Tangy Tamarind Gojju :
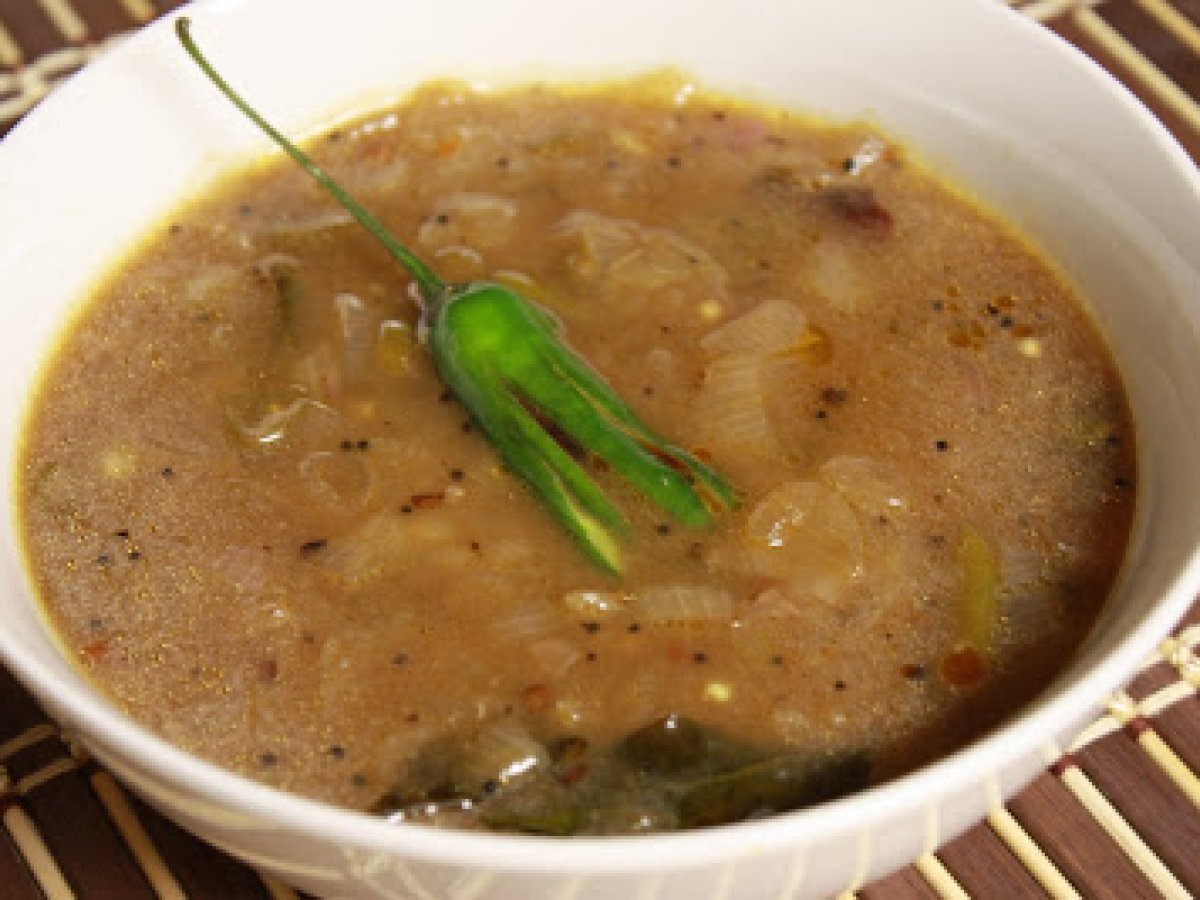
Heat oil in the pan crackle mustard and add urad dhal. Add chillies, curry leaves ,asafoetida one by one.Saute onion till transparent , add the tamarind, water, jaggery. Once the raw aroma disappears and quantity is slightly reduced. switch of the flame and serve.
You tried this recipe ?
Mention @petitchef_en and tag #petitchef
Mention @petitchef_en and tag #petitchef
You may like
-
 Foie gras and onion chutney choux
-
 Chickpea curry, the super gourmet vegan recipe
-
 Coconut shrimp curry
-
 Chicken curry with coconut milk - video recipe !
Questions
Photos of members who cooked this recipe
Photos
Comments
Rate this recipe:
There are no comments!