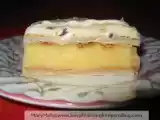
Swiss brioche - a brioche stuffed with vanilla custard and chocolate chips
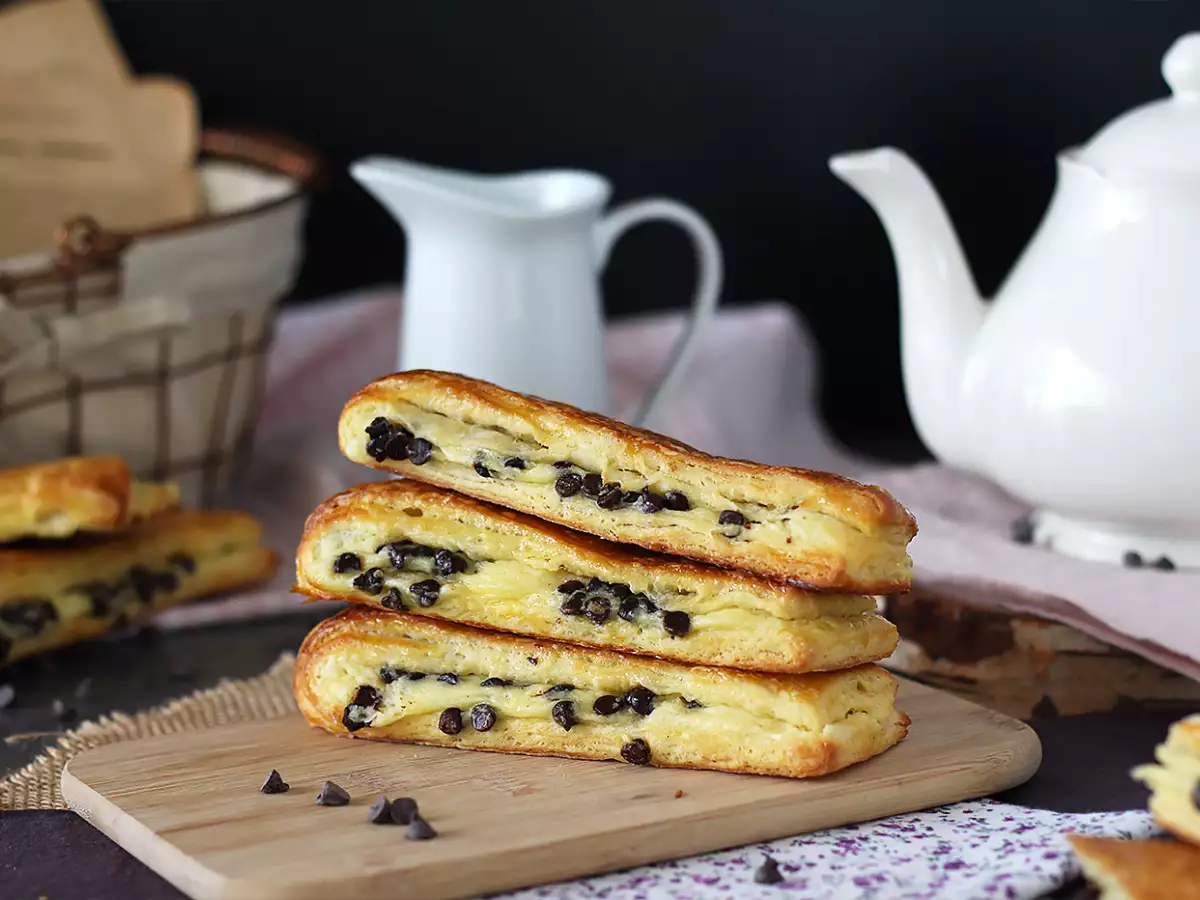
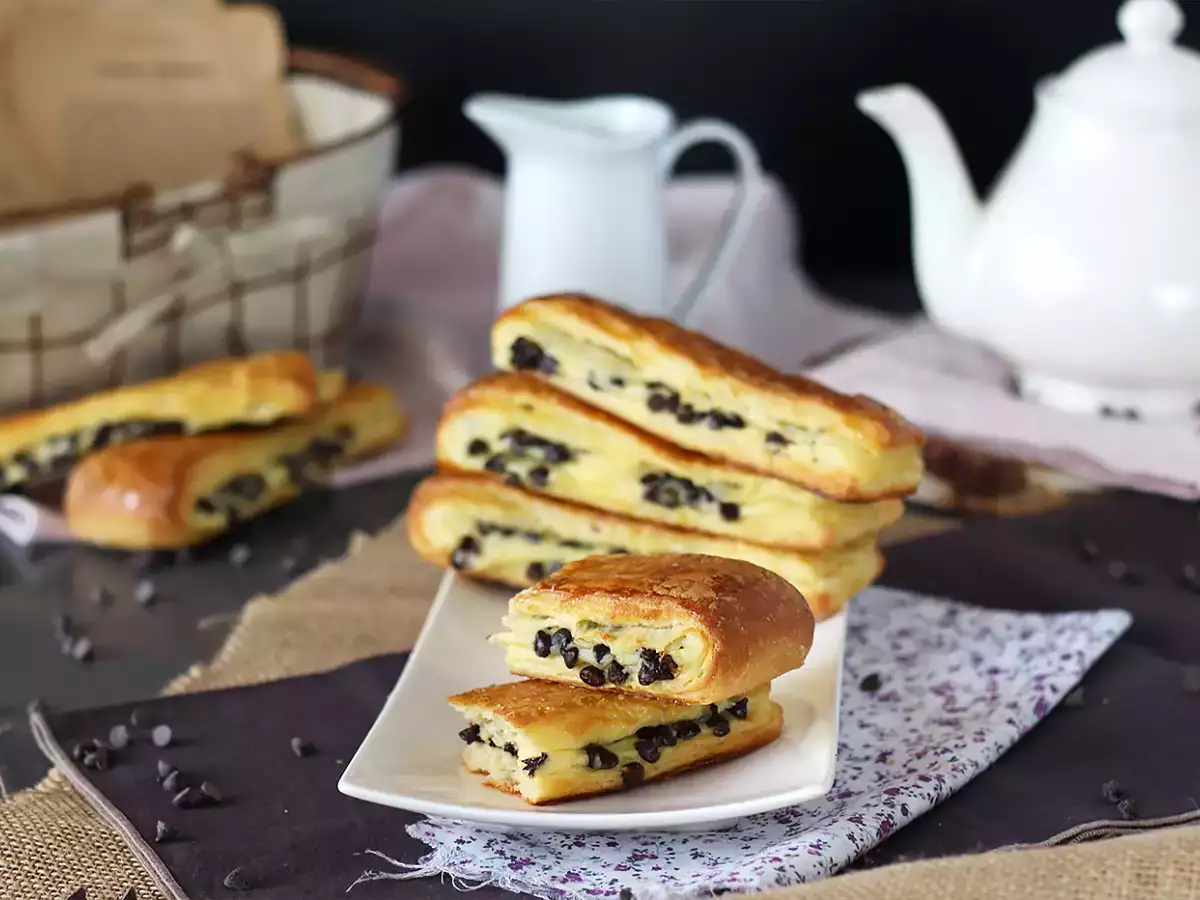
If you love pastries, amidst croissants and pain au chocolat, you have surely fallen for a Swiss brioche ♥ Today, we propose that you make this recipe yourself! Brioche dough, vanilla pastry cream, chocolate chips: everything will be there! Just follow our preparation steps below ↓
Ingredients
Brioche dough:
Pastry cream:
Filling:
Egg wash:
Syrup:
Materials
- 1 mixer
- 1 rolling pin
- plastic wrap
- pastry scraper
- spatula
- brush
Preparation
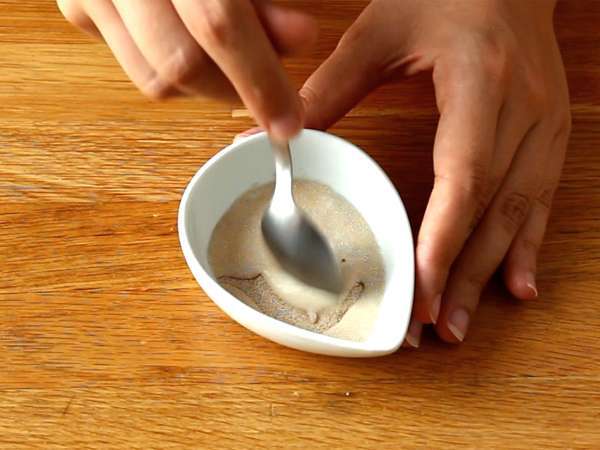 Dissolve the yeast in warm milk (or if not available, warm water). Let it rest for 10 minutes at room temperature.
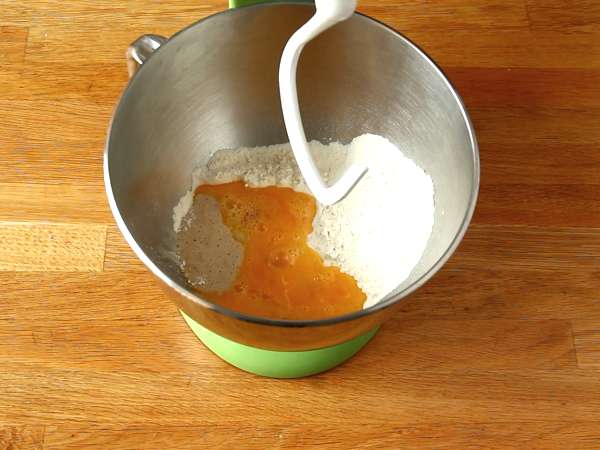 Put the flour, salt, and sugar in the bowl of the mixer. Add the eggs and the yeast + milk mixture. Knead at speed 2 until the dough pulls away from the sides.
 Gradually add the softened butter while continuing to knead. Once incorporated, knead for another 15 minutes at speed 3, until the dough pulls away well from the sides.
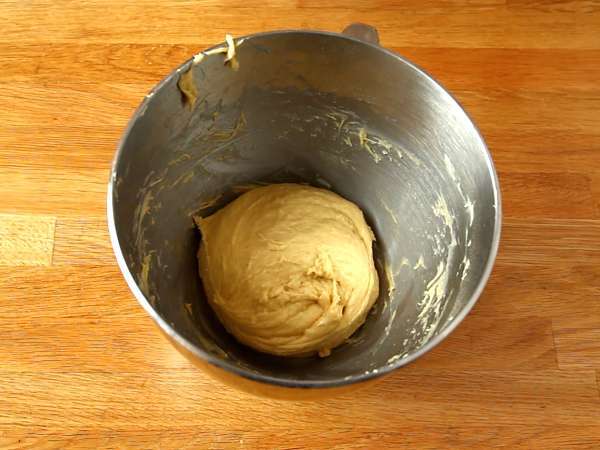 Form a ball using a pastry scraper. Cover the bowl with a cloth and let the dough rest for 1.5 hours at room temperature. Then wrap the dough and refrigerate for 1 hour.
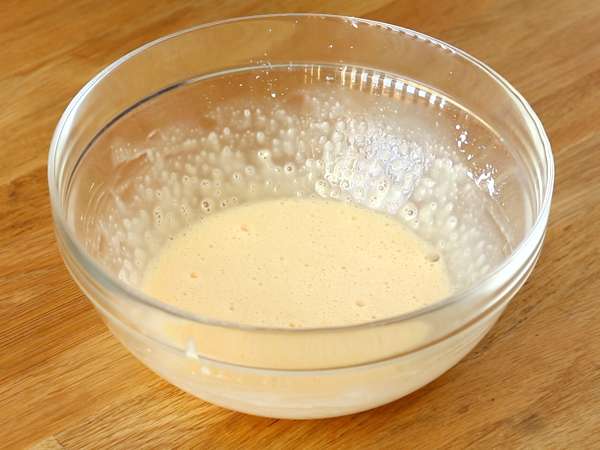 Meanwhile, prepare the pastry cream. Mix the egg with half of the sugar, then add the cornstarch and incorporate well.
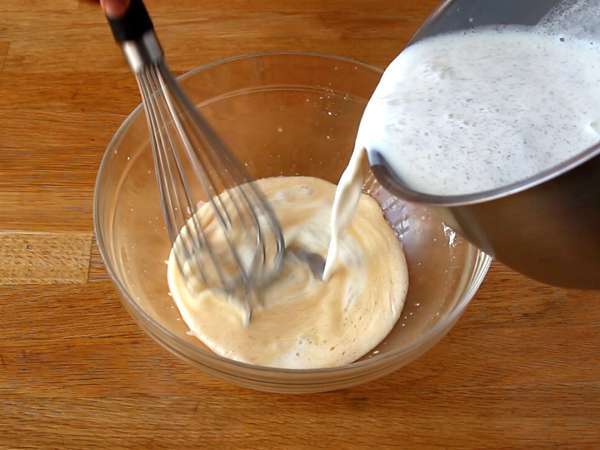 Bring the milk to a boil with the other half of the sugar and the vanilla. Pour half of the milk directly into the bowl and mix well. Then pour this mixture back into the saucepan. Stir and return to the heat.
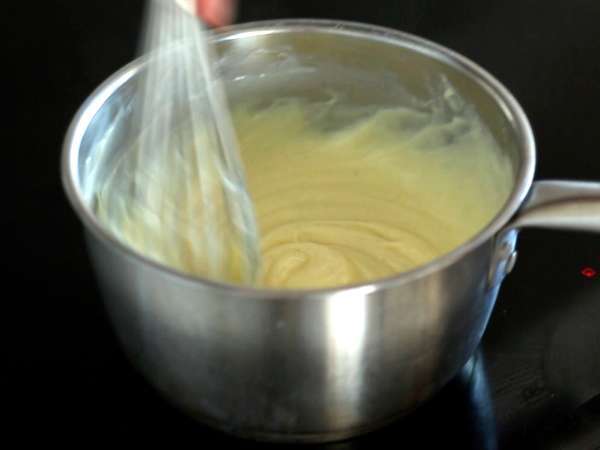 Stir the mixture until boiling. Once boiling, cook for another 2 minutes while stirring.
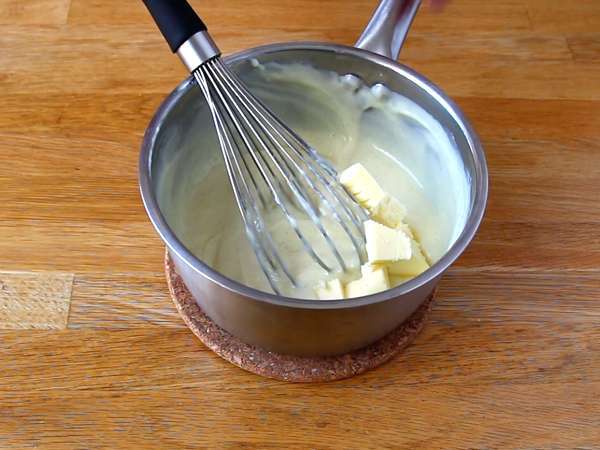 Remove the saucepan from the heat and add the butter cut into small pieces. Mix well. Cover "directly": place the plastic wrap over the entire surface of the cream to prevent it from drying out. Refrigerate and let cool completely.
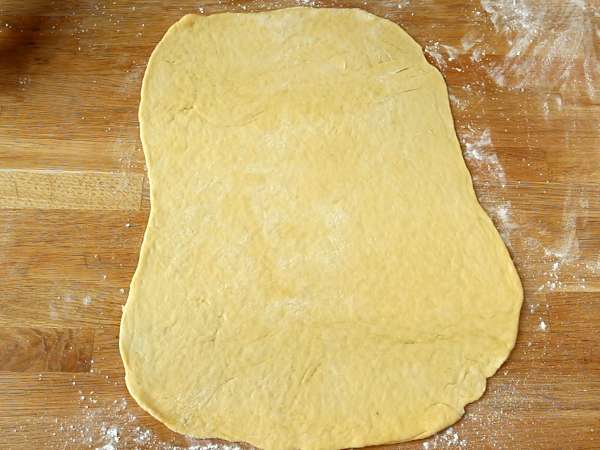 Take the brioche dough out of the fridge and degas it. Flour the work surface and the dough well, then roll out the dough to form a rectangle (about 4-5 mm thick).
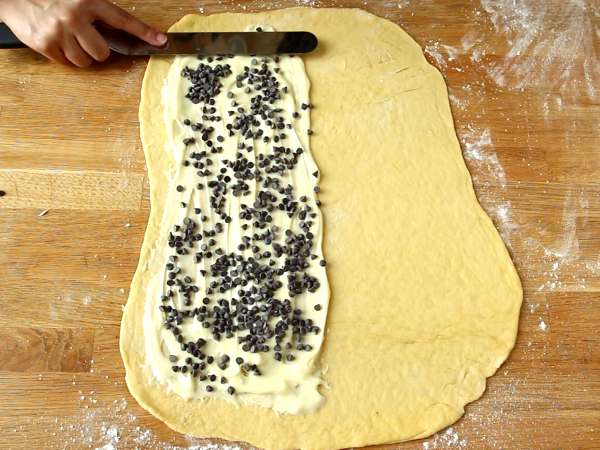 Spread the pastry cream over half of the surface. Add the chocolate chips over the entire surface of the cream and press them into the cream using a spatula or spoon.
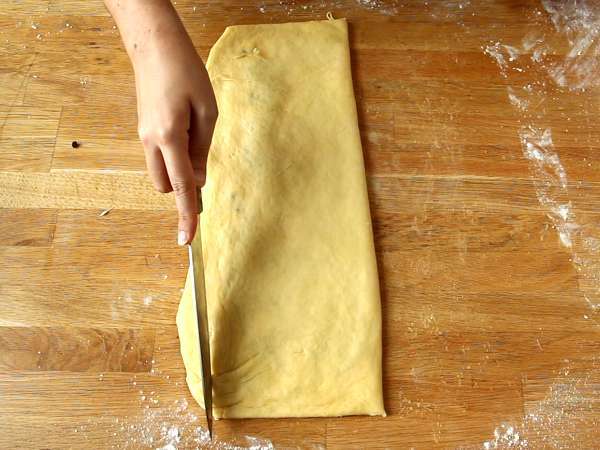 Fold the unfilled part over the pastry cream. Trim the edges to form a clean rectangle.
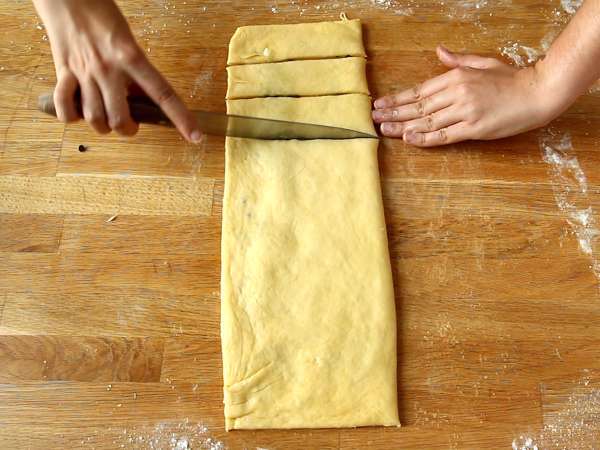 Then cut into small rectangles. Use your hand to help cut rectangles of equal width: place your hand next to it and cut rectangles 3 fingers wide.
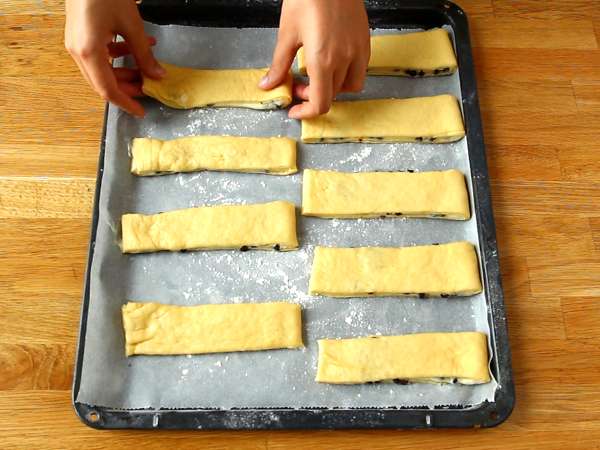 Place the brioches on a baking sheet lined with parchment paper. Cover with a cloth and let rise for 1 hour at room temperature.
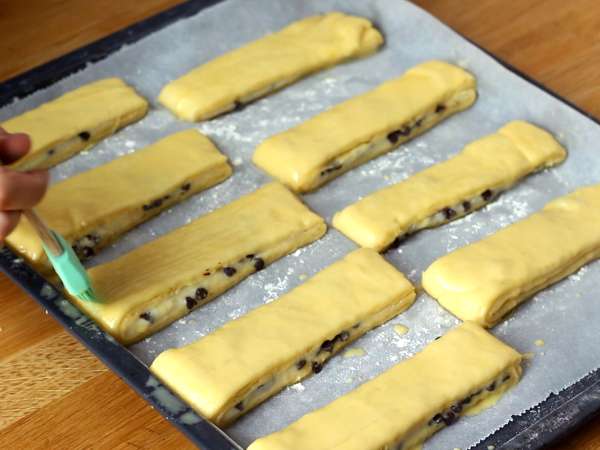 Preheat the oven to 350°F/180°C and prepare the egg wash: mix the egg yolk and the milk.
Brush the brioches with the egg wash using a brush.
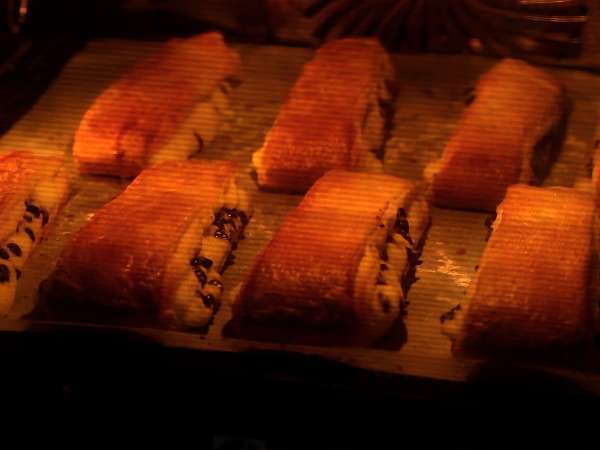 Bake the brioches for 12 minutes at 350°F/180°C.
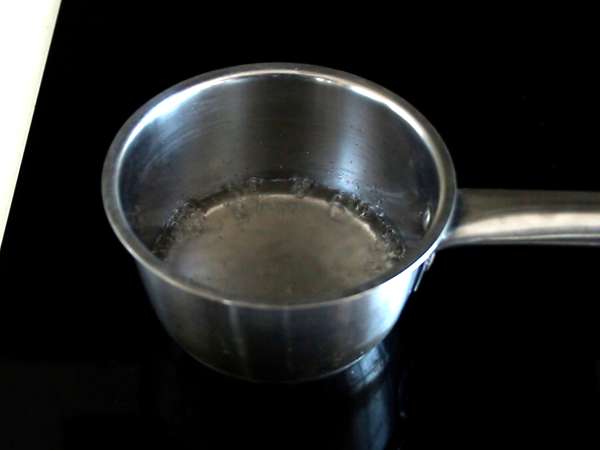 Meanwhile, prepare the syrup:
Pour the sugar and water into a saucepan and bring to a boil (medium heat). Let cool.
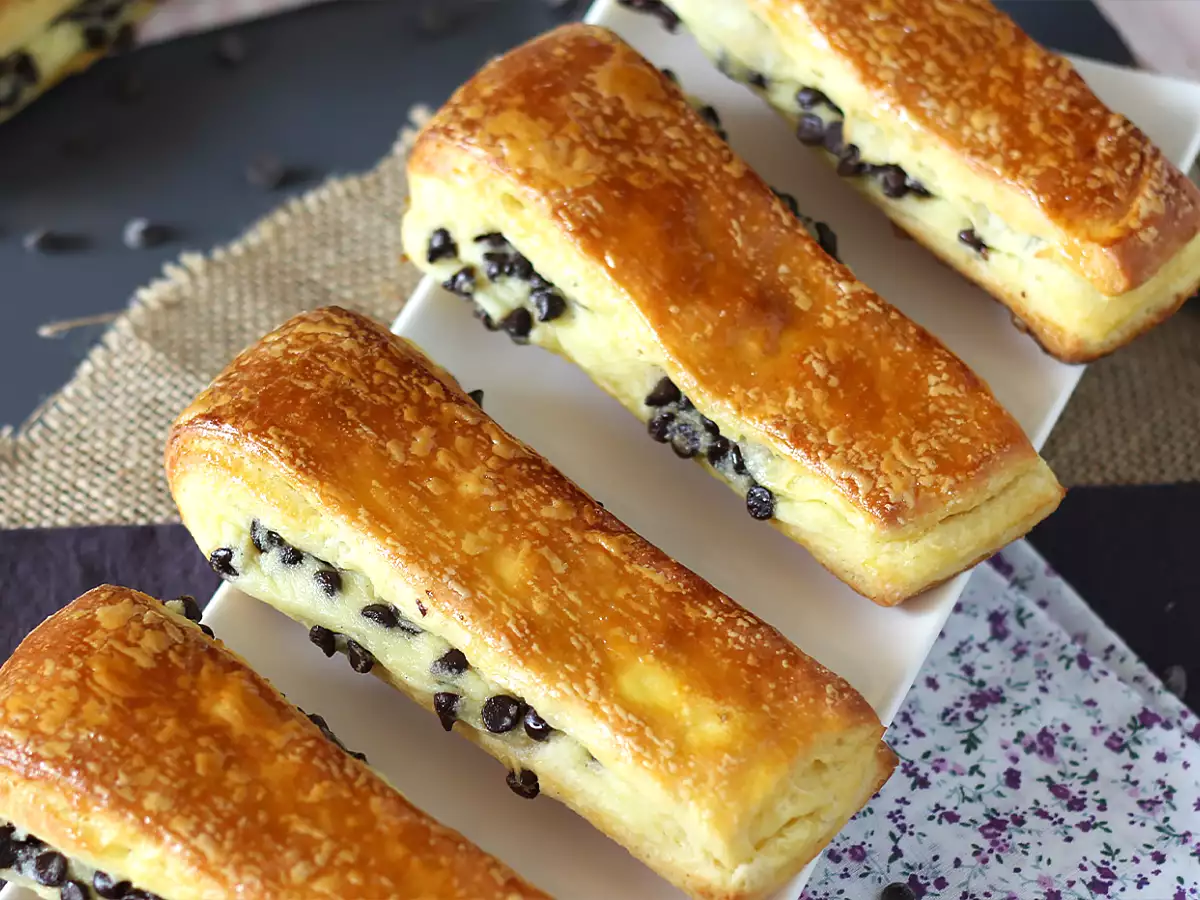
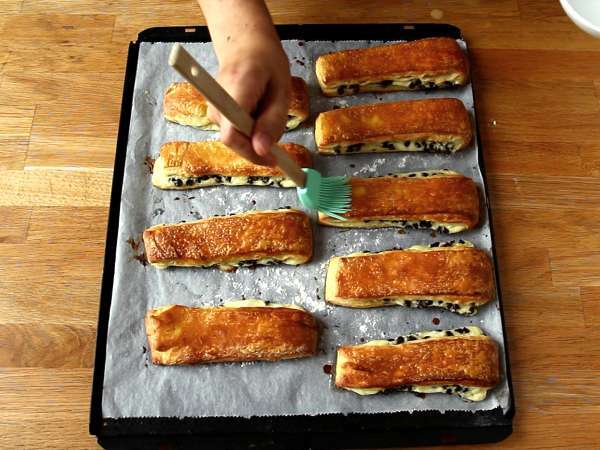 Brush the brioches with the syrup and let them cool.
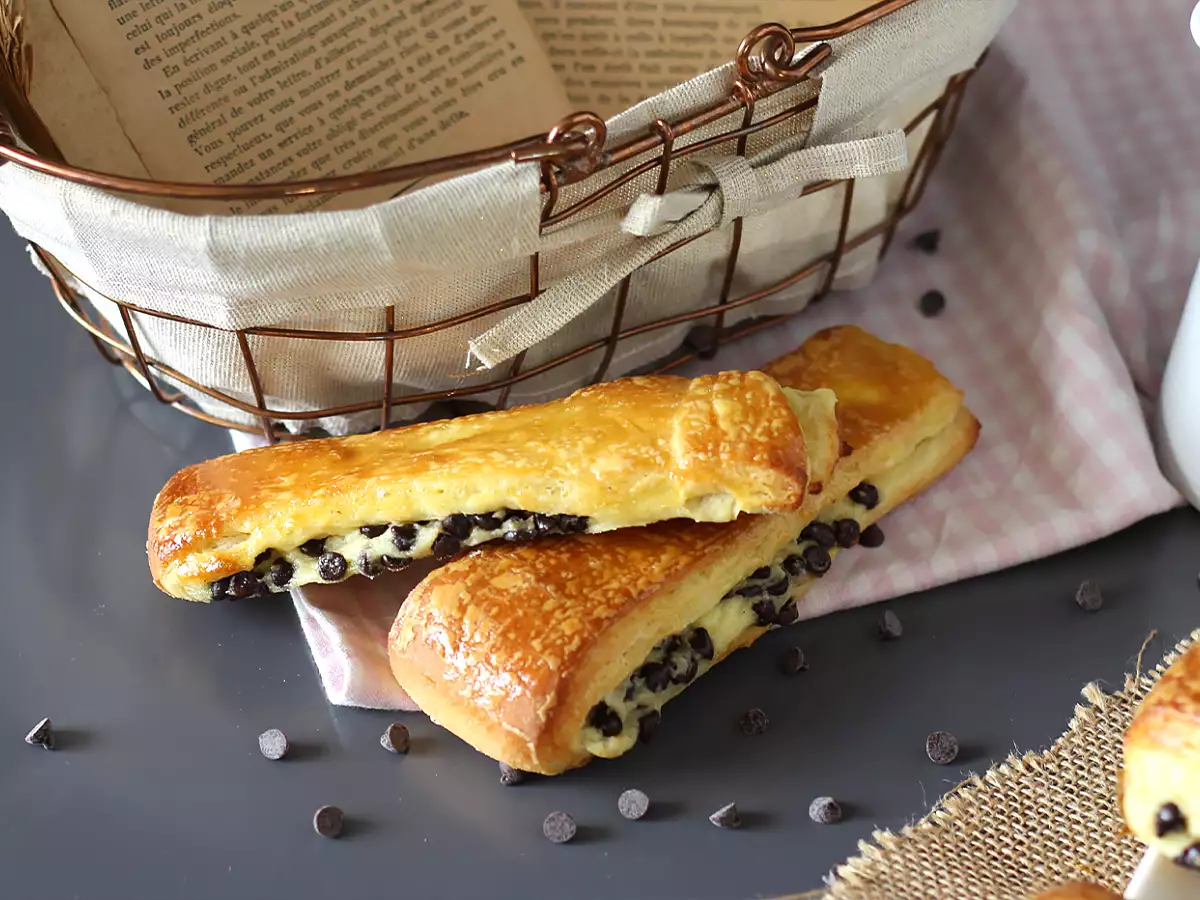
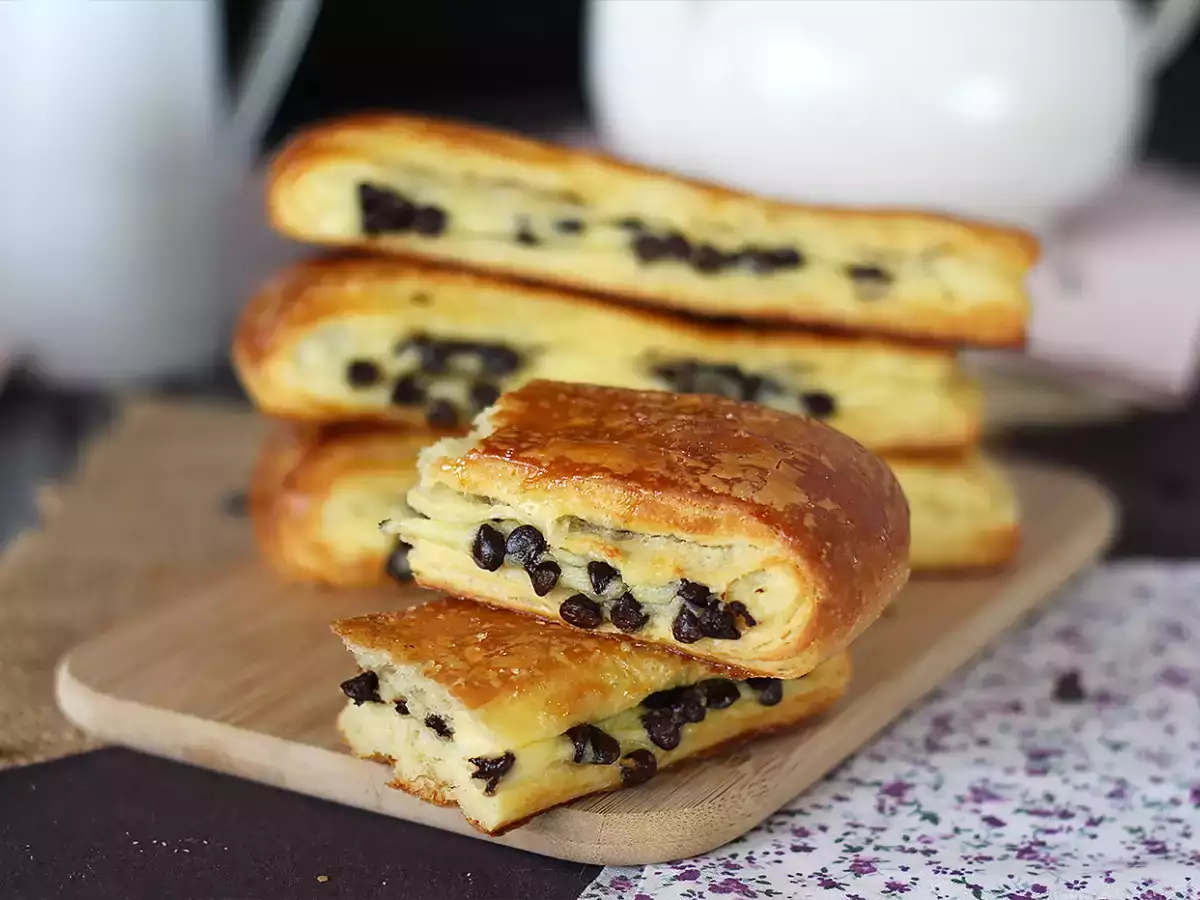
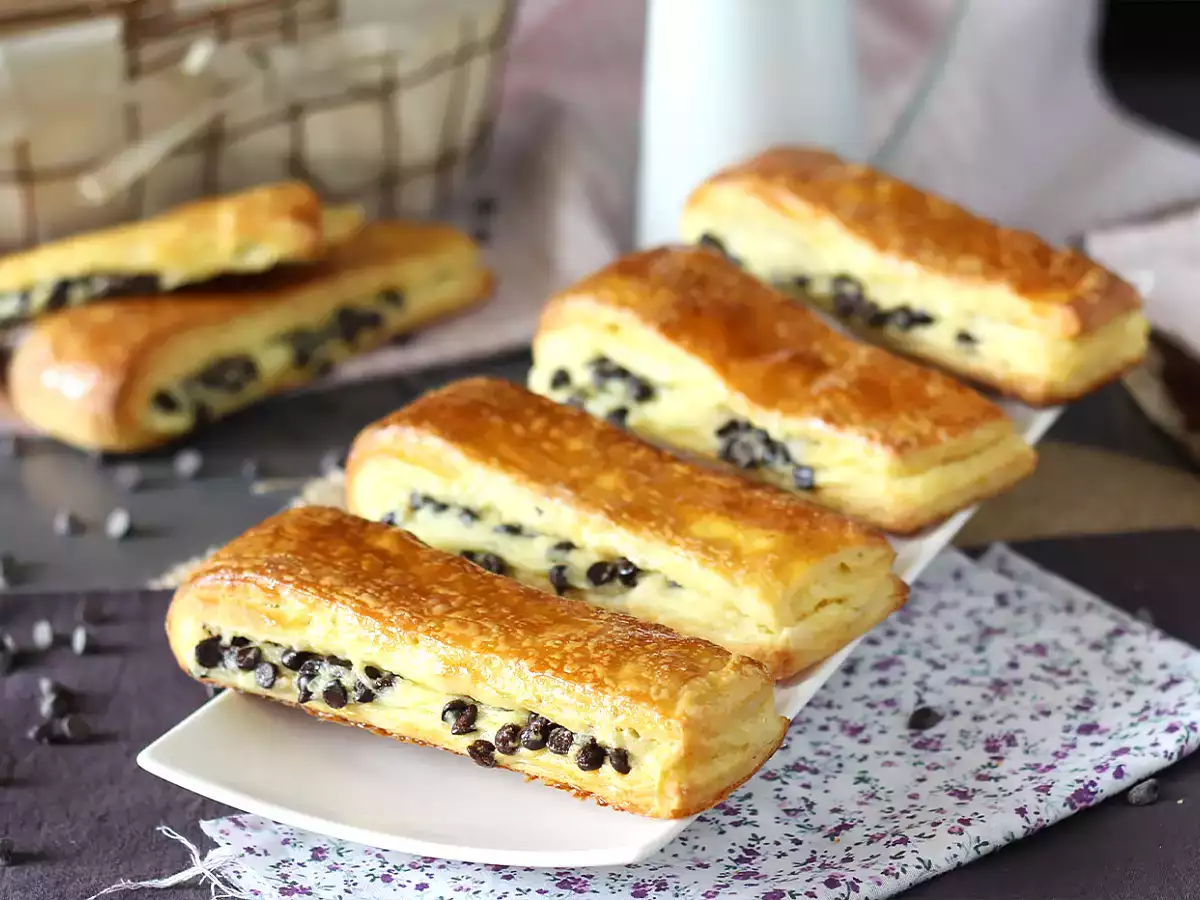
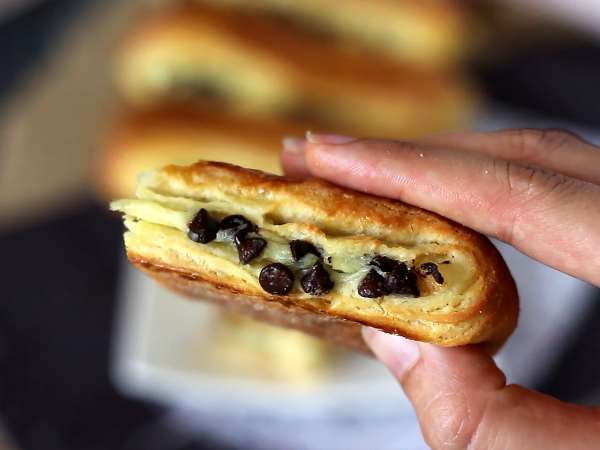 And there you have it, your Swiss brioches are ready!
Observations
Can Swiss brioches be frozen?
We recommend freezing them before baking if you want to bake them gradually.
What is the equivalent of dry yeast and fresh yeast?
For this recipe, you will need 1 packet of dry yeast or 0.35 oz/10g/about 2 tsp of fresh yeast.
Can I reduce the sugar in this pastry cream recipe?
Our pastry cream really doesn't contain much sugar, you will be surprised by its mildly sweet taste. You cannot reduce the sugar in the cream.
I am lactose intolerant, are there plant-based alternatives possible?
If you are lactose intolerant, you can easily make this recipe by replacing milk with plant-based milk and butter with margarine, in both the brioche dough and the pastry cream as well as the egg wash. You will get lactose-free Swiss brioches :-)
Nutrition
- Carbo: 43.5g
- Total fat: 23.8g
- Saturated fat: 14.3g
- Proteins: 8.7g
- Fibers: 2g
- Sugar: 16.9g
- ProPoints: 12
- SmartPoints: 18
Cookware
Attributes
You may like

Chinese brioche filled with vanilla custard and chocolate chips

Vanilla custard cannoli
Creme anglaise, vanilla custard - video recipe !

Recipe: homemade super dark chocolate frozen custard with pomegranate syrup

Chocolate chip brioche buns

Guava cream éclairs topped with vanilla-bean white chocolate

Quick and easy vanilla custard dessert
Vanilla custard slice with passion fruit icing

Cruffins, a combination of croissant and muffin, with custard and chocolate.
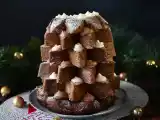
Pandoro brioche filled with nutella cream and vanilla cream in the shape of a christmas tree

Poached pears in a chocolate and "baileys" custard with a flapjack crumble topping.

Vanilla and chocolate sun tart
Questions
Photos of members who cooked this recipe
 Juliette Hess
I love traveling and discovering new dishes, trying out new culinary trends, and exploring new restaurants.
I’m a pasta fan in all its forms ❤ from udon noodles to tagliatelle, I love cooking it and even making it homemade!
Right now, I’m preparing, filming, and photographing your next recipe, and I hope you’ll love it!
Rate this recipe