Stracciatella-style ice cream with the ninja creami
vote now
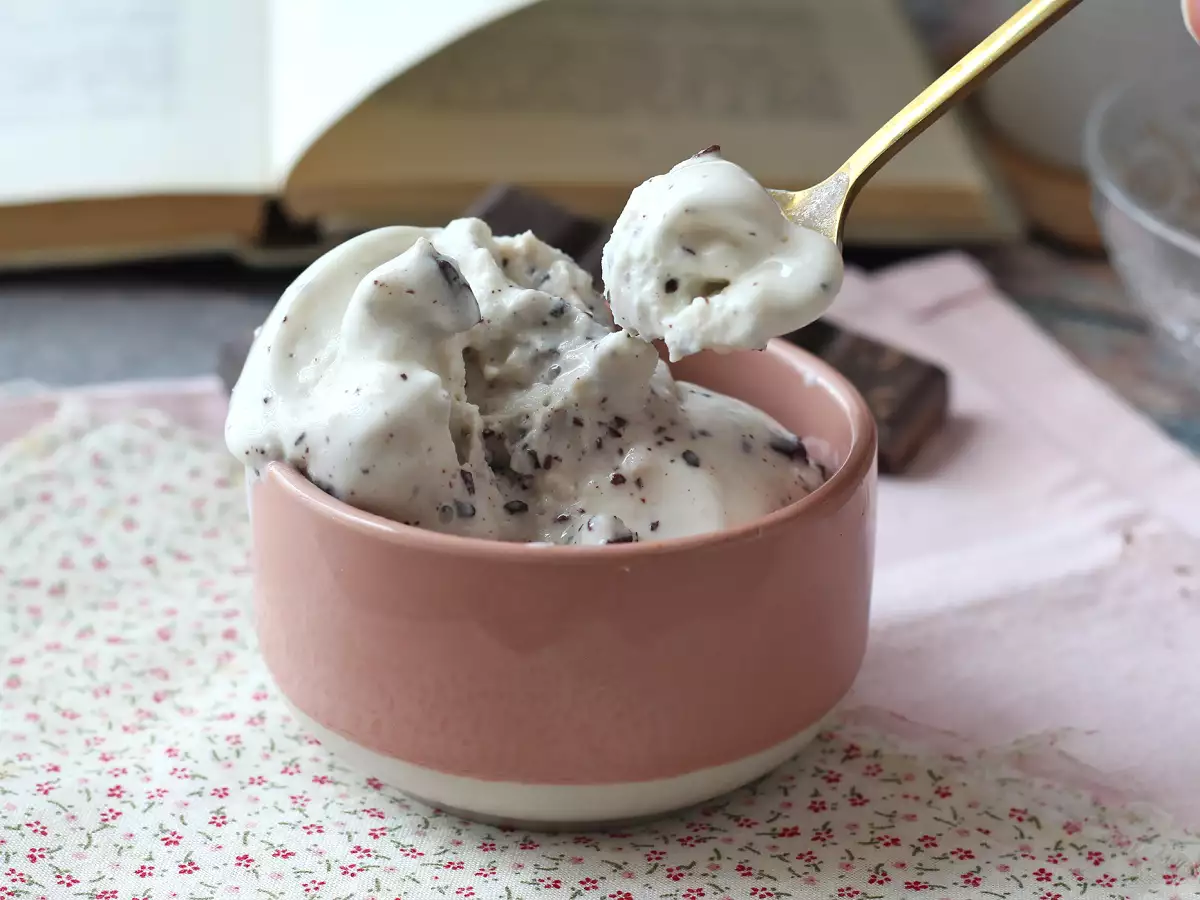
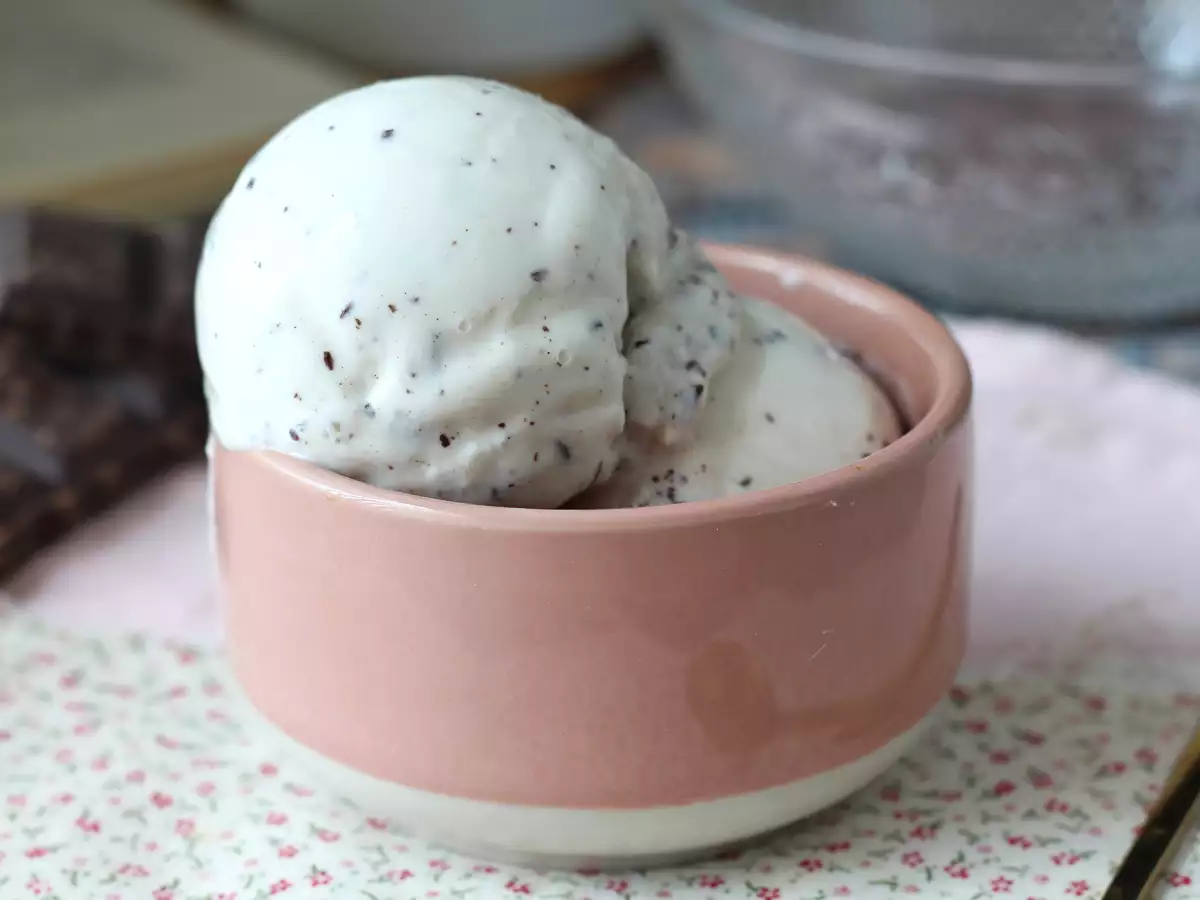
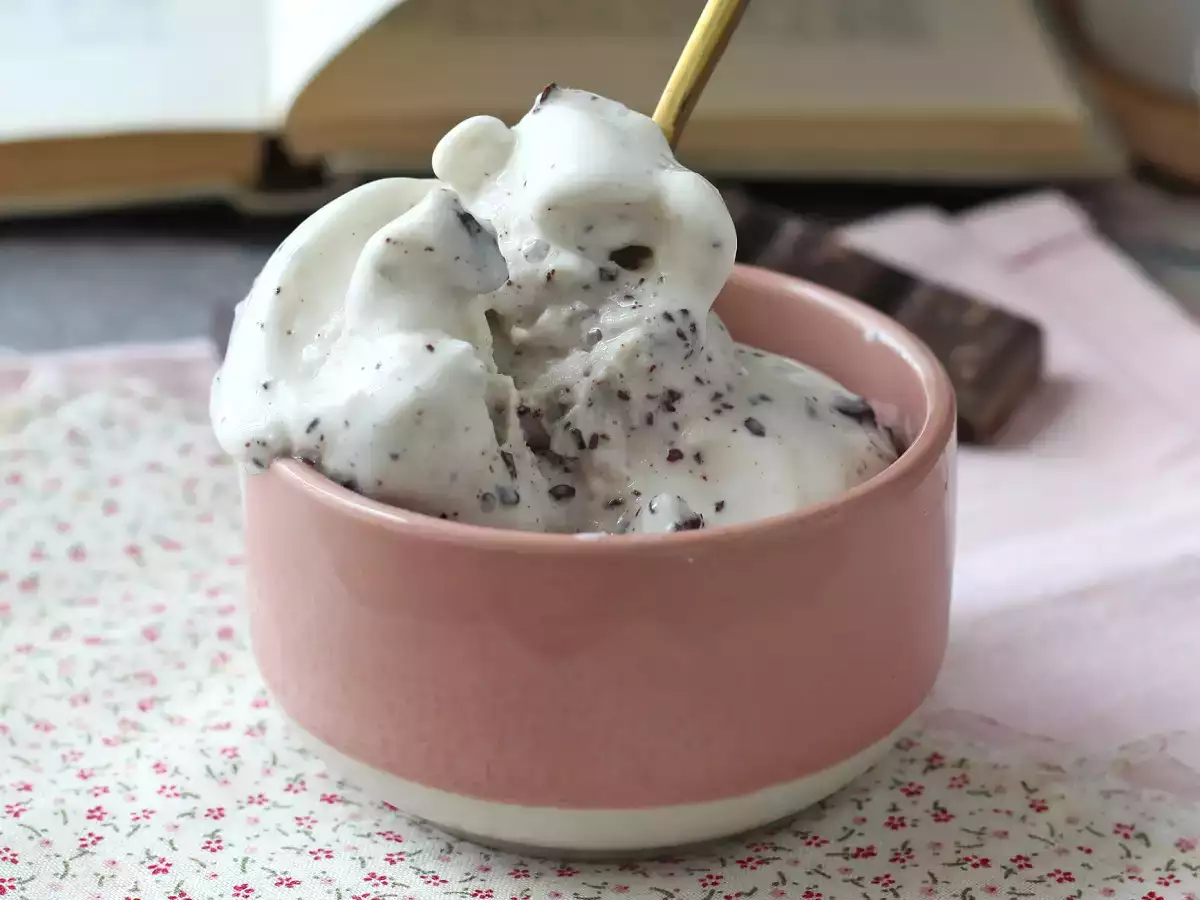
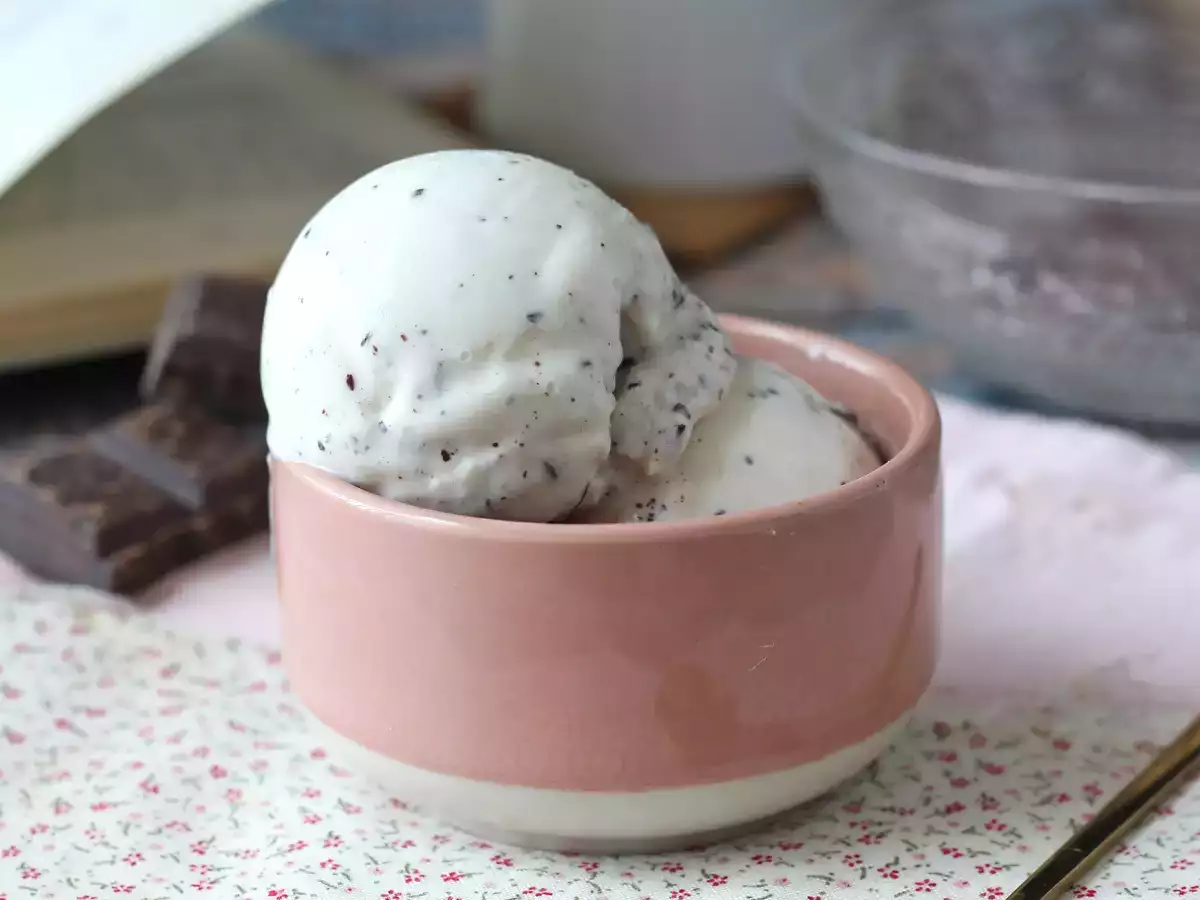
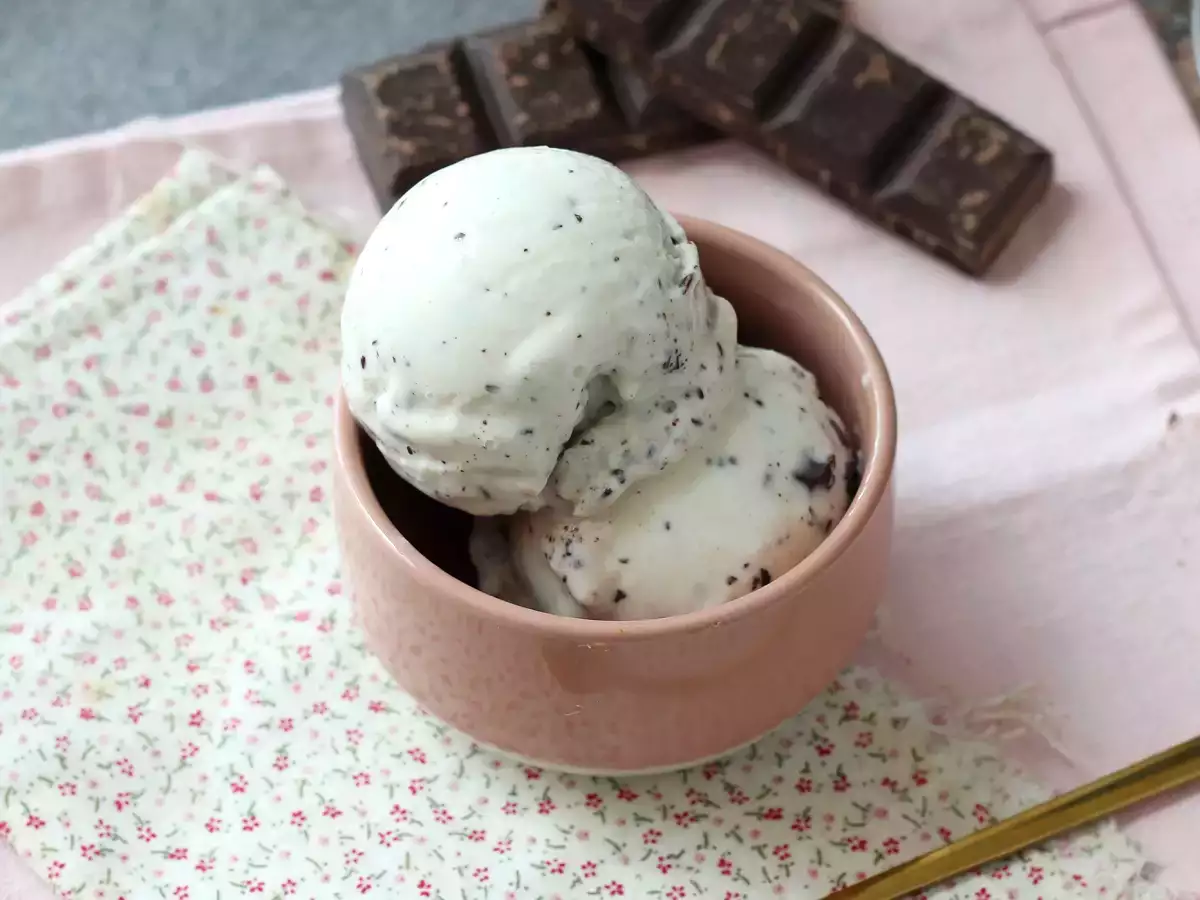
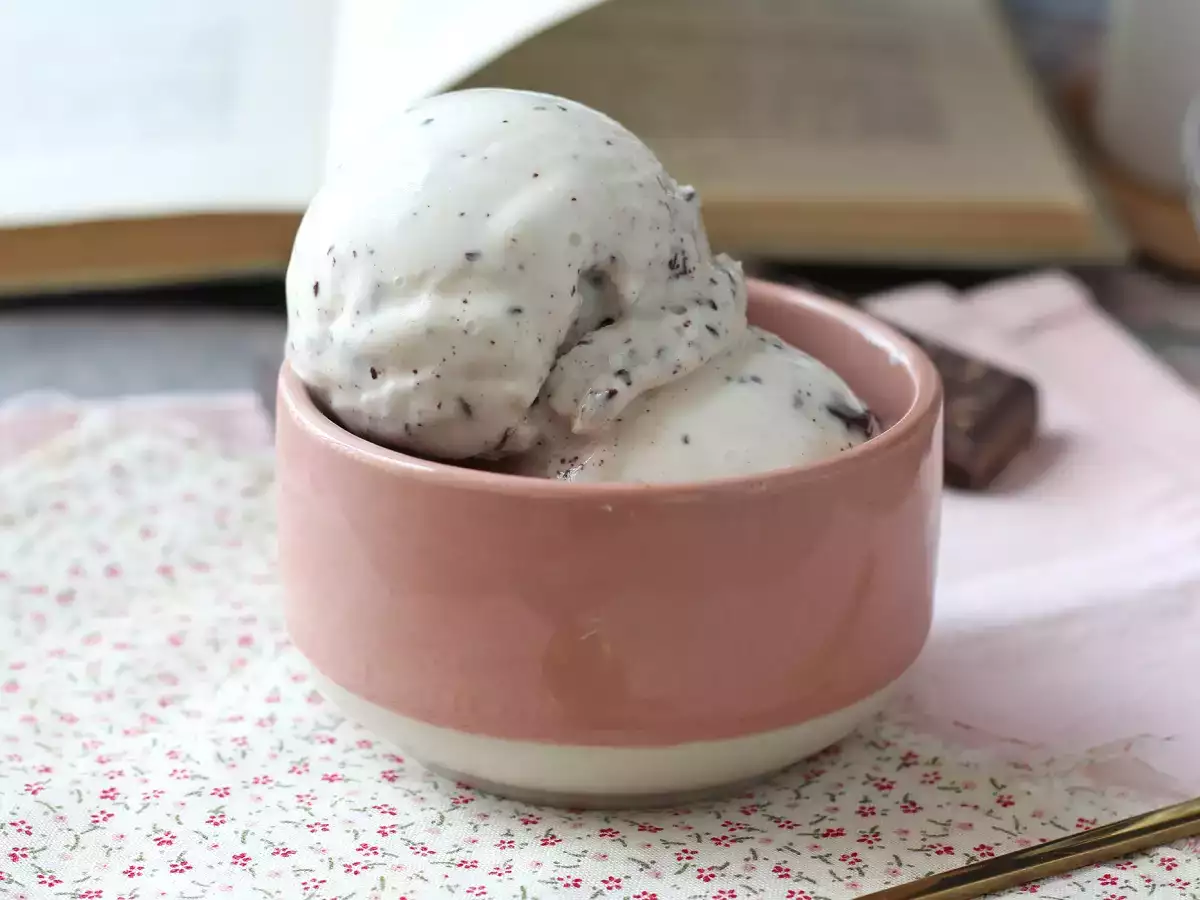
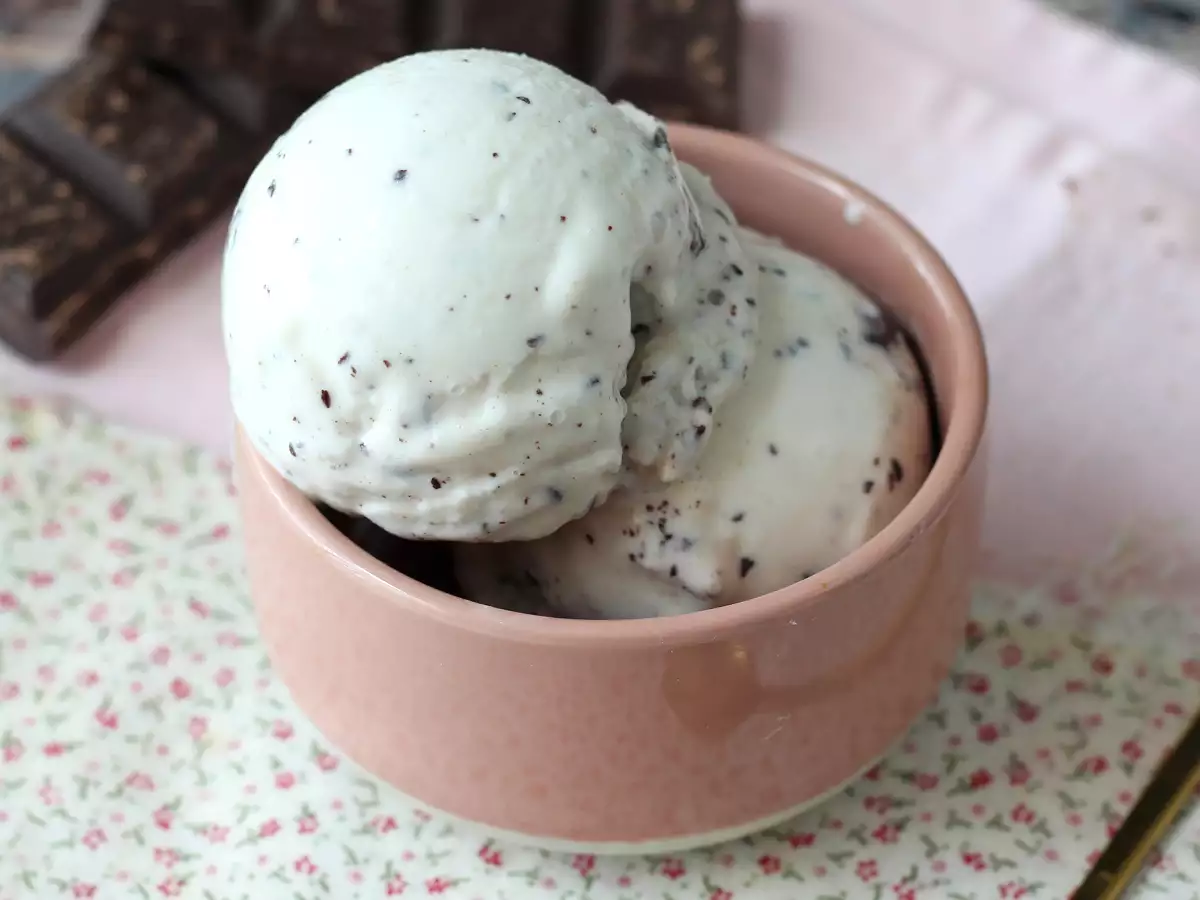
Homemade stracciatella-style ice cream, creamy and full of little chocolate pieces, is instantly tempting! With just a few ingredients—skyr, a little agave syrup, vanilla and dark chocolate—you get a simple, refreshing ice cream that’s a real pleasure to eat. The base is smooth and light, while the chocolate pieces add the little crunch we love in every spoonful. Thanks to the Ninja Creami, the texture becomes wonderfully creamy, making it perfect for a quick dessert once the tub is frozen. An easy recipe to customize, ideal for treating yourself to homemade stracciatella-style ice cream with no fuss! ;)
Ingredients
4
Materials
- Ninja Creami (or ice cream maker)
Preparation
Preparation10 min
Waiting time24 hours
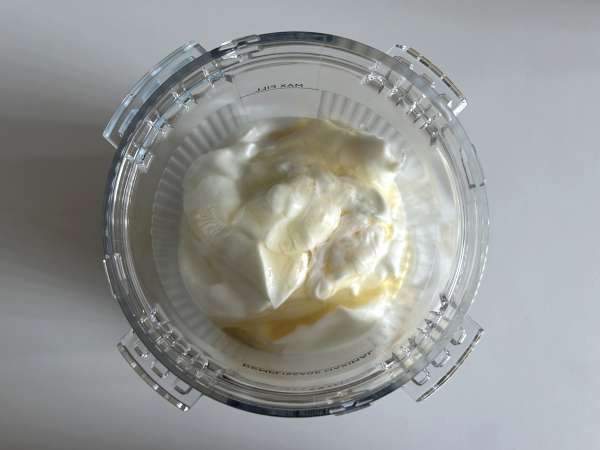 Place the plain yogurt, agave syrup, and vanilla extract in the Ninja Creami ice cream tub and mix.
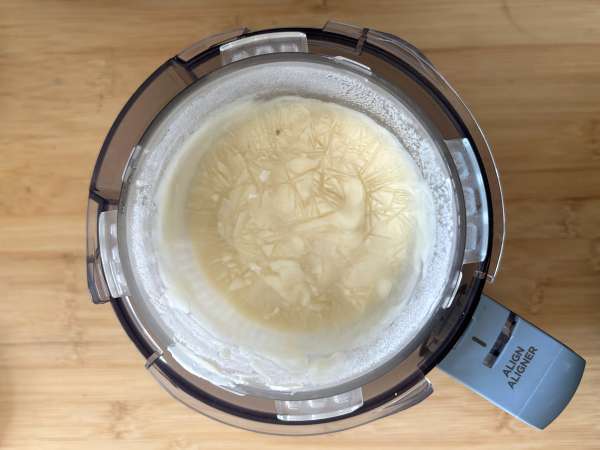 Place in the freezer for at least 24 hours.
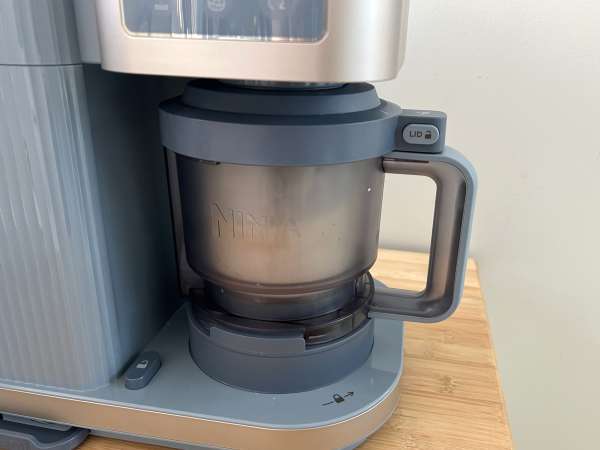 After that time has elapsed, place the container in the machine and select the "Scoop" mode, then "Ice Cream" or "Frozen Yogurt" (which takes longer), depending on the desired result.
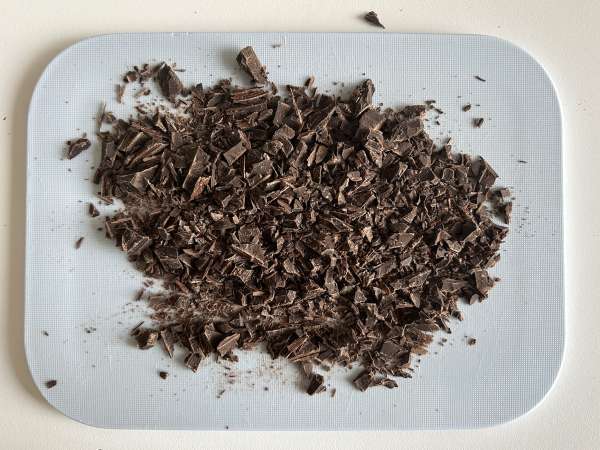 Meanwhile, chop the chocolate: use a knife for larger pieces or a grater for smaller ones.
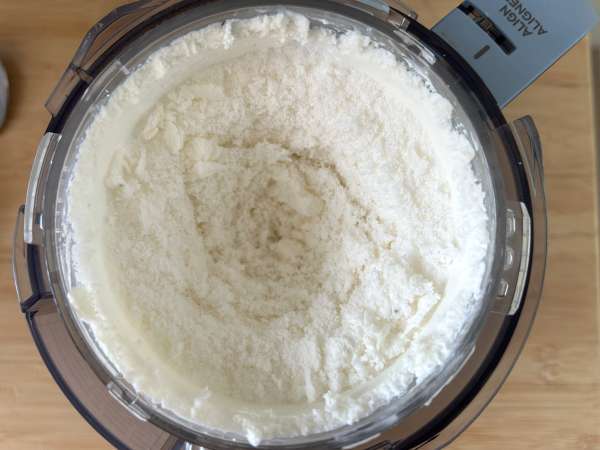 If your ice cream looks like this, you can restart "Ice Cream" mode.
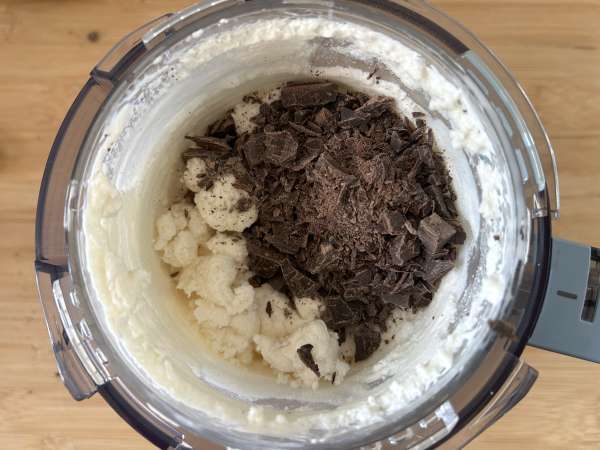 Next, add the chopped chocolate and press "Mix-in."
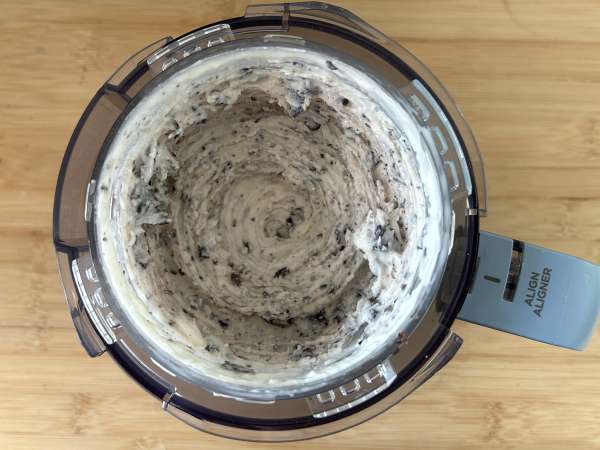 Your ice cream is ready!
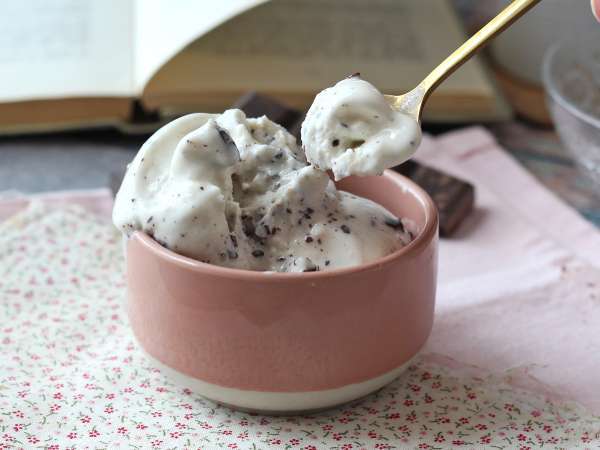 You can enjoy it right away or put it in an airtight container in the freezer!
FAQ ❓
Can I replace the skyr with another dairy product?
Yes, you can use regular plain yogurt or Greek yogurt.
What type of chocolate is best for this recipe?
Dark chocolate is recommended for a contrast in flavor, but you can also try milk chocolate for extra sweetness.
How long does it take to make this ice cream?
Preparation takes about 10 minutes, but don’t forget to allow 24 hours for freezing for the best results.
Can I add other ingredients to my ice cream?
Yes, you can customize your ice cream by adding fruit, nuts or other flavors to suit your preferences!
Can I make this ice cream without the Ninja Creami?
Yes, you can use an ice cream maker or even a blender, but the texture may vary. Use the same ingredients, but follow your usual method for your machine.
Nutrition
for 1 serving / for 100 g
Calories: 113Kcal
- Carbo: 13.4g
- Total fat: 2.4g
- Saturated fat: 1.4g
- Proteins: 9.1g
- Fibers: 0.5g
- Sugar: 12.1g
- ProPoints: 3
- SmartPoints: 4
Nutritional information for 1 serving (104g)
Attributes
Suitable for freezing
 PetitChef_Official
 You may like
Banana nice cream: vegan banana ice cream, no ice cream maker needed
Roasted apricot ice cream made with the ninja creami
Vanilla ice cream with the ninja creami
Coconut ice cream with the ninja creami
Mango ice cream without an ice cream maker
Homemade ice cream without an ice cream maker
Vegan berry nice cream: super-easy banana ice cream!
Homemade caramel daim mcflurry with the ninja creami
Quail egg ninja & star onigiri? yes, you too can have a food ninja bento!!
Sundae, the sweet american ice cream dessert
Cinnamon-honey "fried" ice cream
Kiwi strawberry shortcake ice cream cupcakes
Questions
Photos of members who cooked this recipe
 Juliette Hess
I have been creating culinary content for Petitchef since 2017.
I love travelling and discovering new dishes, trying out new food trends and exploring new restaurants.
I’m a huge fan of pasta and noodles in all their forms ❤ from udon noodles to tagliatelle, I love cooking them and even making them from scratch!
I’m currently preparing, filming and photographing your next recipe, and I hope you’ll enjoy it!
I love travelling and discovering new dishes, trying out new food trends and exploring new restaurants.
I’m a huge fan of pasta and noodles in all their forms ❤ from udon noodles to tagliatelle, I love cooking them and even making them from scratch!
I’m currently preparing, filming and photographing your next recipe, and I hope you’ll enjoy it!
Comments
Rate this recipe:
Rate this recipe