Pearl couscous salad with roasted apricots, feta, and arugula
vote now
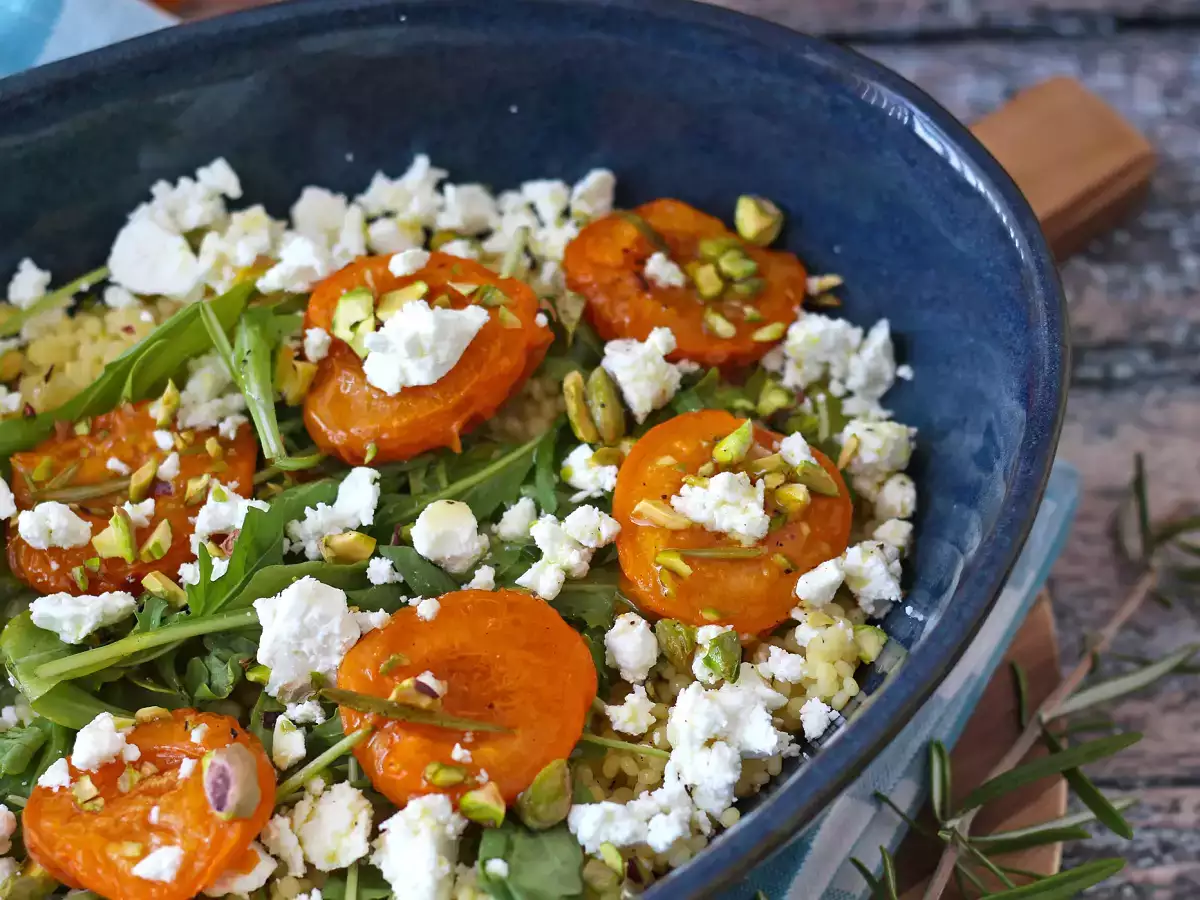
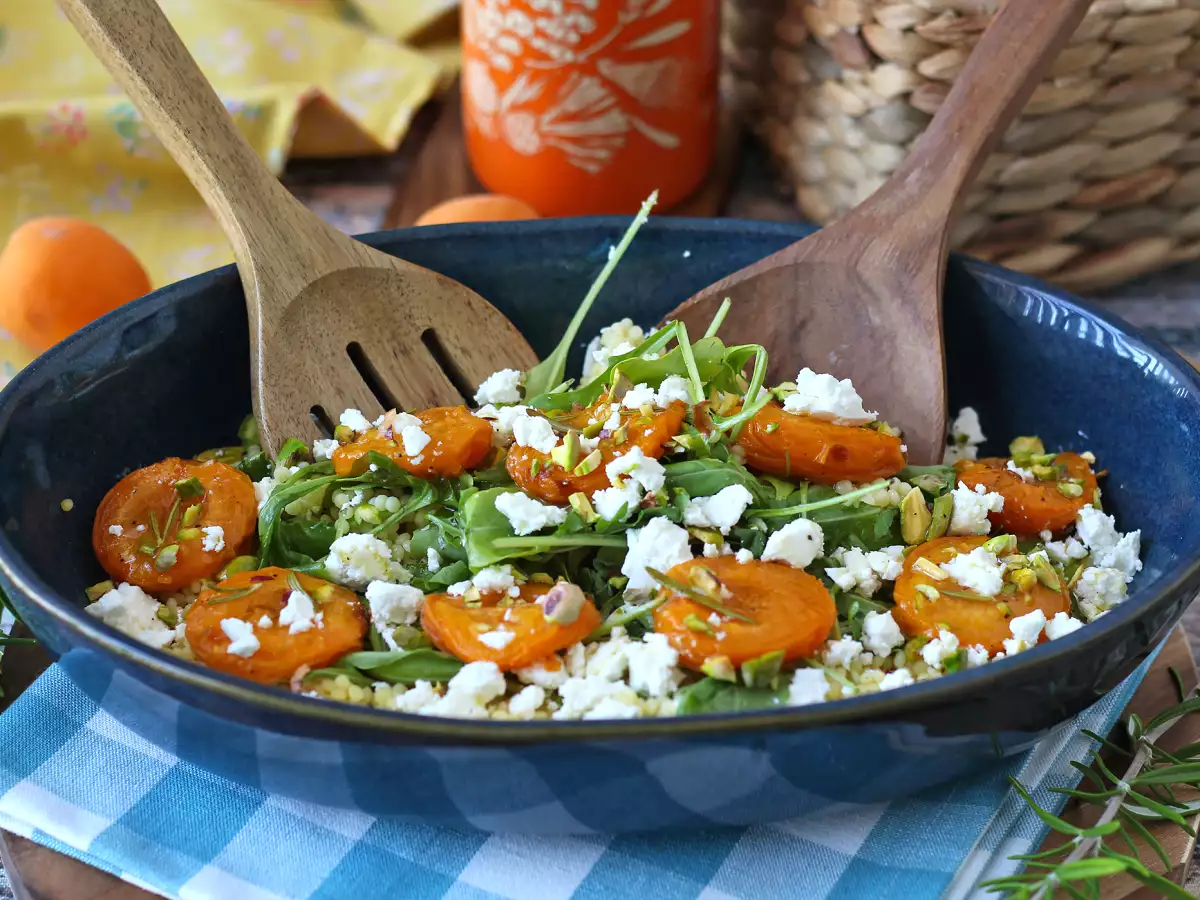
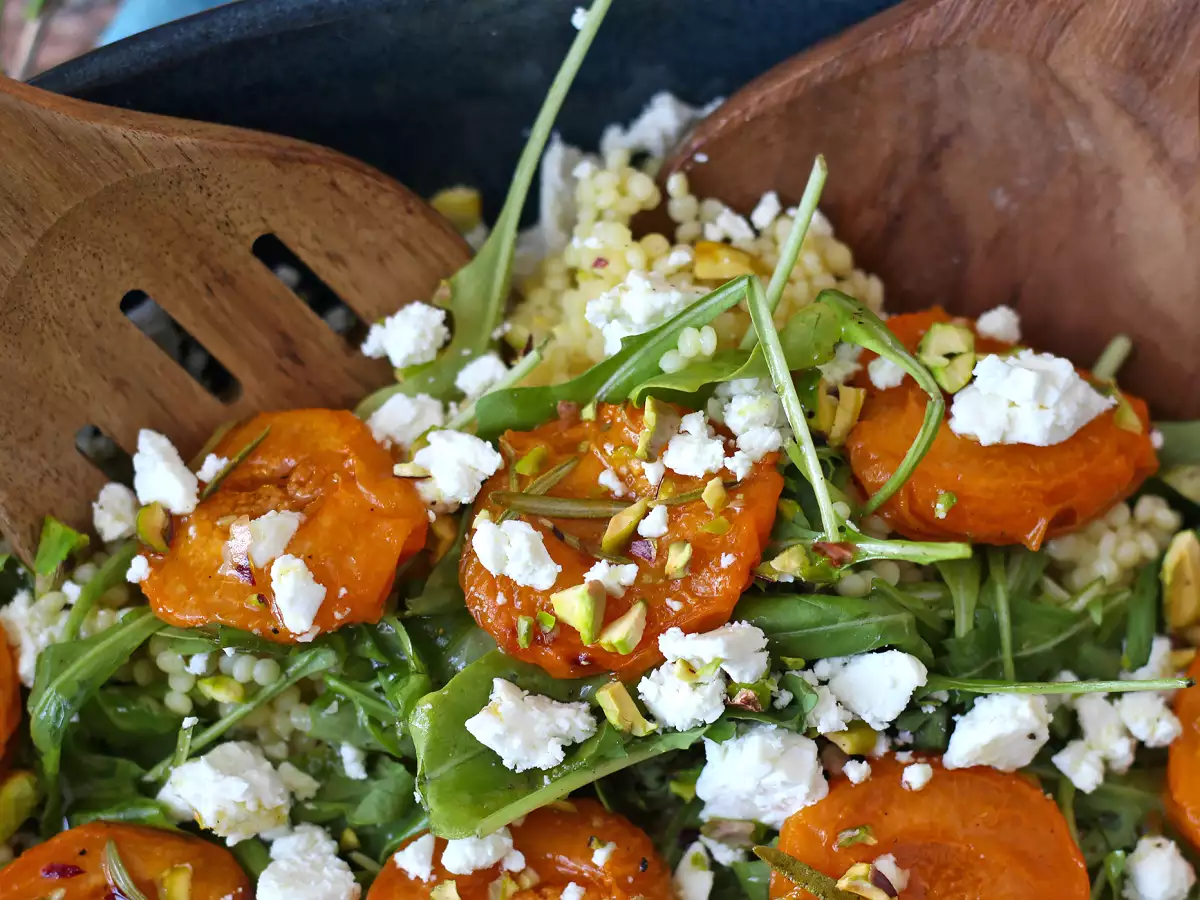
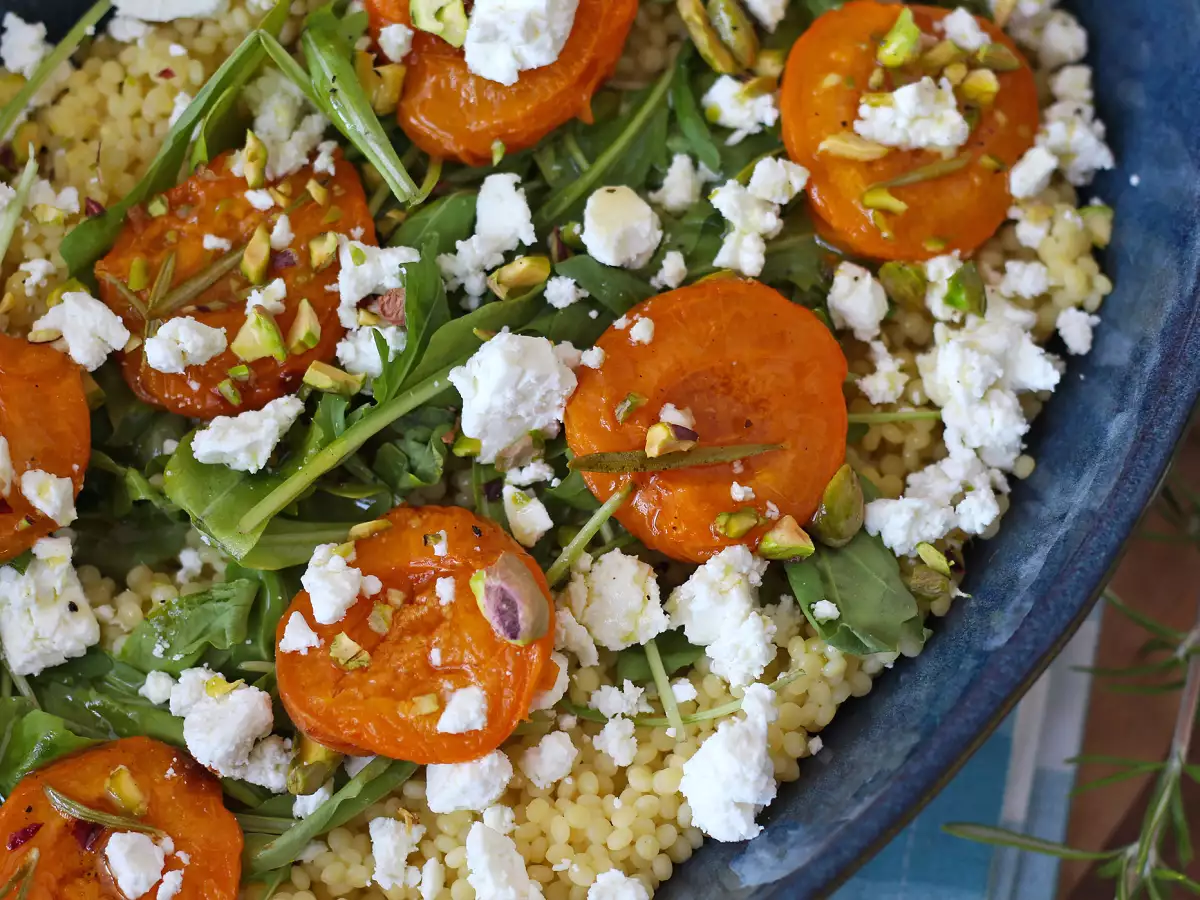
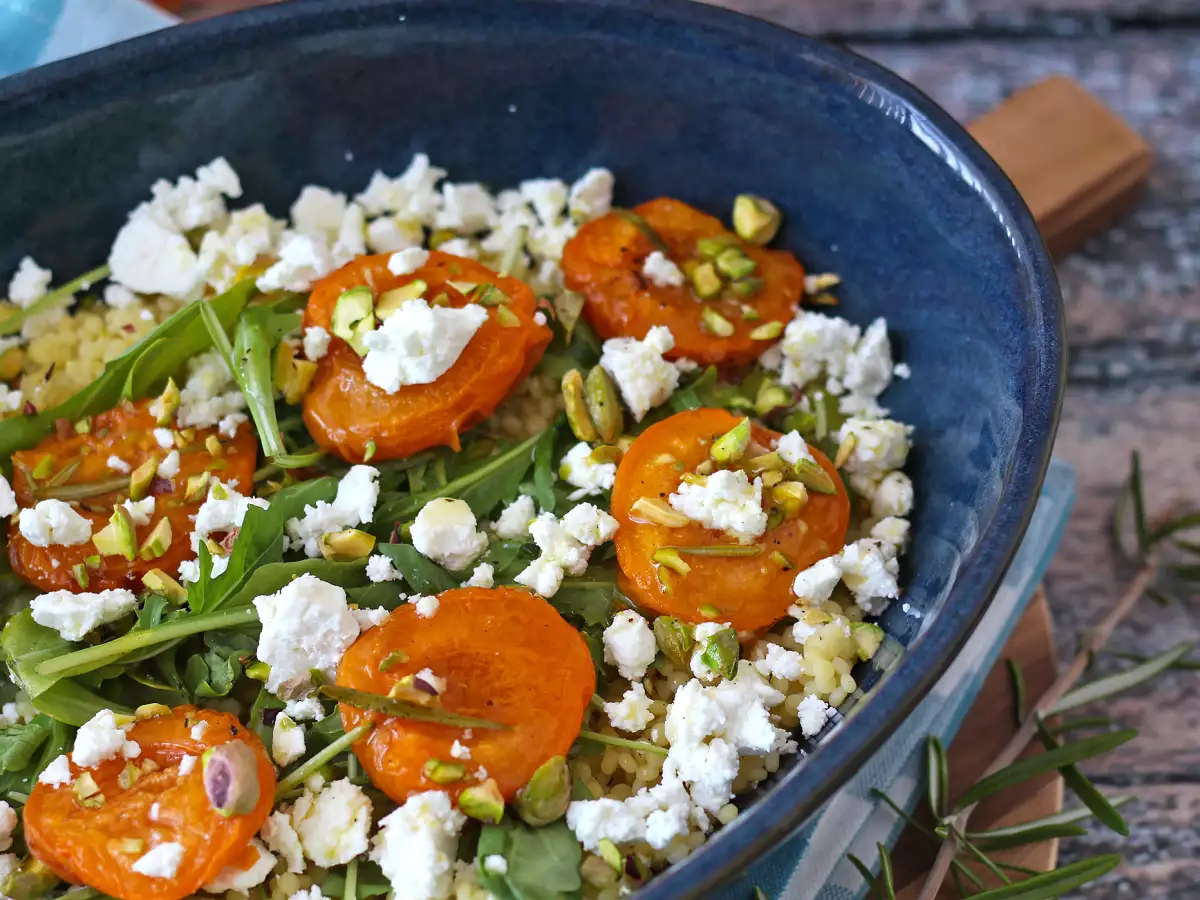
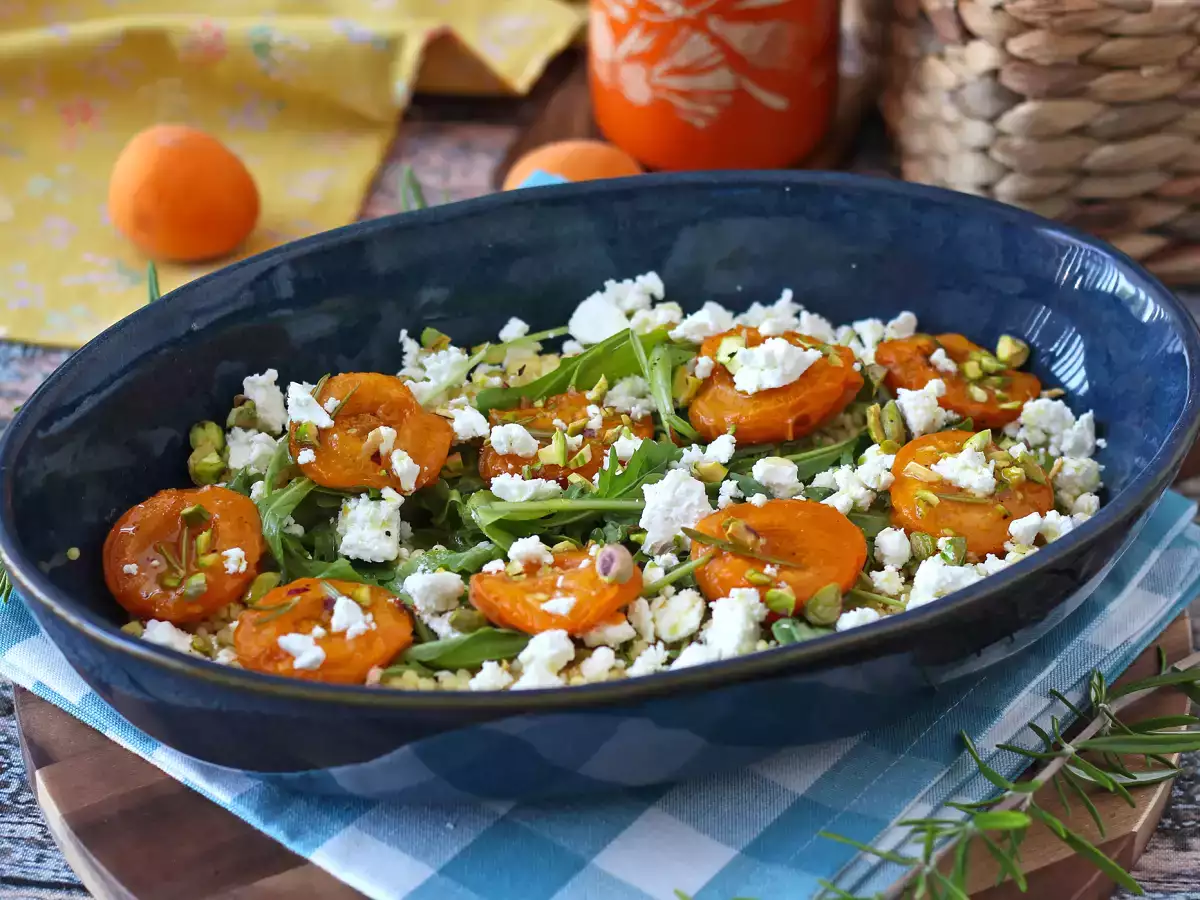
Here’s a salad that has summer written all over it! With its tender pearl couscous, lightly caramelized roasted apricots, fresh feta, peppery arugula, and crunchy pistachios, this recipe has everything it takes to bring some sunshine to your plate. Fresh, colorful, and full of zing, it’s easy to make and always makes a great impression, whether for a light lunch, a picnic, a barbecue, or a meal with friends. It’s the kind of simple yet original salad you’ll want to make again all summer long! ;)
Ingredients
2
For the apricots:
For the dressing:
Materials
- Saucepan
- Air fryer
Preparation
Preparation5 min
Cook time16 min
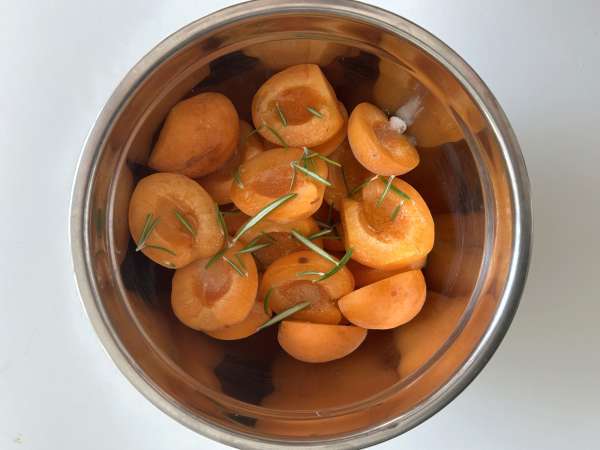 In a bowl, combine the apricots, which have been washed and cut in half. Add the olive oil, sugar, and rosemary. Mix well.
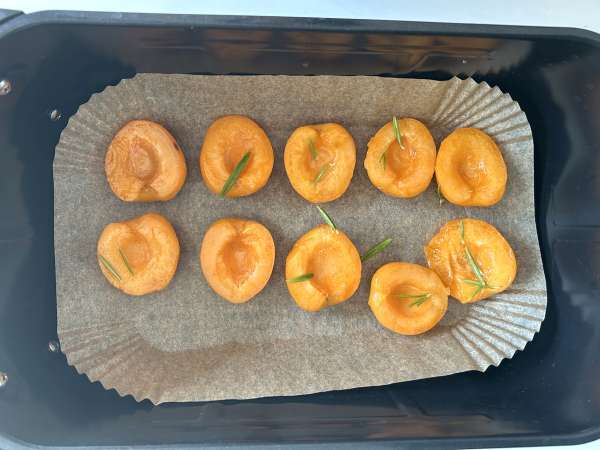 Next, place the apricots in the air fryer basket without letting them overlap, with the hollow side facing up.
Cook them at 370°F/190°C for about 10 minutes.
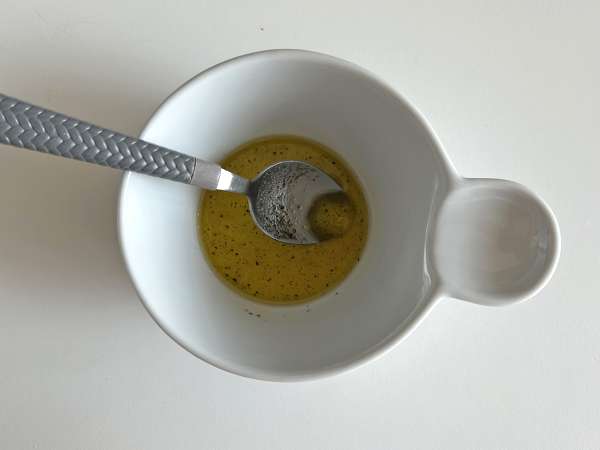 Prepare the sauce by mixing together the olive oil, honey, lemon juice, salt, and pepper.
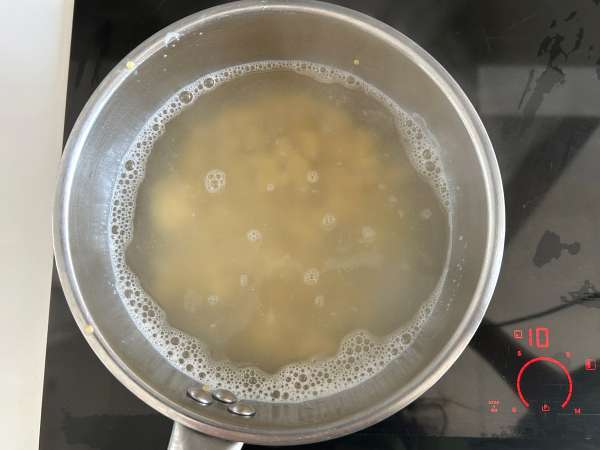 Cook the pearl couscous according to the instructions on the package. Once cooked, rinse it under cold water to stop the cooking process.
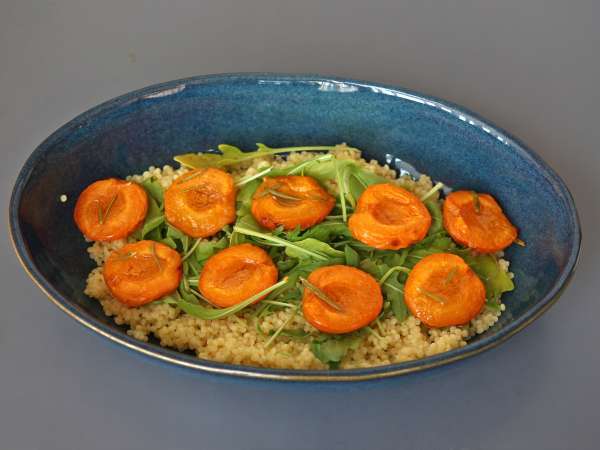 In a serving dish, combine the pearl couscous, arugula, and roasted apricots.
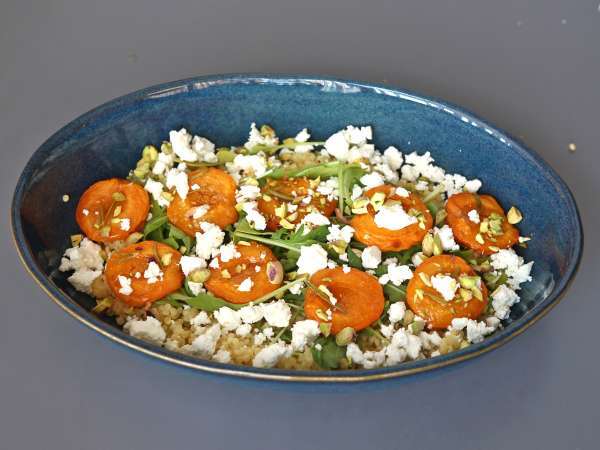 Next, add the crumbled feta, the chopped pistachios, and the sauce.
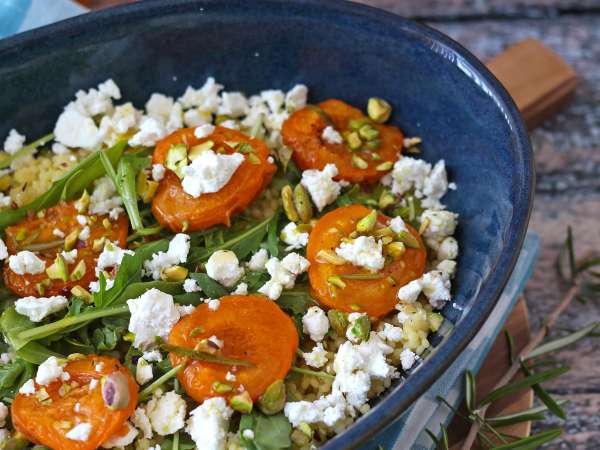 There you go, it's ready ;)
FAQ ❓
What is pearl couscous, and how is it different from regular couscous?
Pearl couscous, also known as ptitim or Israeli couscous, is made of small wheat balls that are larger than traditional couscous grains. It has a firmer, slightly chewy texture, which makes it ideal for salads. It absorbs sauces well while remaining distinct after cooking.
Can I substitute something for pearl couscous in this salad?
Yes. If you don’t have pearl couscous, you can substitute bulgur, quinoa, spelt, pearl barley, or even small pasta such as orzo. Choose a base that stays firm after cooking to preserve a good texture.
What can I use instead of feta in this salad?
You can replace the feta with grilled halloumi, mozzarella, fresh goat cheese, burrata, or even a plant-based cheese. Each option will add a different texture while maintaining the balance of sweetness and freshness.
How can I keep pearl couscous from sticking after cooking?
After cooking, rinse the pearl couscous under cold running water to stop the cooking and remove excess starch. You can then add a drizzle of olive oil and gently mix so the grains stay separate.
Can I make this pearl couscous salad ahead of time?
Yes, this salad is ideal for making a few hours ahead. Store it in the refrigerator and add the arugula just before serving so it stays fresh and doesn’t wilt.
What can I use instead of pistachios in this salad?
You can use almonds, hazelnuts, walnuts, pine nuts, or pumpkin seeds. They’ll all add a crunchy touch that contrasts nicely with the roasted apricots and feta.
What goes well with an apricot pearl couscous salad?
This salad can be served on its own for a light lunch or with grilled chicken, shrimp, salmon, or falafel for a more substantial meal. It’s also perfect for a picnic, buffet, or summer barbecue.
Cookware
air fryer
Attributes
Keep refrigerated
Zero waste
 PetitChef_Official
 You may like
Pearl couscous salad with surimi: fresh, colorful, and delicious

Toast with roasted apricots, arugula, and burrata
Whipped feta and roasted apricots: the perfect appetizer spread!

Roasted apricot, arugula and burrata salad
Sweet-and-savory salad with roasted peaches, arugula, and burrata (the sweet flavors of summer)

Oven baked roast beef, made with roasted potatoes and pearl onions
Herb roasted potatoes and pearl onions
Arugula, roasted peach and burrata toasts: a delicious sweet-and-savory combination!
Cucumber, roasted chickpeas, avocado and feta salad
Arugula and pear salad with toasted walnuts

Green Bean Avocado Arugula Salad
Pear Arugula Salad with Dates and Parmesan
Questions
Photos of members who cooked this recipe
 Juliette Hess
I have been creating culinary content for Petitchef since 2017.
I love travelling and discovering new dishes, trying out new food trends and exploring new restaurants.
I’m a huge fan of pasta and noodles in all their forms ❤ from udon noodles to tagliatelle, I love cooking them and even making them from scratch!
I’m currently preparing, filming and photographing your next recipe, and I hope you’ll enjoy it!
I love travelling and discovering new dishes, trying out new food trends and exploring new restaurants.
I’m a huge fan of pasta and noodles in all their forms ❤ from udon noodles to tagliatelle, I love cooking them and even making them from scratch!
I’m currently preparing, filming and photographing your next recipe, and I hope you’ll enjoy it!
Comments
Rate this recipe:
Rate this recipe